Office 365 Backup & Restore is an efficient tool to take a secure backup of Office 365 mailboxes in the form of PST file and to restore the PST file to Office 365. The tool is quite simple and easy to use.
Office 365 Backup & Restore helps users to securely back up the Office 365 & Exchange mailboxes and to restore them back to Office 365 & Exchange easily. It is useful for both end users and administrators as it works perfectly well with a single as well as multiple mailbox (for backup as well as restore)
Office 365 Backup & Restore allows to backup a single Exchange/Office 365 mailbox to PST. The steps are:
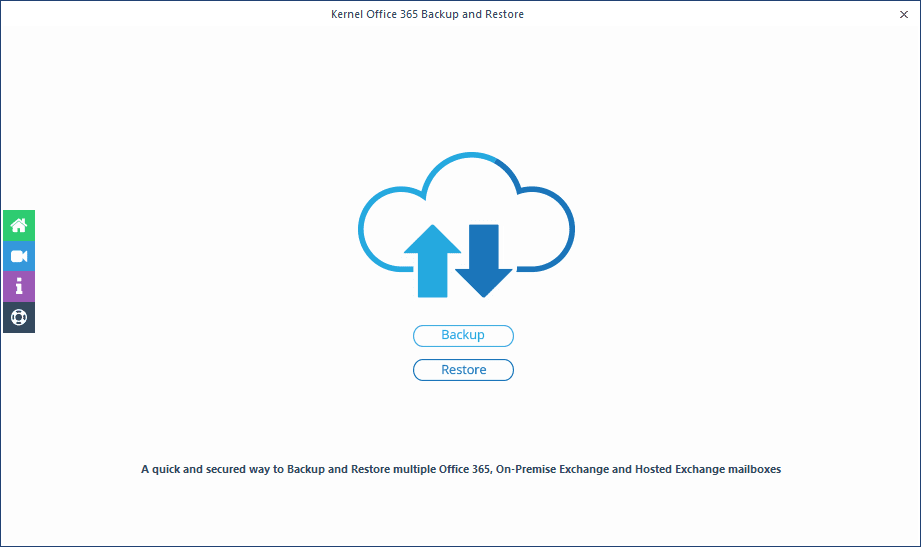
Launch the Office 365 Backup & Restore application and click Backup.
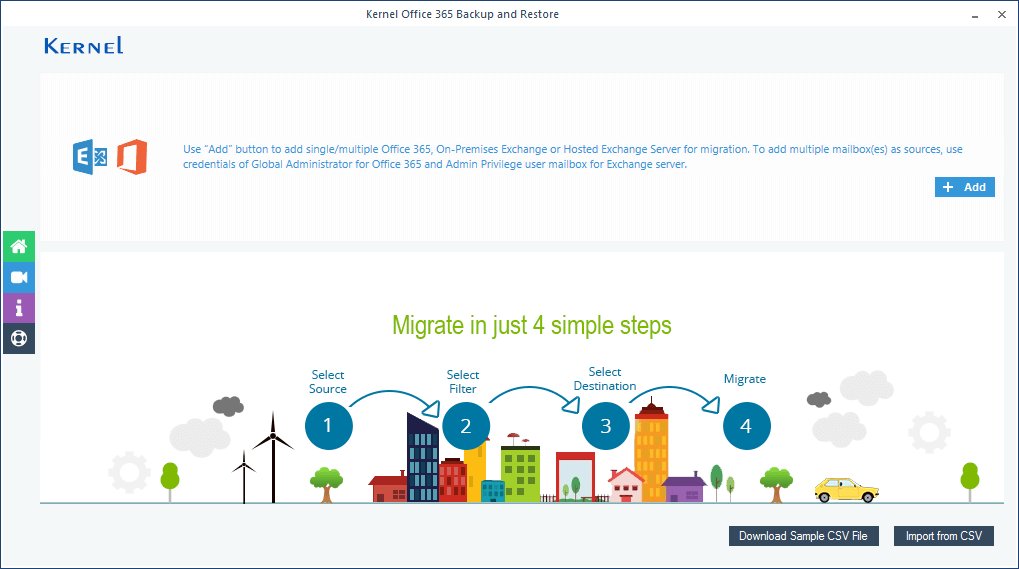
To add a source (Exchange Server/Office 365) for backup, Click the Add button.
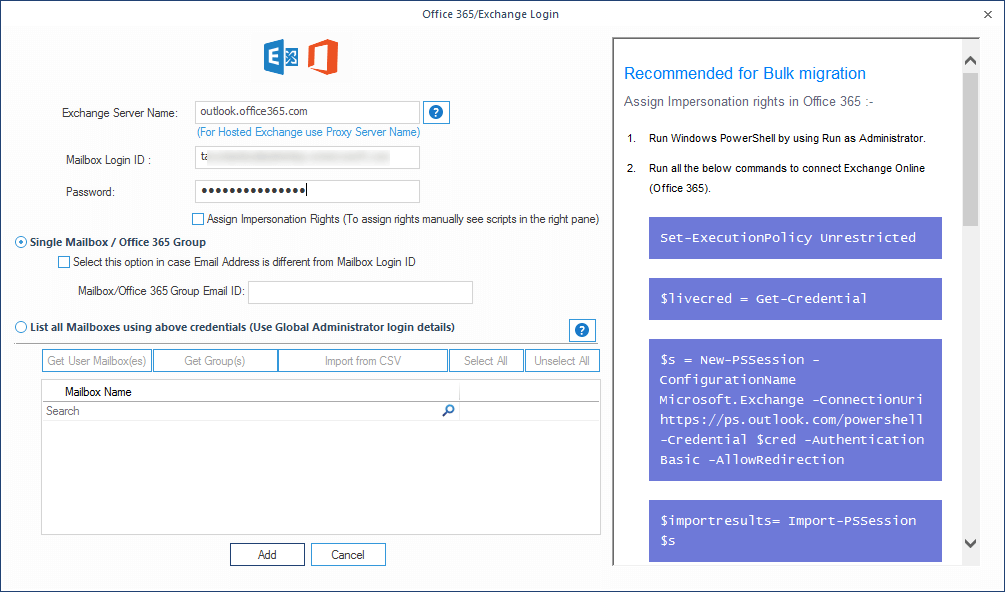
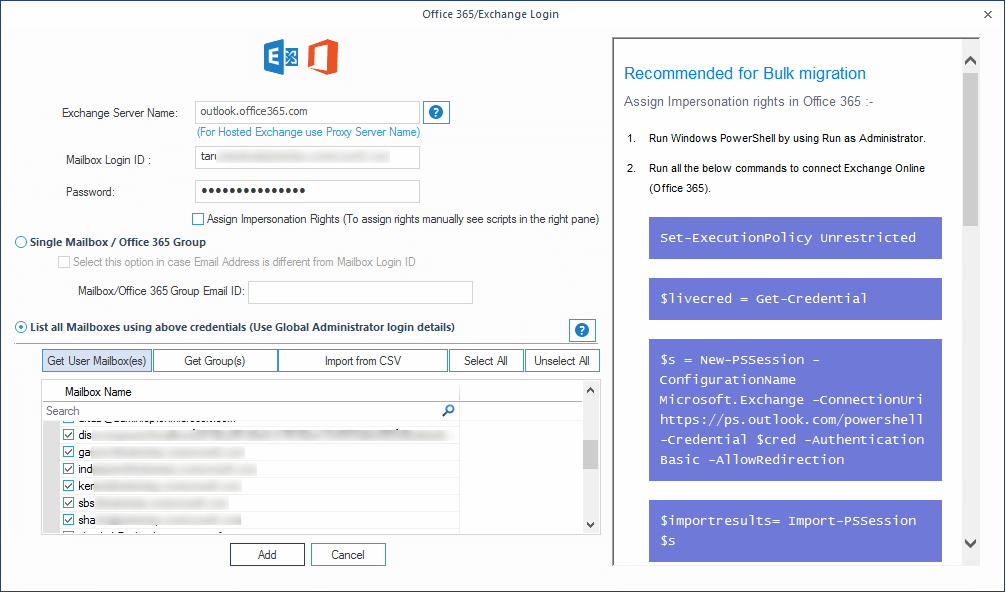
In the Office 365/Exchange Login page, provide the source credentials. Select the required option from:
- Office 365 - enter User email & Password.
- Hosted Exchange Server - enter the login details with Proxy Server name.
- On-premises Exchange Server - enter User ID & Password
Select Single Mailbox/Office 365 Group and then click the Add button.
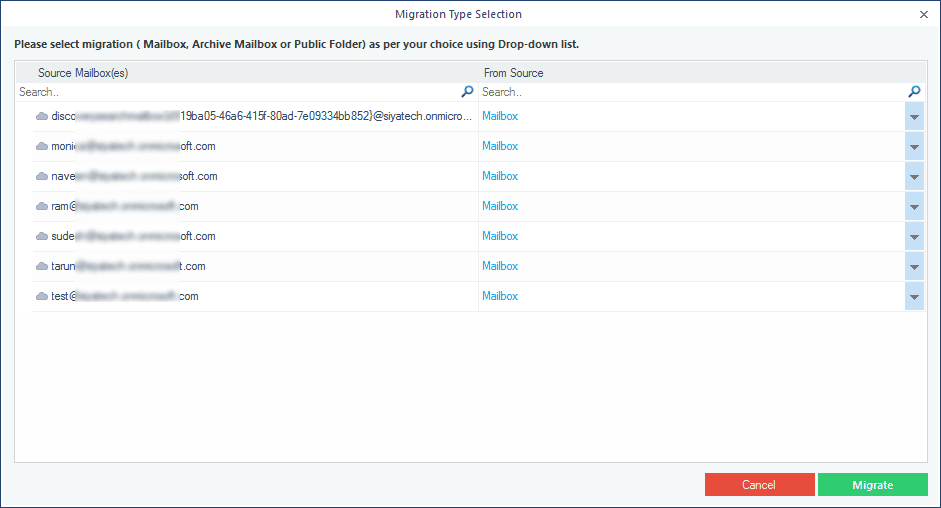
Select the Office 365 account, and click the Set filter and Migrate button.
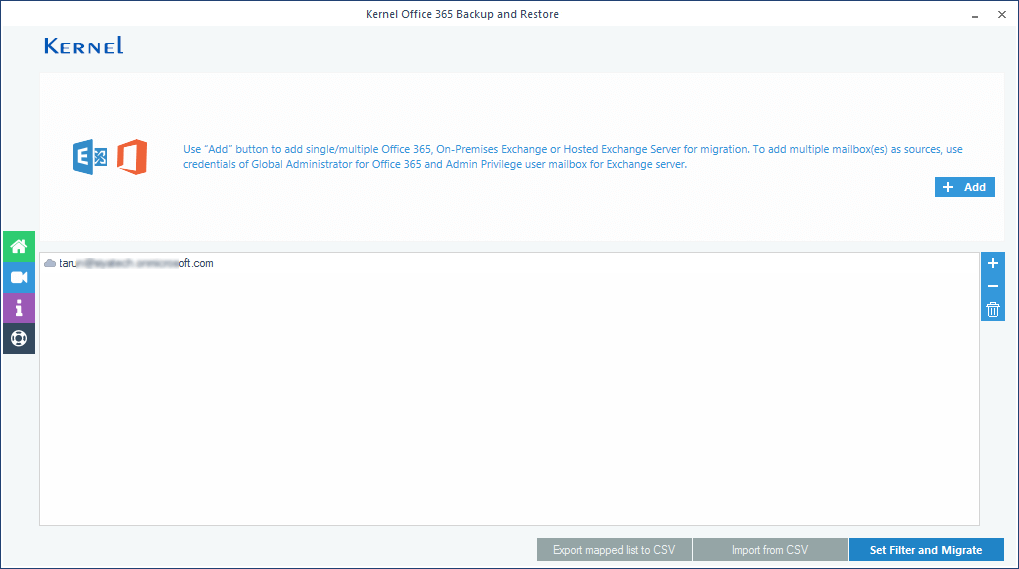
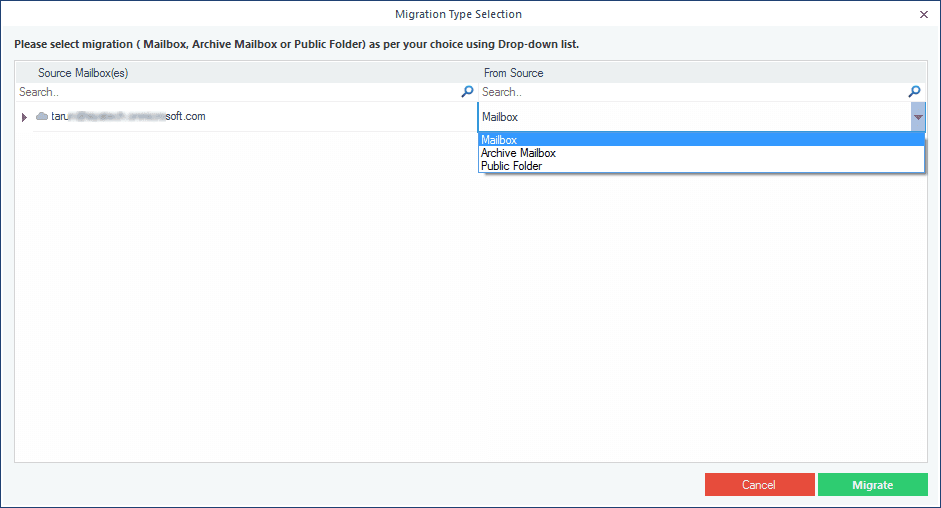
From the drop-down list, select the type of data you want to back up - Mailbox, Archive Mailbox, or Public Folder - then click Migrate.
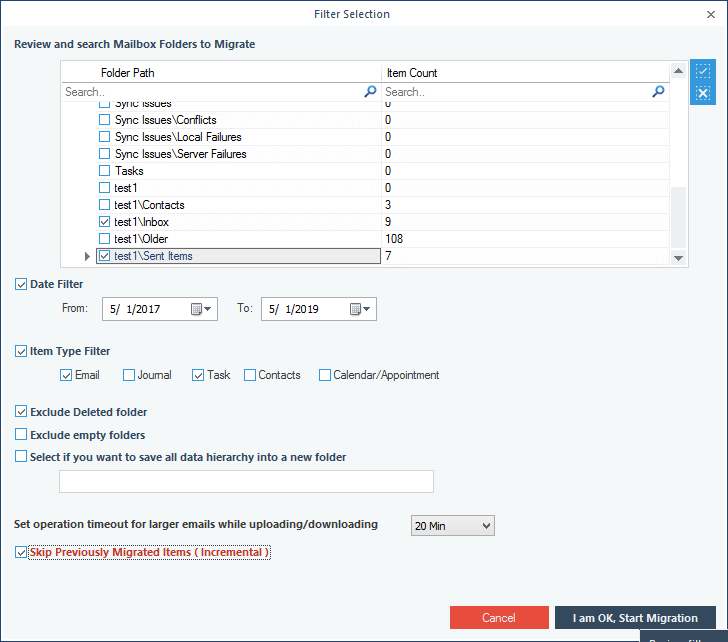
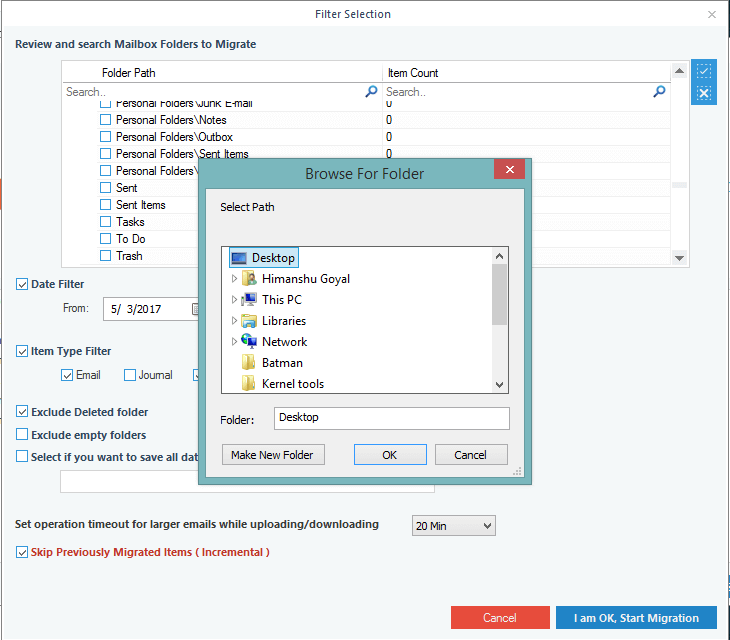
In the Filter Selection window, choose the filtering options as required:
- Review and search Mailbox Folders to Migrate – Select the folders to migrate.
- Date Filter – Provide a date range to filter items.
- Item Type Filter – Select the item types that are to be migrated.
- Exclude Deleted folder – Select to exclude Deleted Items folder from migration
- Exclude empty folders – Exclude empty folders from the migration.
- Select if you want to save all data hierarchy in a new folder – Provide a folder name (to save the data inside a folder)
- Set operation timeout for larger emails while uploading/downloading – Select an upper time limit for backup (the backup will be rejected if it exceeds the limit).
- Skip Previously migrated Items (Incremental) – Check the box to exclude the already migrated data and migrate only the additional data.
Finally click I am OK, Start Migration.
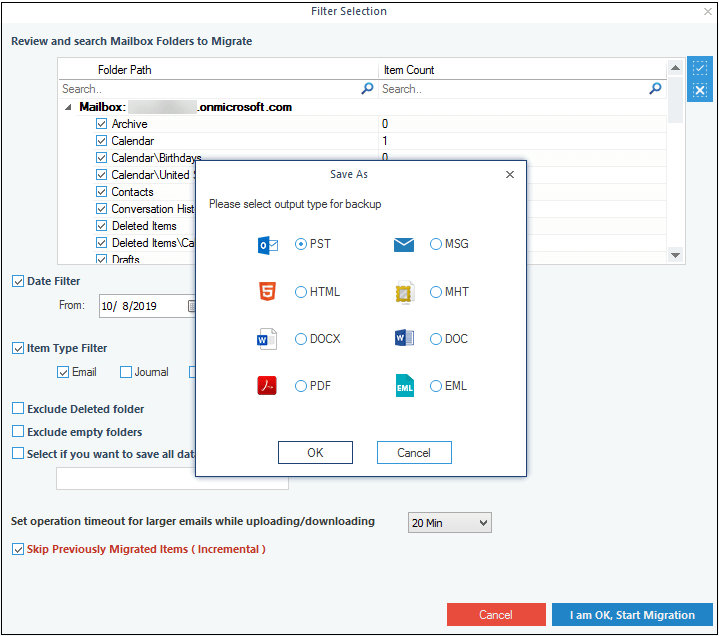
Next, choose the desired file format to which you want to backup Office 365 or Exchange mailboxes data and click OK.
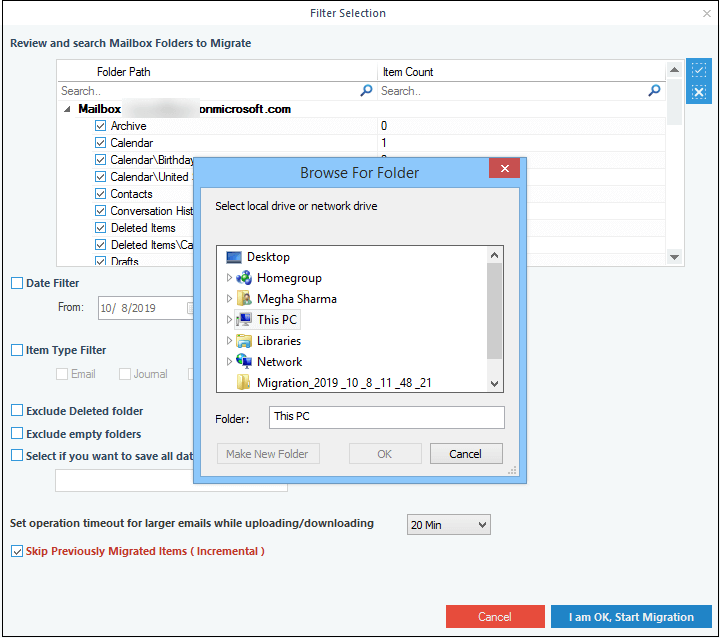
Provide the saving location and click OK. After this, the migration will get started.
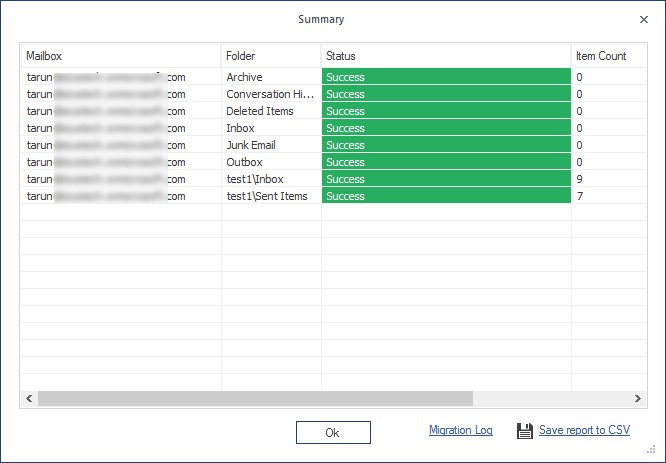
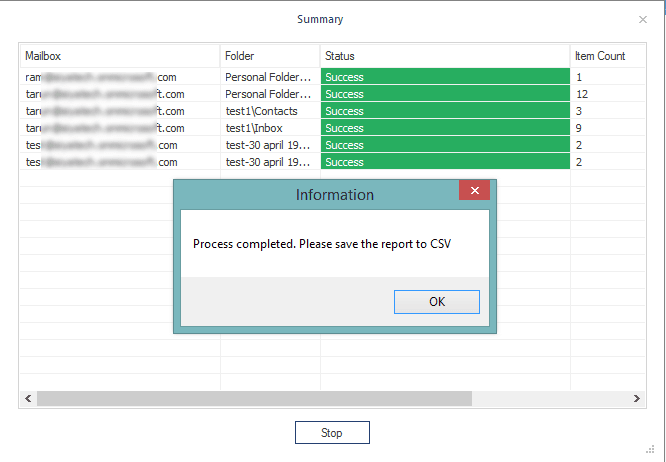
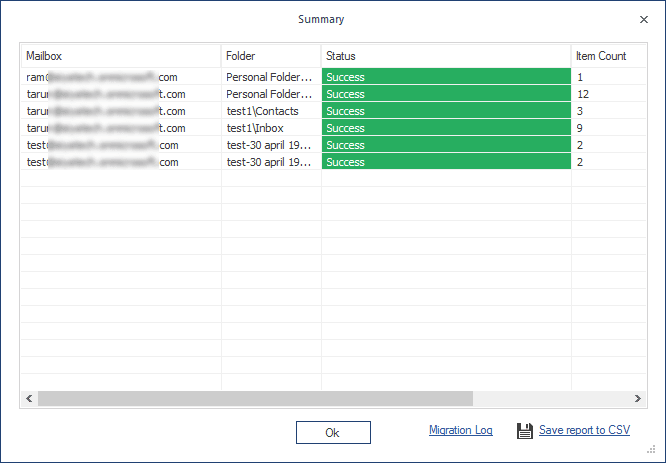
As soon as the migration gets completed, a message window informs that the process is complete.

To take the backup of multiple Office 365/Exchange mailboxes, you need to have an Office 365 account with administrative privileges.
Launch the Office 365 Backup & Restore application and click the Backup button.

To add a source (Exchange Server/Office 365) for backup, Click the Add button.

Enter the Administrator (for Exchange/Office 365) account credentials, select the option List All Mailboxes using above credentials, then click Get User Mailbox (es). When the mailboxes are displayed, select the required mailboxes. Apart from mailboxes, you can click on Get Group(s) button to select the available groups under the admin account. Finally, click the Add button.
Select the desired option - Mailbox, Archive Mailbox, or Public Folder - for migration and click Migrate.
In the Filter Selection window, choose the filtering options as required:
- Review and search Mailbox Folders to Migrate – Select the folders to migrate.
- Date Filter – Provide a date range to filter items.
- Item Type Filter – Select the item types that are to be migrated.
- Exclude Deleted folder – Select to exclude Deleted Items folder from migration
- Exclude empty folders – Exclude empty folders from the migration.
- Select if you want to save all data hierarchy in a new folder – Provide a folder name (to save the data inside a folder)
- Set operation timeout for larger emails while uploading/downloading – Select a time limit for backup (backup will be rejected if it exceeds this time limit).
- Skip Previously migrated Items (Incremental) – Check the box to exclude the already migrated data and migrate only the additional data.
Finally click I am OK, Start Migration.

In the Save As dialogue box, select the file saving format and then click OK.

Provide a destination where you want to save the backup PST file.
As soon as the backup process gets completed, the tool provides information that the process is completed. Click OK to finish the process.
Office 365 Backup & Restore can easily import an unlimited number of PST files to Office 365. It allows the user to easily map the source PST files to destination office 365 mailboxes. To restore PST files to Office 365, follow the Restore procedure: https://www.kerneldatarecovery.com/how-to/import-pst-to-office-365.html