Migrating Mailboxes and Public Folders
In this part of the guide for Office 365 to Office 365 migration, we introduce the essential steps of a mailbox and public folder migration. Along with that, extra amenities like filters, job scheduling, etc., are also mentioned in the guide.
- Step by Step Guide for Migrating Office 365 to Office 365 Tenant Part-1
- Step by Step Guide for Migrating Office 365 to Office 365 Tenant Part-2
- Step by Step Guide for Migrating Office 365 to Office 365 Tenant Part-3
Adding Project
The user is required to add a new project to manage all migration jobs under it. Add a new Project like this.
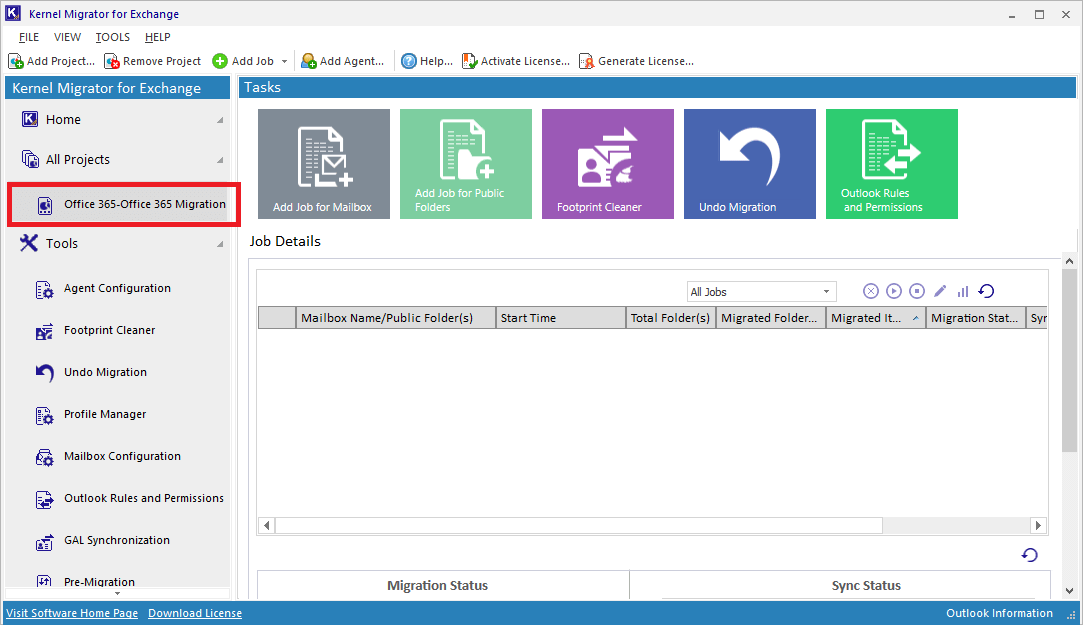
- On the home screen, click Add Project from the toolbar.
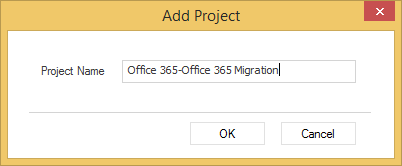
- Now, provide a project name and click OK.
- Hence, a project is created, and it appears on the left panel of the screen.

Adding a Mailbox Migration Job
Under the project created, you can add a mailbox migration job to migrate user mailboxes, archive mailboxes, etc.
Create the mailbox migration job with the following steps.
Adding Source
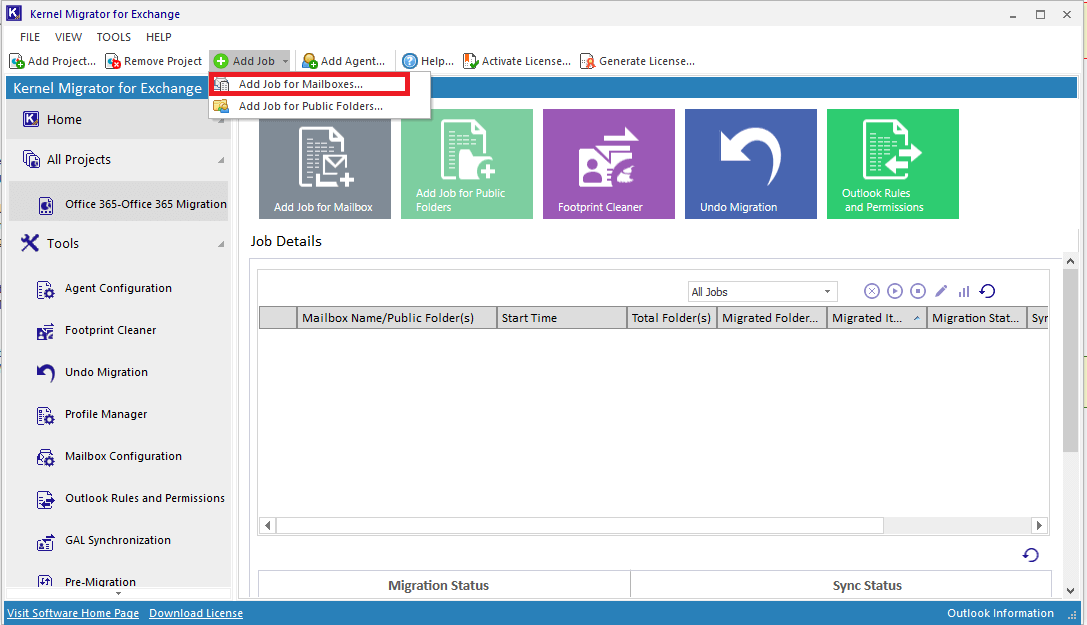
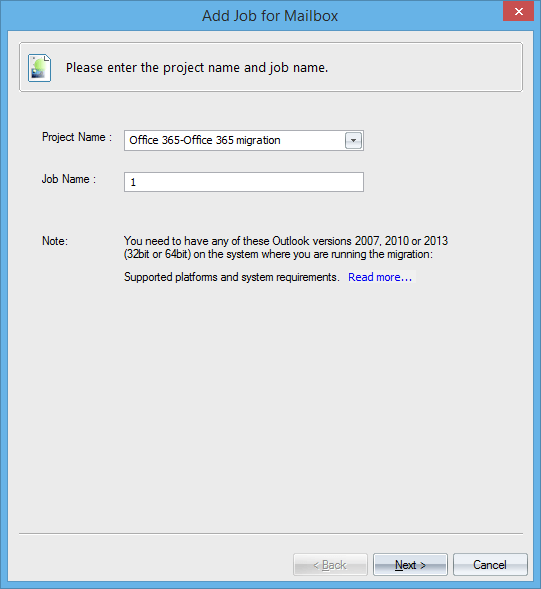
- Select the project created and click Add Job for Mailboxes from the toolbar.
- Provide a Project Name and Job Name. Then, click Next.
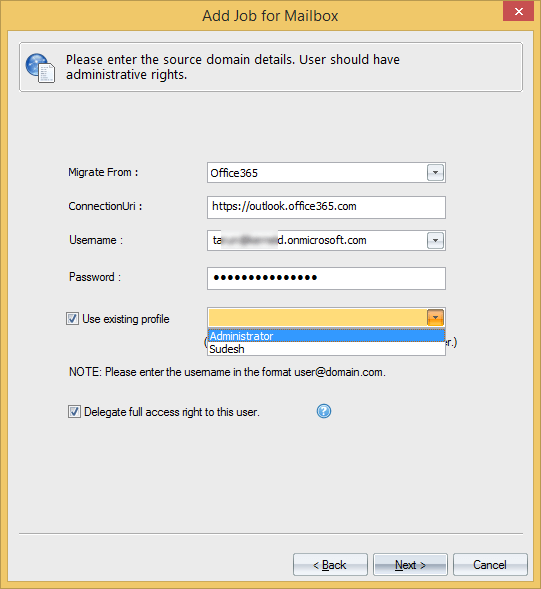
- Enter the required details (login credentials) and select desired options. Click Next to add.
- Select your choice of mailboxes for migration and click Next.

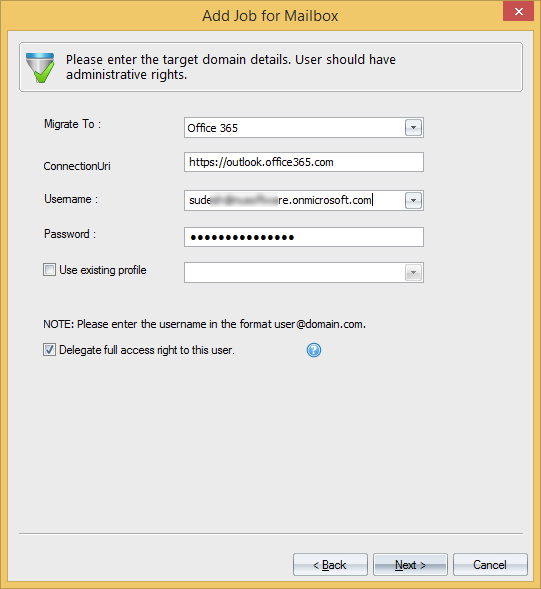
Adding Target
- Now, select and add the target for the mailboxes migration. Add required details, and then click Next.
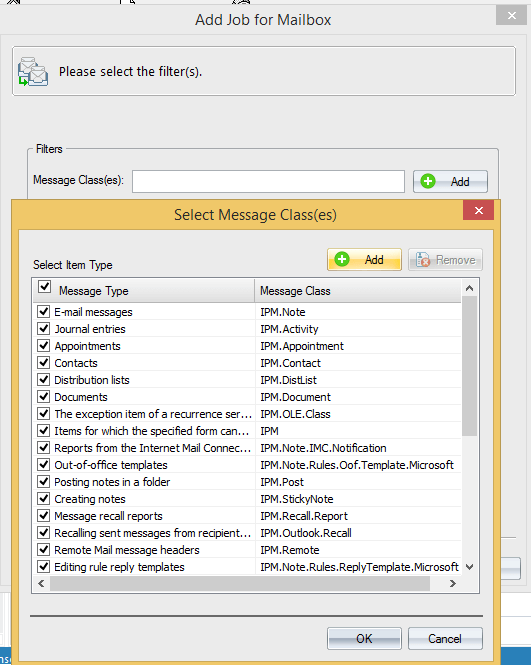
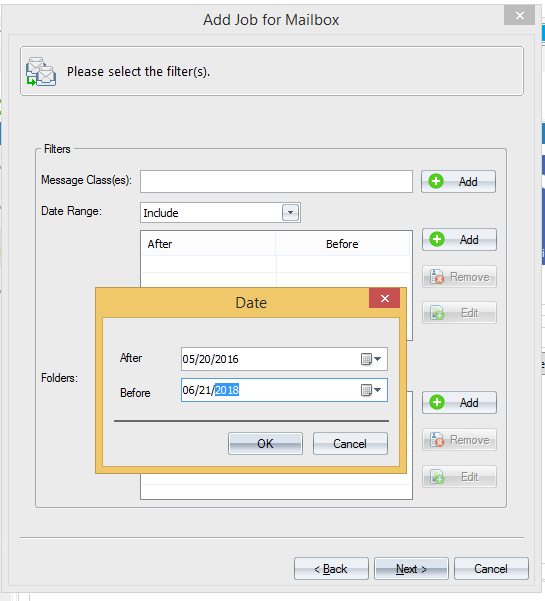
- Apply Message Classes, Date Range, and Folders filters (as in Pre-migration Analysis) according to your requirements. Make selections and click Next.
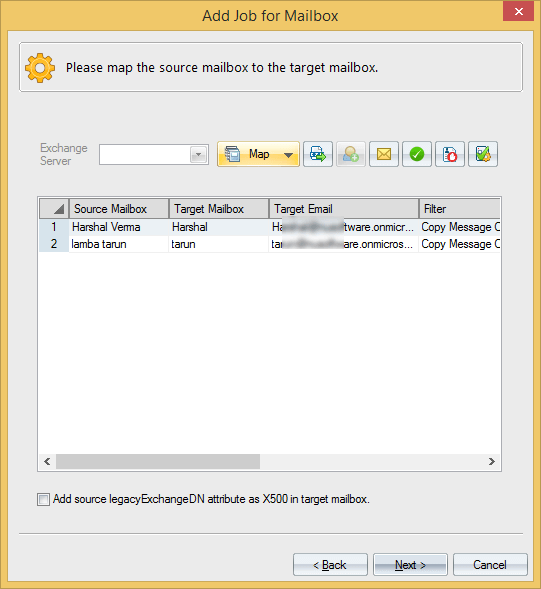
Mapping Source and Target Mailboxes
Now, map Source mailboxes to Target mailboxes. You can Map Mailboxes Automatically, Map Single Mailbox, or Map Using CSV. Click Next to continue.
Managing Bad Items and Synchronization
In the next step, you can manage Bad Items and Synchronization by selecting the required options.
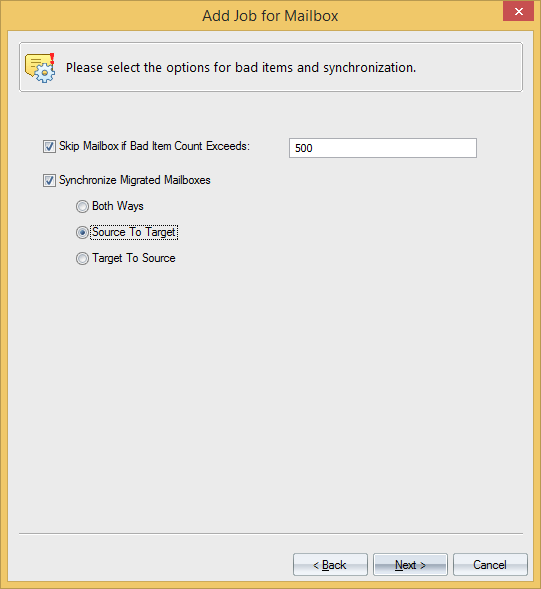
Also, you can synchronize the source and target mailboxes Both Ways, Source to Target and Target to Source. After selections, click Next to move further.
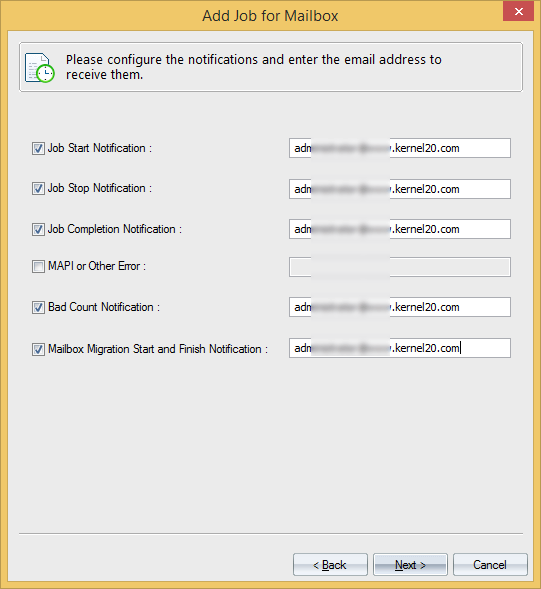
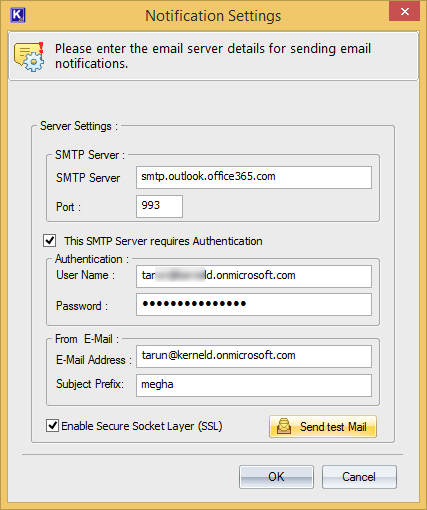
Job Notification Settings
You can choose the migration events for which you want to receive notifications. Enter the email address through which you want to receive the notifications. Click Next.
If email server settings are not configured before, you need to configure it now by adding required details. Then, click OK.
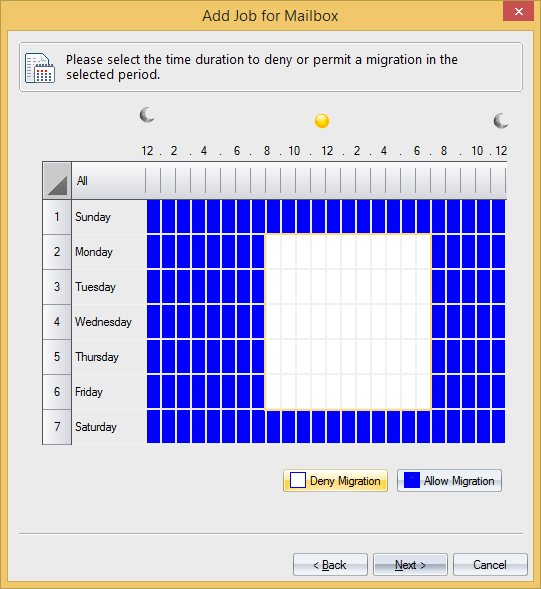
Allotting Hours for Migration
On the next page, you specify migration hours according to your choice. Select the cells and click the required button, either Allow migration or Deny migration.
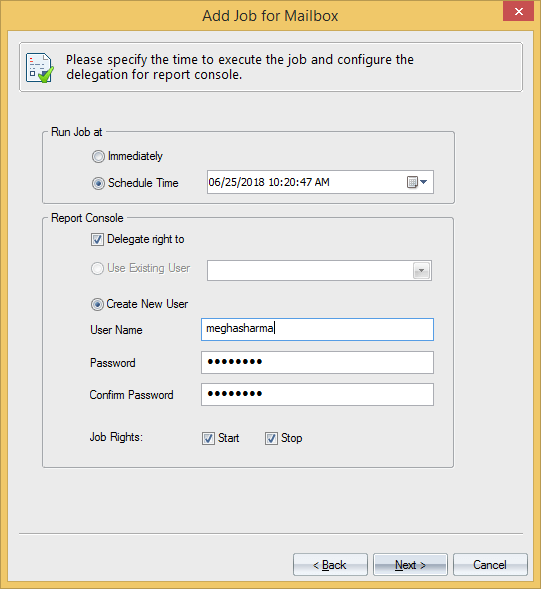
Scheduling Migration Job
You can start the job immediately or schedule it by entering the date and time. The migration job will start at the specified time. Here, you can provide Report Console settings to access the migration job report with your set credentials. Select your settings and click Next.
Note: White spaces are not allowed in Username.
Migration Summary
On the last page, you will see the Migration report summary asking for verifying details. Check and click Finish.
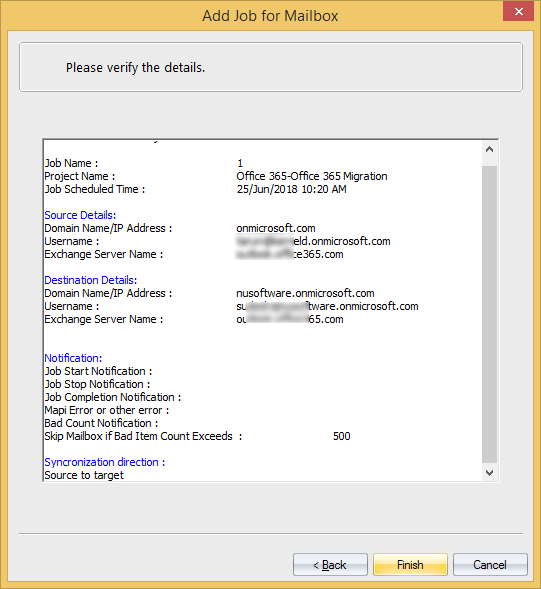
The migration will start automatically if set to Migrate Immediately, otherwise at the scheduled time.
Migration Successful
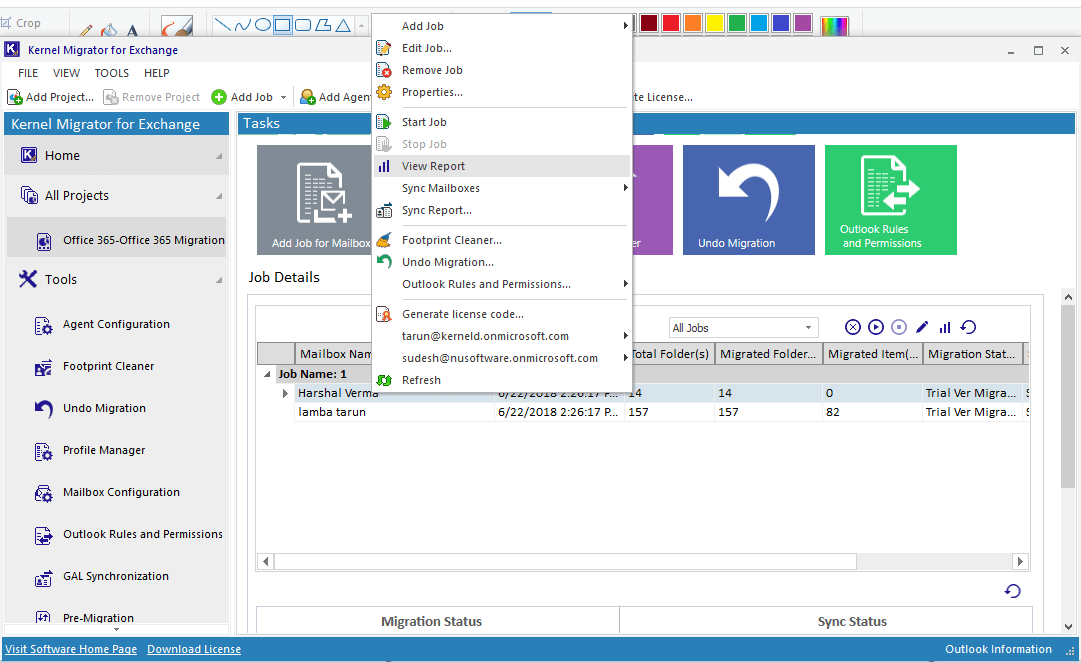
Once the migration is successfully completed, the screen will be displayed like this.

You can view the report by right-clicking on the mailbox folder and selecting the View Report option.
The migration report will be displayed like this:
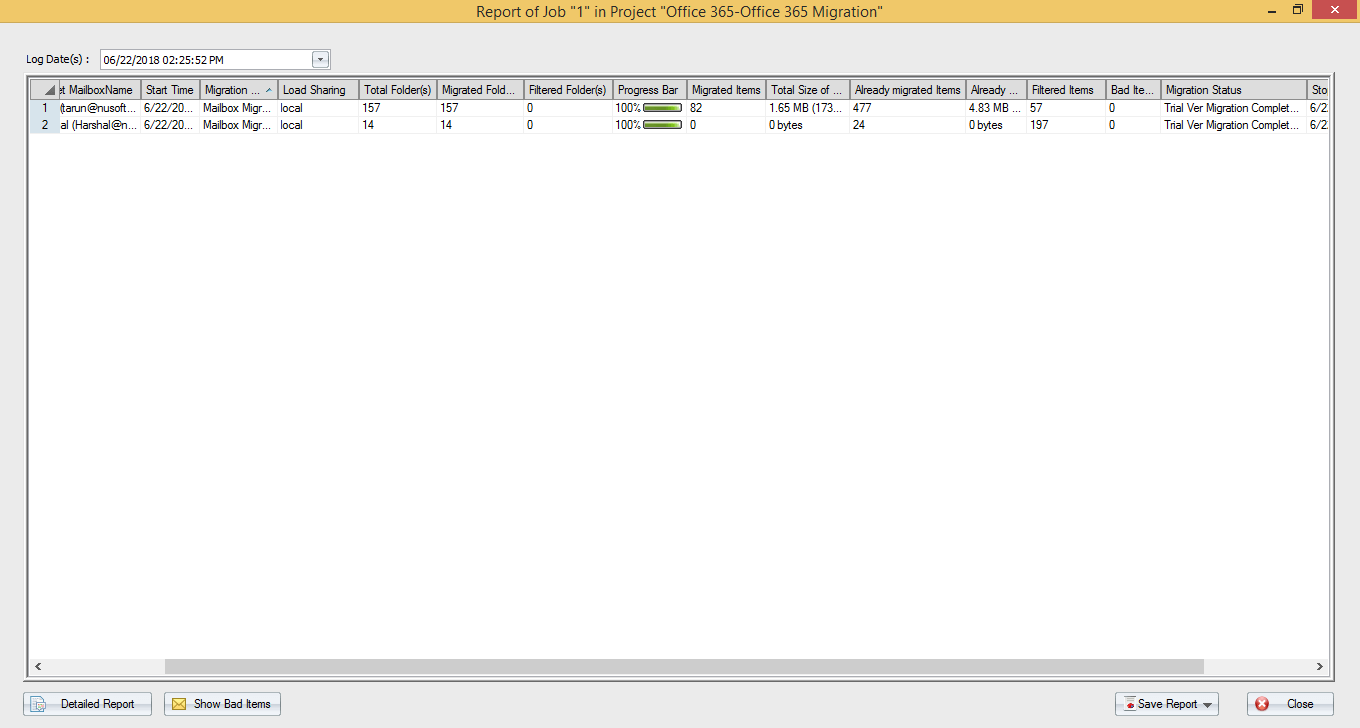
You can save this report to HTML or PDF format within the Save Report option.
Adding Public Folder Migration Job
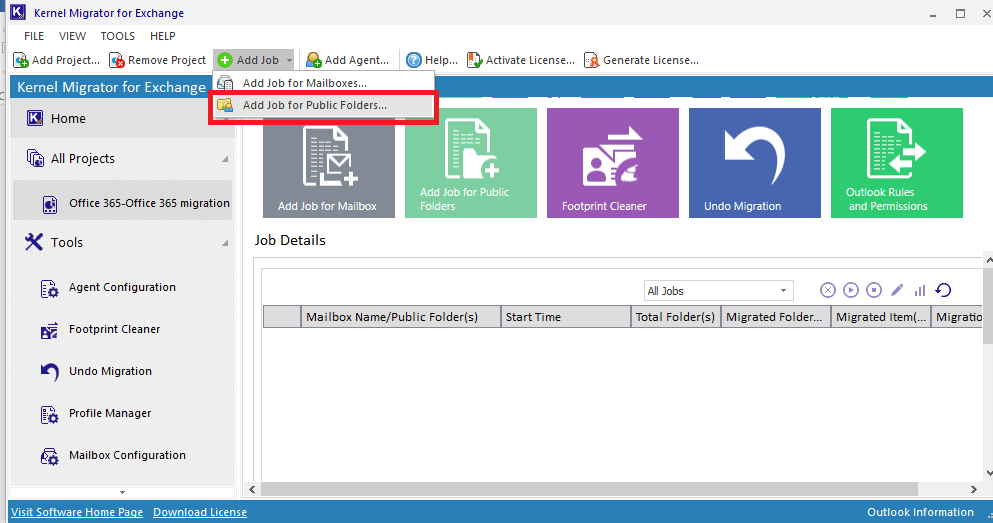
Just like adding the Mailbox Migration Job, you can add Public Folder Migration Job to migrate only Public folders to the target Office 365 destination.
Select Add Job for Public Folders from Add Job option on the toolbar. Now, perform the same steps as for the Add Job for Mailboxes for public folders migration.
I hope you have understood the process of migration from this section. But the process is not over yet. There are certain post migration jobs available in Part 3 of the Office 365 tenant to Office 365 migration guide.