The cutover migration is some of the best migration techniques to upgrade from migrating from on-premises Exchange to Office 365. After completing the migration, it depends on your business’s structure to require an on-premises Exchange Server. The Administrator cannot uninstall the Exchange in a single attempt as it involves several checks and procedures. It is removing the Exchange Server from the system is called Decommissioning.
Next, we will start discussing the essential checks and procedures prior to the decommissioning of Exchange Server.
Decommission Exchange Server after Cut-Over Migration
First of all, confirm that the MX records are successfully changed to Exchange Online. After that, proceed with the processes given below:
- Remove Old Connectors
- Open your new server Exchange Admin Center and go to Mail flow>Send Connectors.
- Modify the old external connector and add the new servers.
- Now, open the old source server and start the transport service again.
- Pause the transport service in-between. This would stop old servers from processing any emails.
- Disable Arbitration Mailboxes
- Decommission Exchange Server
An administrator must check connectors to ensure that mails stop processing over the old server from which migration has taken place. You can carry out these steps in order to remove old connectors.
Even after migration of all the mailboxes and public folders from the Exchange Server to Office 365, the Exchange Server still contains some arbitration mailboxes also known as system mailboxes which need to be disabled or deleted. It is important to delete mailboxes from Exchange before its decommissioning as it could be a reason for error pop-up.
For disabling the arbitration mailboxes from old Exchange Server, run this command in Exchange Management Shell:
Now remove the remaining mailboxes (if any left) by running the command.
Finally, now you can try uninstalling or decommissioning the on-premises Exchange Server. For that, go to your Exchange system Control Panel. Click Programs and Features option. Then select your Microsoft Exchange Server from the list and click Uninstall or right-click on the Exchange Server and click Uninstall option.
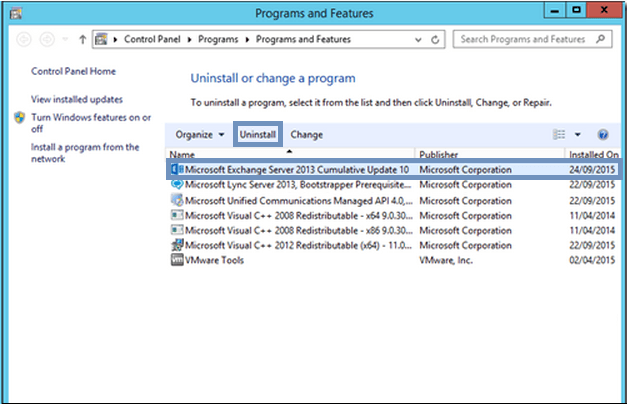
A message will pop-up, click Yes to confirm for your future action. You will get a display screen like this.
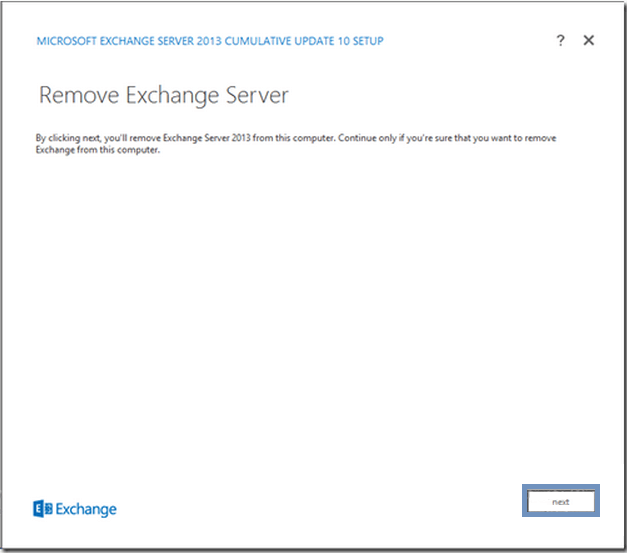
On this screen, click Next to move further. Next screen will be Readiness Checks page. Here, it will check for system mailboxes or mailboxes in queue.
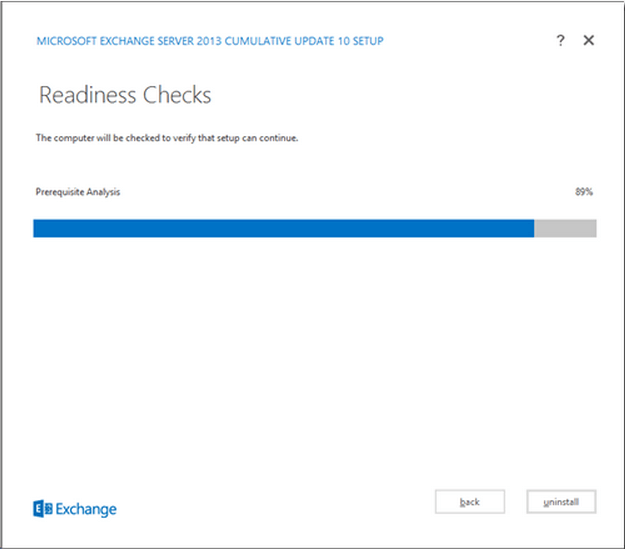
If some mailboxes are not yet disabled, this check will throw an error saying that arbitration or other mailboxes are still running on your Exchange. Or, if you have disabled or removed all the mailboxes using above-mentioned commands in PowerShell, the next screen will be displayed.
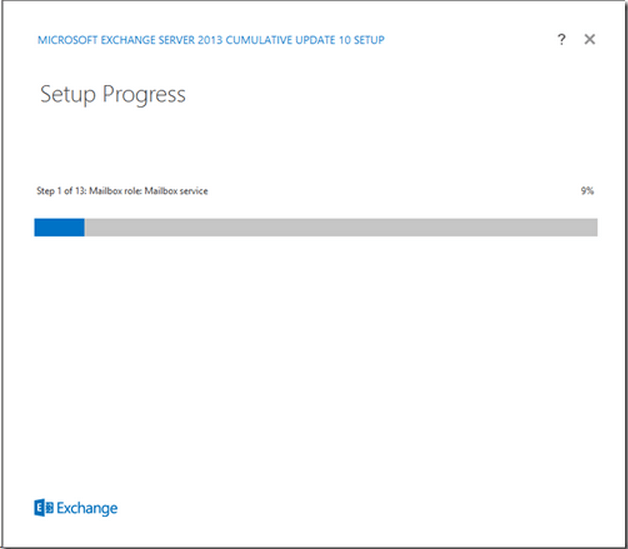
It shows that the decommissioning of Exchange Server Setup is in progress, which will take some time to get completed. Once the process is completed, the message confirming for successful decommissioning of Exchange Server will be displayed. Hence, the Exchange Server is uninstalled finally.