

Communication is the key to the uninterrupted functioning of any organization. To make things smoother and quicker, Office 365 has several features. One of them is a Distribution list, also referred to as a Distribution Group.
A Distribution list enables individuals to send emails to multiple users at one go with a common email address instead of sending it to each one of them separately. It saves time by making communication with a bunch of internal as well as external users easier.
There are times when an external user is to be involved in the communication cycle. Since they are not part of the organization, they have to be added as external contact to the distribution list. This situation arises more frequently than you can imagine, and here we will explain how to perform this needful task.
To add an external contact to the distribution list, the administrator must perform the following processes-
- Create the distribution list
- Create the contact
- Add the contact to the list
All these are simple; you just need to follow the steps in the right order. All of these are explained in detail below-
A. Create a distribution list
The steps here will help you to create a new one in Office 365-
- Log in to the Office 365 account with the admin rights. Directly, move to the Exchange admin center.
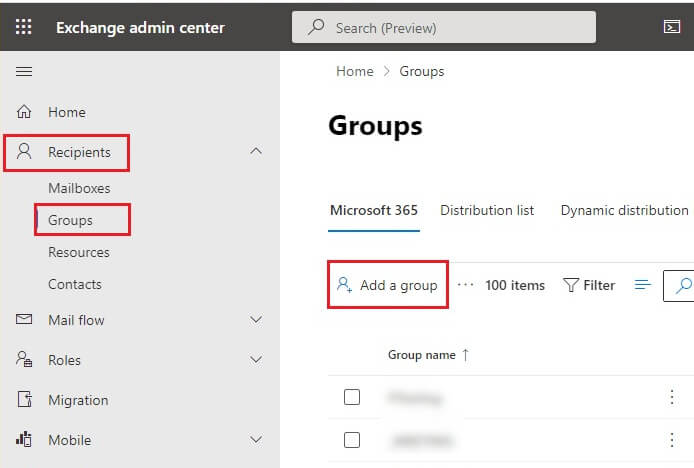
- To create the list, click on Groups under Recipients.
- Select Add a group.
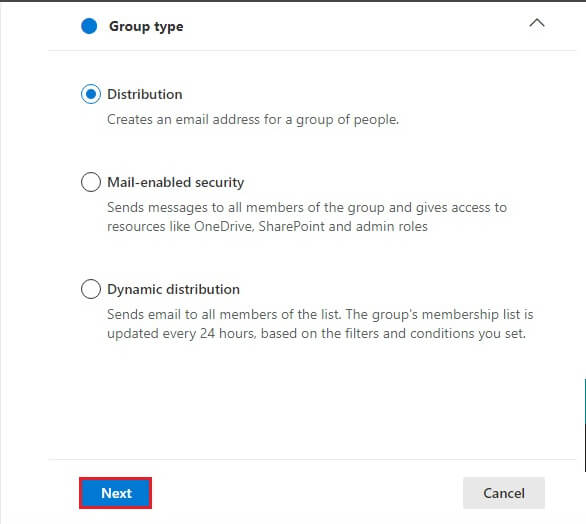
- Out of all the types of groups, select Distribution and click on Next.
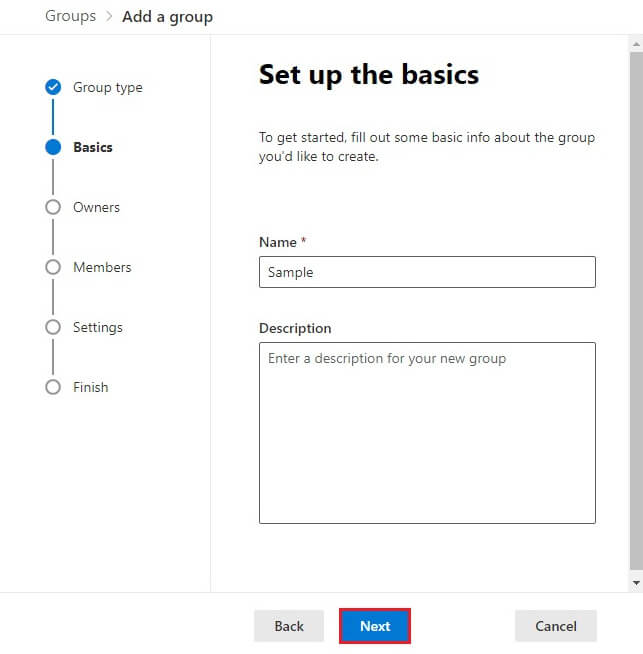
- Enter a suitable Name and Description for the group. Click on Next.
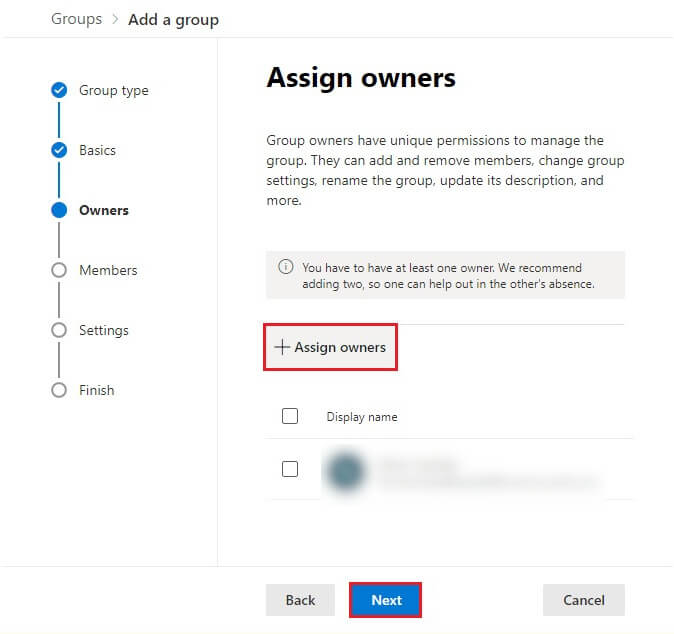
- Now, you need to assign owners of the group by clicking on +Assign owners. The owners have all the permissions to manage this group as well as all its members. Select Next.
- Similarly, now the members who are receiving emails from the common email address will be added to the group. Click on +Add members to choose all the individuals. Again, click on Next.
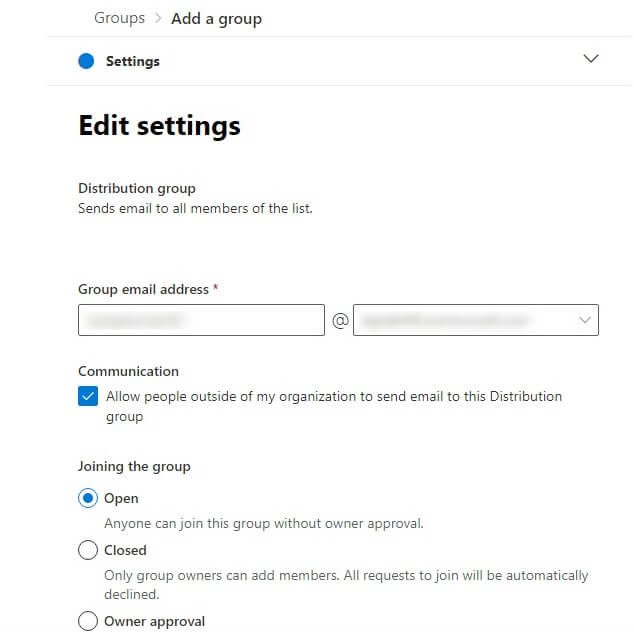
- The settings of the group can be edited according to your requirements. These include setting up the group email, joining and leaving the group, and allowing people outside the organization.
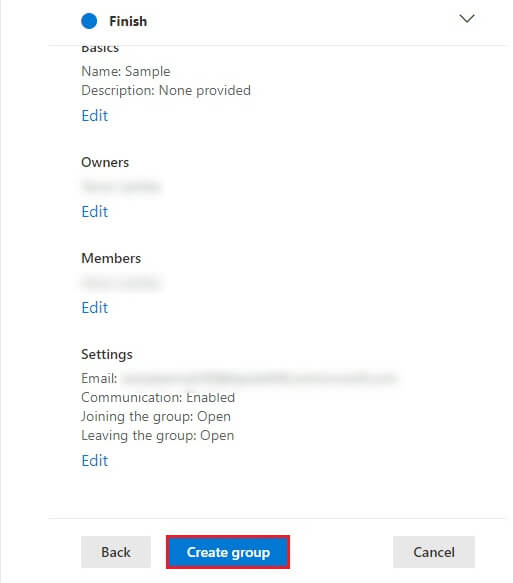
- This is the final check where you can review all the information, including group type, owners, members, and the settings applied. Click on Create group once checked thoroughly.
- The new group will start appearing on the list shortly.


Depending upon the requirement of the company, you can also migrate distribution lists to Microsoft 365 groups.
B. Create a contact
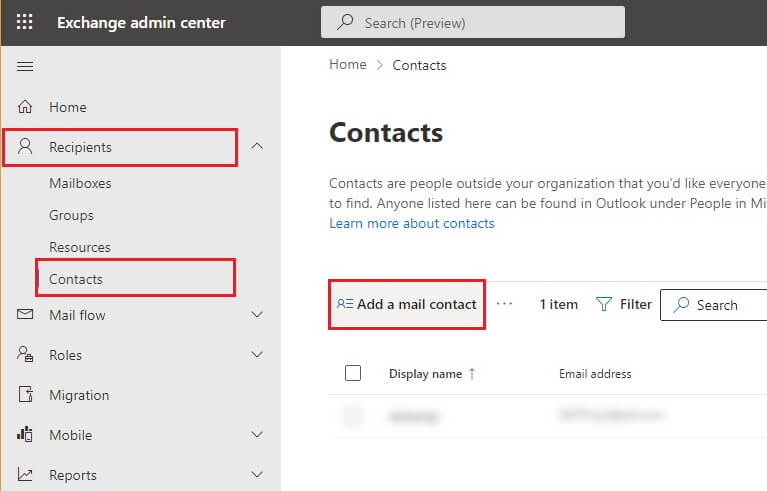
- In Exchange admin center, click on the Recipients option and select Contacts.
- As mentioned in the description, these are all the individuals who are outside the organization. Click on Add mail contact.
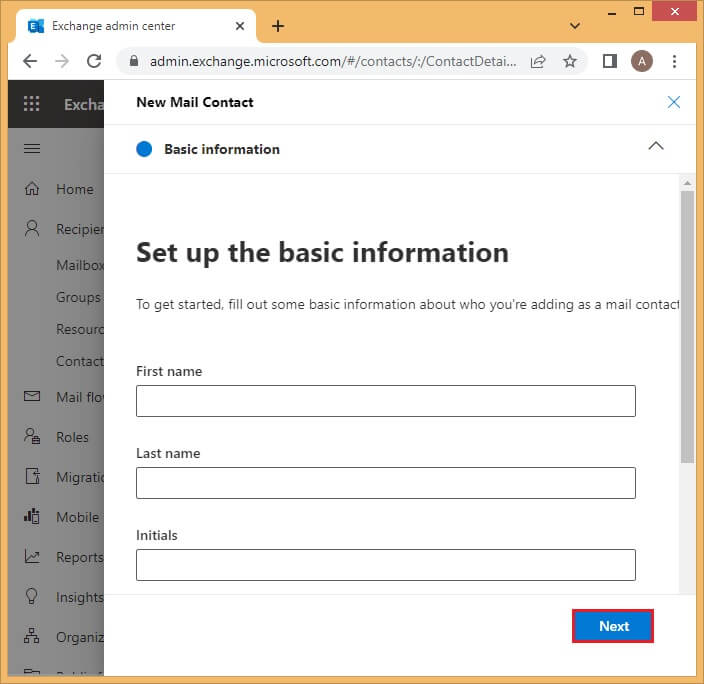
- You need to add the basic mandatory contact information of the individual, including first name, last name, email address, display name, etc. Click on Next to continue.
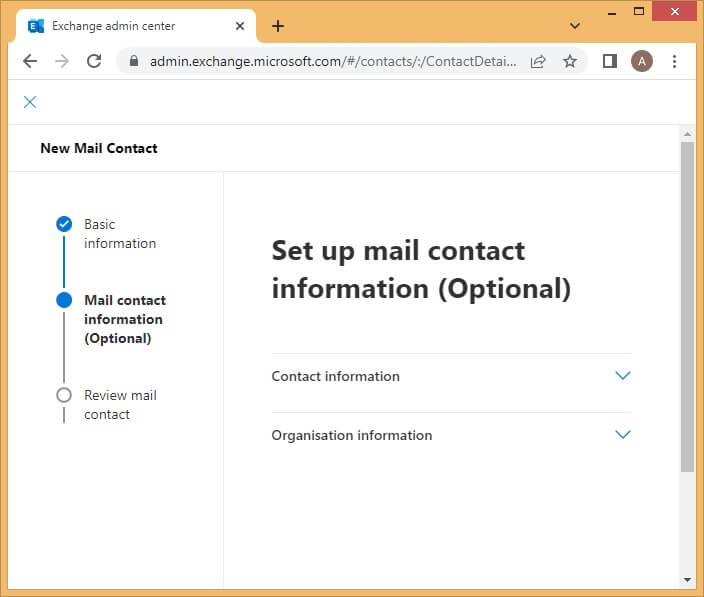
- The next information includes certain contact and organization details, which are completely optional. Select Next.
- This tab will allow you to review all the entered details and give confirmation by clicking on Create.
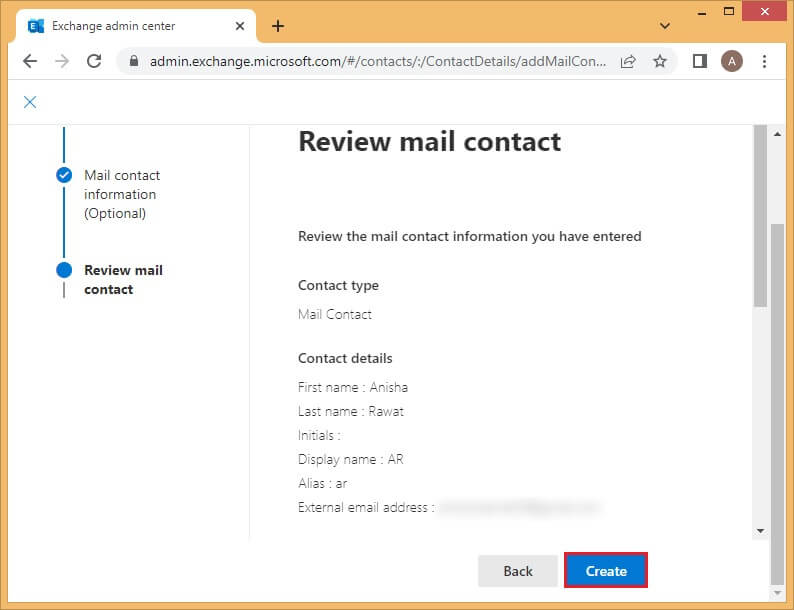
- A confirmation message will be displayed. Select Done. The contact will now be displayed in your Contact list.


C. Add contact to the distribution list
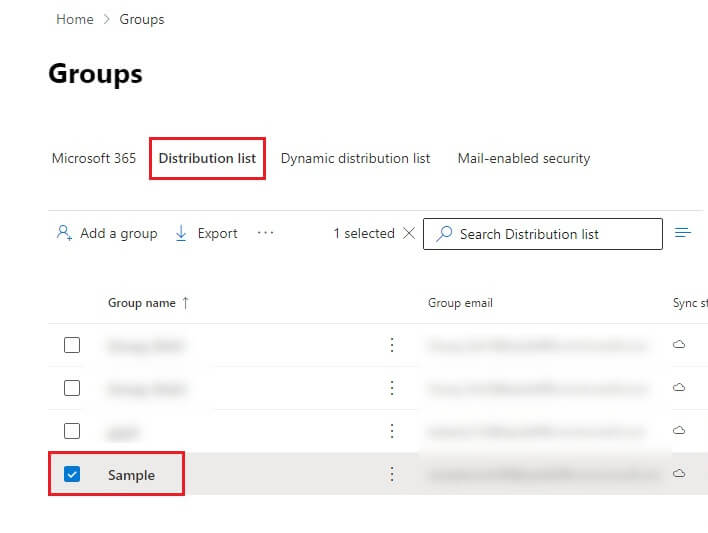
- Move to the Distribution list tab in the Group section.
- Select the required Group.
- Under Members, scroll down and click on the View all and manage members option.
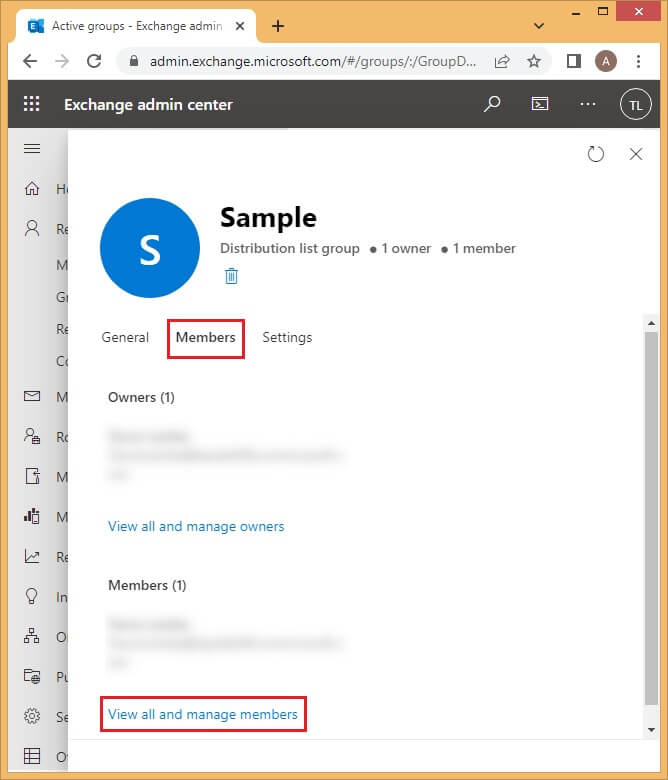
- Click on +Add members and search for the external contact which needs to be added here. Check the contact’s name and select Add.

- The new contact will start appearing in the distribution list.


Since you are dealing with valuable information in Office 365, the risk of data loss is always there. To prevent any such problems, you must make it a priority to take backup and save Office 365 emails to desktops or hard drives. This can be additional protection for the data. Manual backup methods either restrict saving large mailboxes or have lengthy and time-consuming steps. So, to take backup accurately and securely, you can use Office 365 Backup. It is a professional facility with powerful algorithms to take a backup of all mailboxes and save it in the preferred output format.
![]()

Conclusion
Distribution lists are created to carry out communication with a common email address. At times, a business will have to communicate with people who are not a part of the organization. To ensure secure email communication, these people are added as external contact to the distribution list. To add external contacts, the Exchange admin needs to create a group, create the contact, and add it to the group.