
“Categories” is one of the many features that Outlook has to offer. Outlooks’ use is not limited to a specific segment; individuals, corporates, businesses, or organizations, but all use Outlook to meet their emailing requirements.
On a daily basis, users send/receive email messages to fulfill the purpose of official communication. Over time, the email messages form huge stacks, from which it becomes nearly impossible to find the one email message that you need at the very moment via non-ending mouse scroll.
In this article, we’ll walk you through how to categorize email messages in Outlook 2016, to make the email message search faster, easier, simpler, and sorted by default, followed by some talk on why you should use Outlook Categories feature.
Benefits of Creating Categories in Outlook
With a focus on simplifying varying work requirements, Outlook is bundled with lots of features such as “Categories.”
Setting up Categories in Microsoft Outlook can help the users in the following ways:
- Those who receive email messages more than usual can bundle the emails received by a specific sender.
- Bundling email messages will shorten the long and unending list of emails messages.
- Assigning the category with color will help in visualizing the mail group, facilitating faster & easier navigation to emails from a specific sender.
- It also can help in categorizing items according to project, topic, and activity.
Categorize Email Messages in Outlook 2016
Now that you’ve understood the benefits associated with “Outlook Categories,” let’s jump on to the part where we can start creating an email message category, with detailed steps.
It’s a three-step process: Create Category, Assign Email Messages to Category, & View/Open the Category.
- Create Category
- Open Outlook.
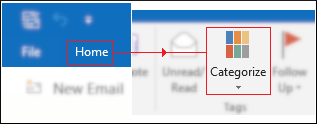
- Move to Home tab and click on Categorize.
- Click on All Categories.
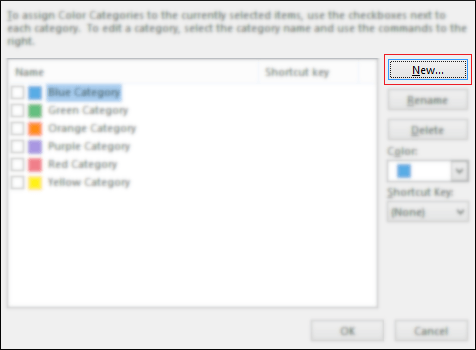
- Color Categories window would pop on-screen, click on New.
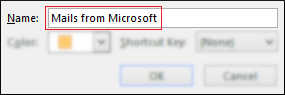
- Add New Category wizard will appear. Type in the category name (Mail from Microsoft) – as per your preference.
- Now, click on the Color drop-down, and select a color (Blue).
- Additionally, you can assign a hotkey to open the category once it’s made.
- Now that you’ve given a name assigned a color, and a hotkey (optional) to the category you’re creating, click on the Ok button.
Note: Select a suitable name for the category you’re creating.
Note: You can select any color from the given colors, as shown above.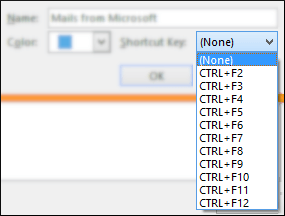
Note: Assign different hotkey combinations to different categories, as per your preference, for this guide we’ve set this to one.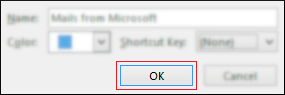
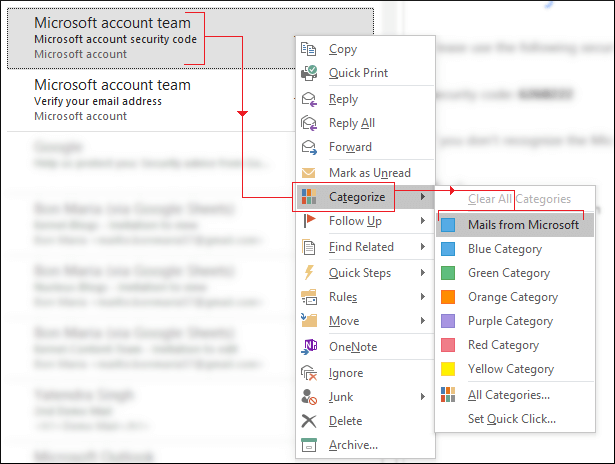
- Assign Email Messages to Category
Now that our Category is live let’s assign email messages to it.- Right-click on the email message(s) you want to include in the email Category and select Categorize > Mails from Microsoft.
- All messages included in this category will now appear on-screen, stacked in a single drop-down.
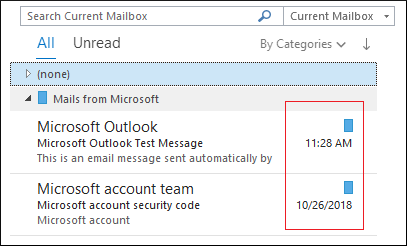
Using the manual process, you’ve created an email message category successfully and viewed/opened the items contained within.
Email message categorization saves you from the hassle of scrolling through long & unending lists of email items but cannot save you from Outlook data or PST data file corruption/damage. So, we’d suggest using an Outlook PST repair software, specially made to handle uncertain situations of file corruption//damage or data loss. Why I cannot open PST file, how to recover permanently deleted emails in Outlook, how to speed up Microsoft Outlook 2016, how to repair corrupt PST data file, are distinct help topics searched by many users looking for resolution to their problem, Outlook PST Recovery tool enables the user to deal with such situations effortlessly.
![]()
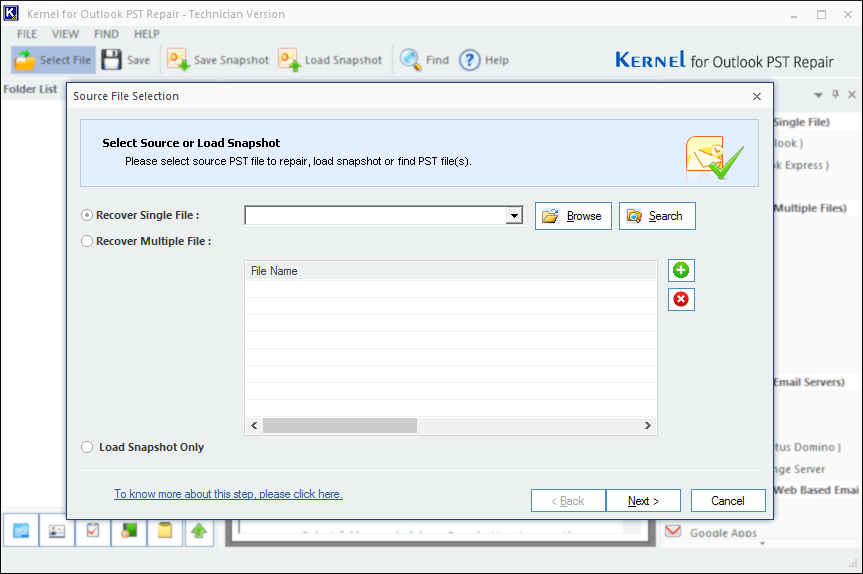
Along with that Outlook PST Recovery allows cross-platform email migration, exporting PST mailbox to Office 365 and other web-mails, etc.
Wrap
We have shown how to auto-categorize email messages in Outlook 2016. The same method can be used in the latest Outlook 2019 to categorize emails. There can be several similar queries like how to recover deleted contacts in Outlook 2016, reset the password of an Outlook PST file, repair Outlook 365, and more, and for most of the cases, the native solution either works partially or doesn’t work at all. Outlook PST Recovery overcomes all the inabilities of native approaches and accompanies the user with a solid resolution.
![]()