

Public Folder is a common space to share essential data with your team members. It is a popular feature in Exchange Server, which helps the distribution of information in various teams and groups. The Exchange administrator can decide who can access the public folders or can make them accessible to all. Public folders are available in all versions of the Exchange Server. Though some architectural changes have happened, the purpose and use of public folders remain almost the same. Even after many advanced applications for collaboration have emerged, the public folders of Exchange are still in use. It is expected that they will be available in the future versions of Exchange too.
Here are some mailbox items which the users can put in a Public Folder –
- Email messages
- Notes
- Journals
- Calendar entries
- Customized templates
- Contacts
- Attributes
Due to the convenience which the business gets due to the public folders, you can find it playing an important role in Exchange environments. We cover a detailed step-by-step procedure of creating a public folder using the Exchange Admin Center (EAC) and Exchange Management PowerShell cmdlets in the present writeup.
Create a public folder using the Exchange Admin Center
Before creating a public folder, you need to create a public folder mailbox. The public folder mailbox contains the hierarchy information and content for the public folder. The first public folder mailbox is the primary mailbox which can save the writable data of public folder hierarchy. All the other public folder mailboxes are secondary public folder mailboxes which can have the read-only copy of hierarchy. Here is the whole process –
Step 1) Sign in to Exchange Admin Center using the administrator credentials.

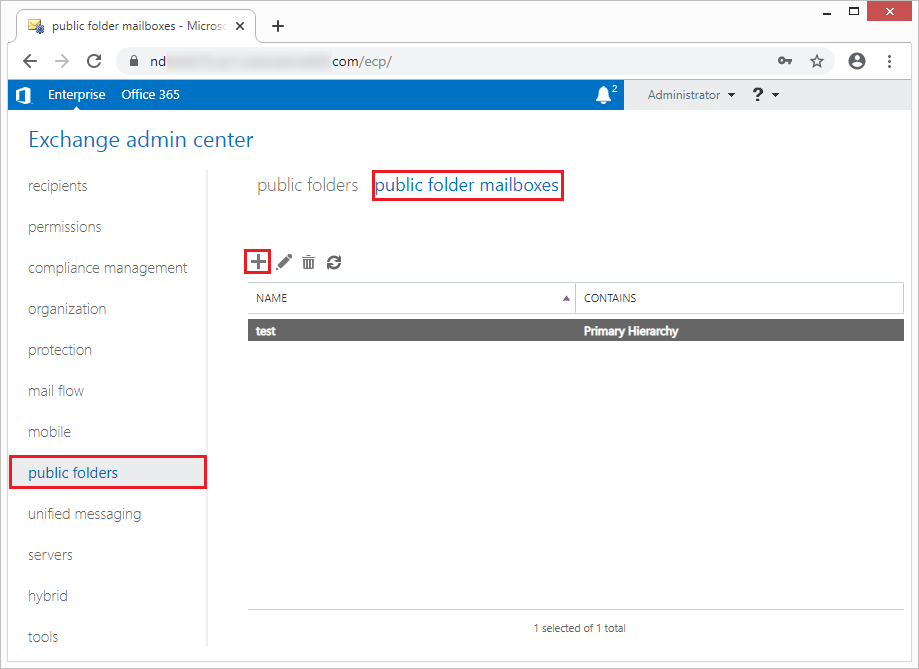
Step 2) Go to the public folder mailboxes tab under the public folders in the menu. Click the Add (+) button.
Step 3) Input the name of the new public folder mailbox. Browse the location to create the object. Also, browse the destination database for the public folder. Click the Save button.


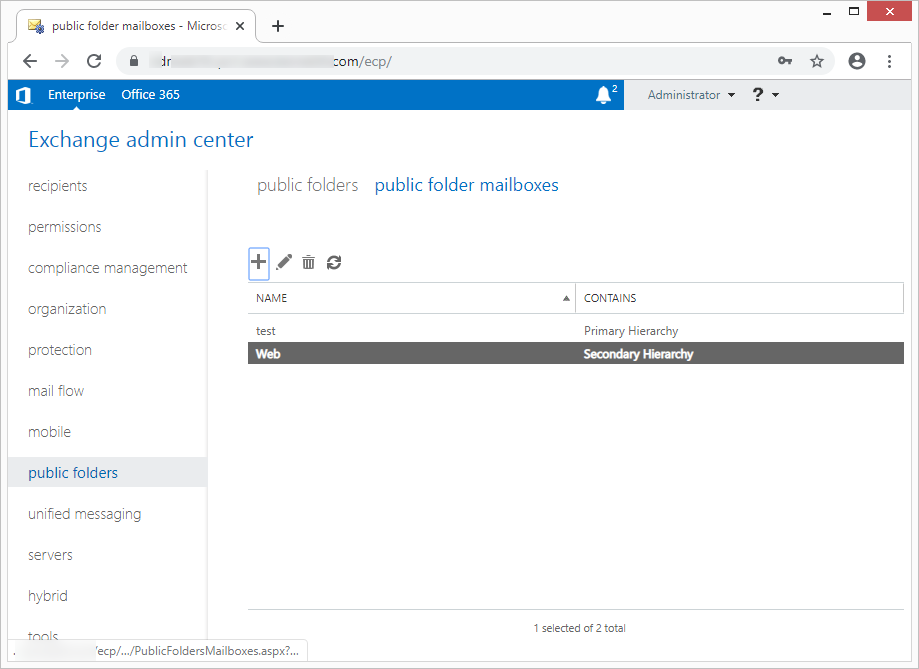
Step 4) The first public folder mailbox shows its status as the ‘Primary Hierarchy’ and all the remaining mailbox shows its status as ‘Secondary Hierarchy.’

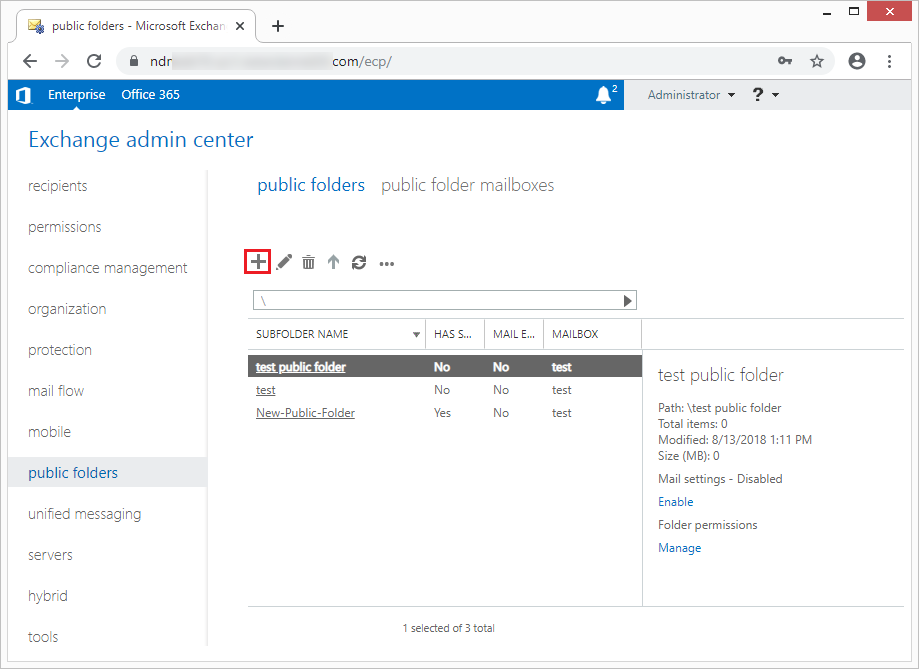
Step 5) Now go to the public folders tab and click the Add (+) button.
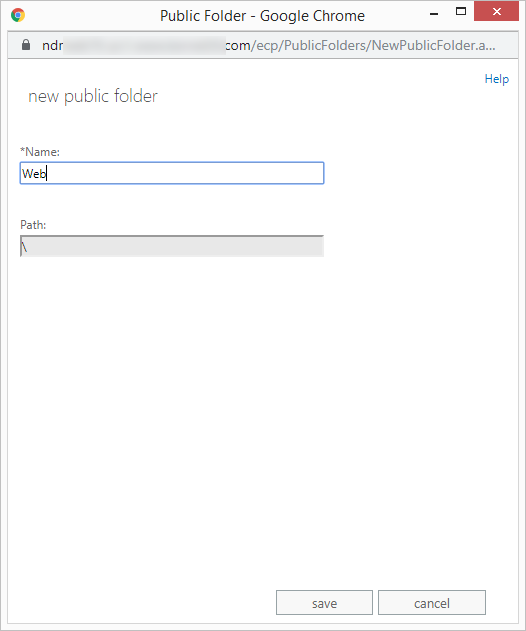
Step 6) Provide a new name to the public folder and also select its path. Click the Save button.
Step 7) After creating the public folder, refresh the list and see the new public folder there. You can click the ‘Enable’ option and enable the Mail settings for the public folder.

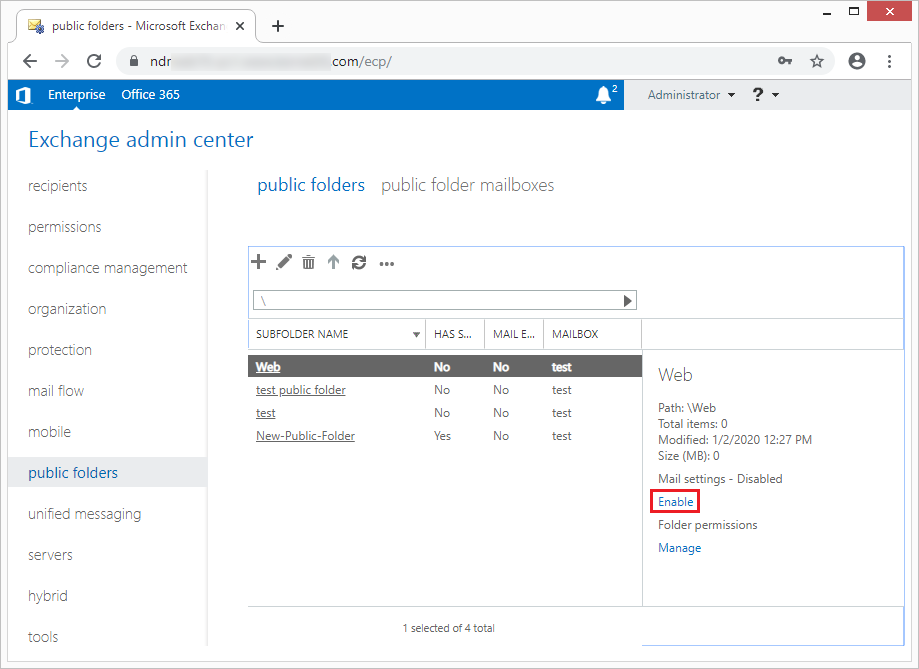
You can also Disable the Mail setting using the same method.
Create Public Folder using the Exchange Management Shell
The Exchange Management Shell follows the same procedure for creating a public folder – first creates the public folder mailbox, then creates the public folder, and enables/disables Mail settings. Here is the process –
Step 1) Create a public folder mailbox using the following cmdlet.
It creates a ‘Primary Hierarchy’ mailbox. If you write the cmdlet again, then it creates a ‘secondary hierarchy’ mailbox.
Step 2) Run the command to verify the existence of a public folder mailbox.
Step 3) Create a public folder.
Step 4) Check the status of the public folder.
Step 5) Mail-Enable the public folder.
Step 6) Mail-Disable the public folder.
Create Public Folder in Exchange Server 2010
If you are still using Exchange Server 2010, you may need to follow a different path to create the public folder. Follow the upcoming steps –
- Start the Exchange Management Console.
- Go to Organization Configuration and choose Mailbox.
- Under the Database Management tab, go to the database list, right-click it, and select the New Public Folder Database option.
- Specify a new name to the public folder and browse the mailbox server.
- Click the Finish button, and there is a new public folder tree present in the list.
Conclusion
So, this is the whole process that you can follow to create a ‘mail-enabled public folder and share the crucial information with the desired team members or groups. However, if the public folder data gets deleted or there are inaccessibility issues, then you have to face data lose if there is no recent backup of it. In such a case, trust the Exchange Server recovery software which accesses the corrupt Exchange Database and fixes the corruption in the least time. It can also recover the public folder data in full health and bring it to you just like you had saved it. Also, you can use this tool with all Exchange versions, including Exchange 2019.
![]()
