At times, your Windows 10 system files might get corrupted due to various issues such as hard disk crash, hardware malfunction, unexpected power failure, virus or trojan attack, etc. Hence, you may receive a message from Windows regarding missing DLL files saying, “it cannot start as some of the files are corrupted or missing”. These issues will bring your system to a critical state where you will not be able to access Windows system. Now, you should fix these corruption issues with the Windows 10 system.
Solutions to Fix Corrupted Windows 10 System Files
There are several methods to detect the issues and restore your Windows 10 corrupted system files.
Solution 1: Run Windows Inbuilt SFC (System File Checker) Tool
The System File Checker is an inbuilt utility in Windows platform that is designed to scan for corruption issues and restore corrupted files back to Windows System. The SFC tool also scans for other types of errors. If any Windows files have been modified, it can replace the file with the correct version.
Now, follow the steps to fix corrupted Windows 10 systems files with SFC tool:
Step 1: Open command prompt. To do so click Start, type Command Prompt or cmd in the Search Box. Right click and select Run as Administrator.
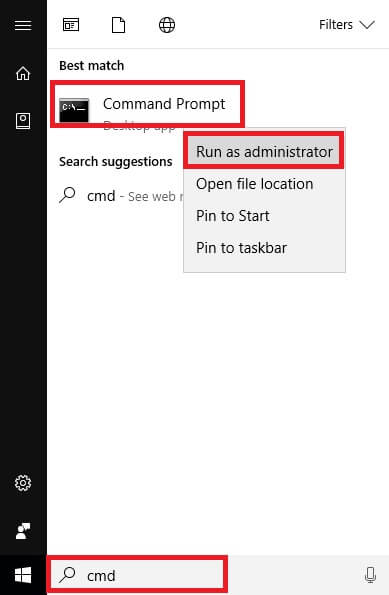
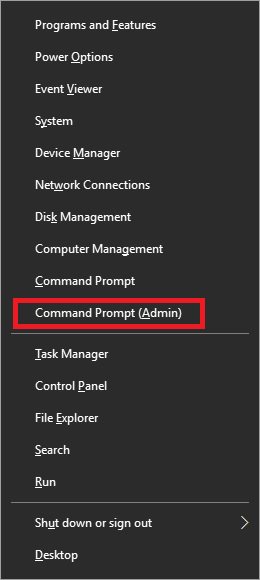
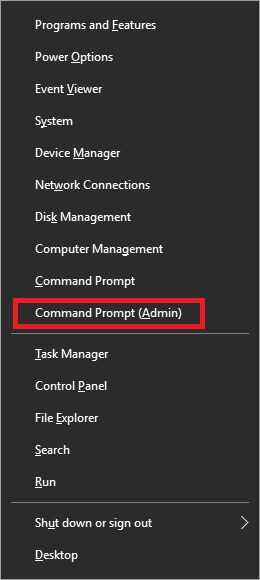
Note: Alternately press Windows Key + X and select Command Prompt (Admin).
Step 2: Now, type the command sfc /scannow and press Enter
When the command gets completed, you will see that the tool has found corrupt files and it failed to fix some of them. Also, it mentions that the details are in a log file that is saved at C:\Windows\Logs\CBS\CBS.Log.
To view the CBS.log file, you will have to copy the information to Sfcdetails.txt with the help of Findstr command, to do so type the below-mentioned command in command prompt.
| Findstr/c:”[SR]”%windir%\Logs\CBS\CBS.log>”%userprofile%\Desktop\sfcdetails.txt” |
Now, go to desktop and open the Sfcdetails.txt file. You will see the details of the file that were not repaired and the Sfcdetails.txt file uses – “Date/Time SFC detail” format.
Step 3: Now that you know which file was not repaired, replace the corrupted file with a good copy of that file.
You can do this with the help of simple commands in Command Prompt (with administrative access).
- To manually replace the healthy copy of file over the corrupted file, first take admin ownership by typing: takeown /f Path and File Name,
- Next, you will have to grant full admin rights to a corrupted system file. Simply type: icacls Path_And_File_Name /GRANT ADMINISTRATORS:F
- Finally replace the corrupted file with a healthy copy by typing: Copy Source_File Destination
For example: takeown /f C:\windows\system32\jscript.dll
For example: type icacls C:\windows\system32\jscript.dll /grant administrators:F
For example: copy E:\temp\jscript.dll C:\windows\system32\jscript.dll
Solution 2: Use DISM (Deployment Image & Servicing Management) Tool
Just in case SFC tool doesn’t fix corruption issues, opt for DISM tool command on Windows 10 or Windows 8 platform. This tool is used to repair and solve several corruption problems that restrict SFC tool from running. DISM works on the command line to repair system files just like SFC.
Follow the mentioned commands step by step:
Step 1: Launch CMD as Administrator
Step 2: Type: DISM /Online /Cleanup-Image /RestoreHealth, press Enter to execute the repair process.
Step 3: The repair process will take several minutes; sit back and be patient and do not interrupt the process. When the process gets completed, restart your machine.
Note: The issues related to Windows system files will be resolved once you restart and check for the problems. Also, run SFC scan now again if the issue still exists.
Solution 3: Use Third-Party Tool
If you still facing the issue and want to recover your system files instantly without wasting any more time, it is advised to fix your Windows issues with an automated third-party Windows Data Recovery tool. And, the best tool that is recommended for you is Windows Data Recovery. This recovery tool is 100% safe and is tested by industry experts. It repairs, recovers and restores all types of data files after mild to catastrophic corruption issues on Windows system files. You can recover all, lost or deleted, data with the help of this tool. It offers recovery after Windows partition loss and intentional formatting of the hard disk drive.
![]()
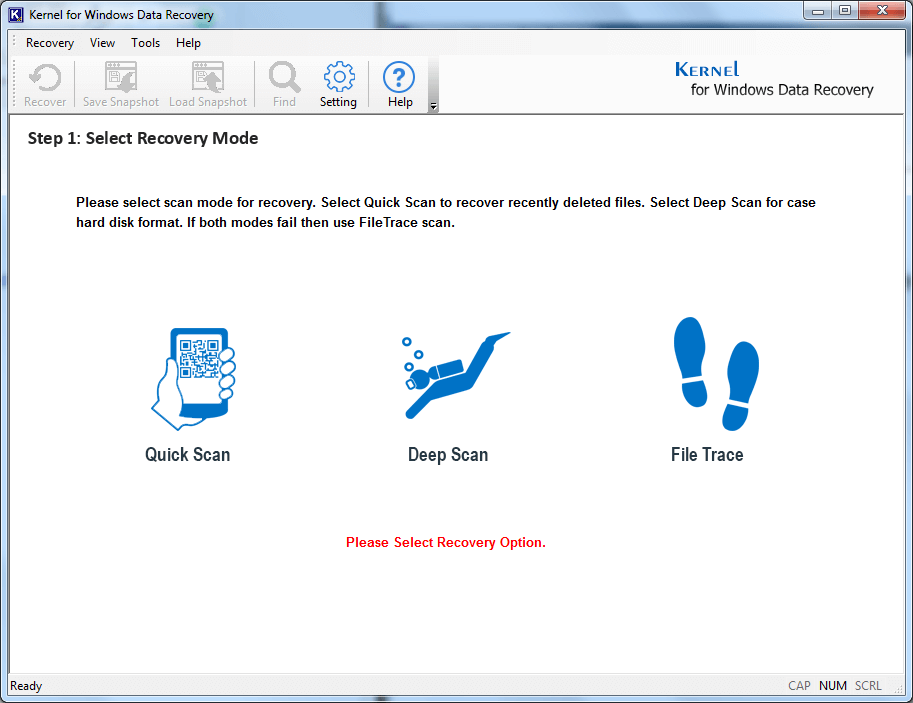
To make it easier for you to understand the operation of the tool, we are explaining the whole process step-by-step. Download the software from the website, then install and run it and follow the procedure.
- Start with selecting the scanning mode; we are going for a Quick Scan. You can select your scanning mode as per your requirement.
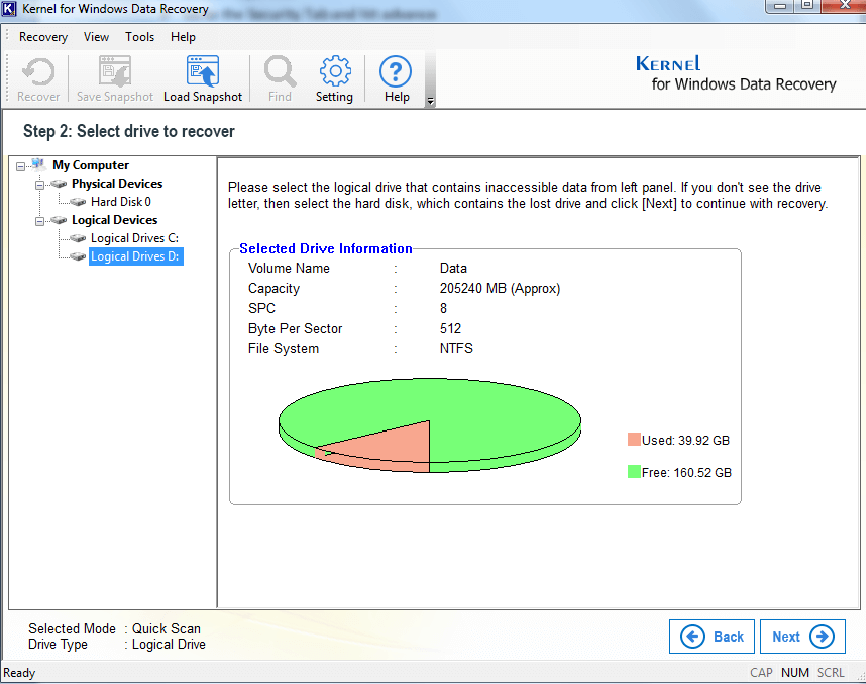
- Now, select the drive you want to scan and click on Next.
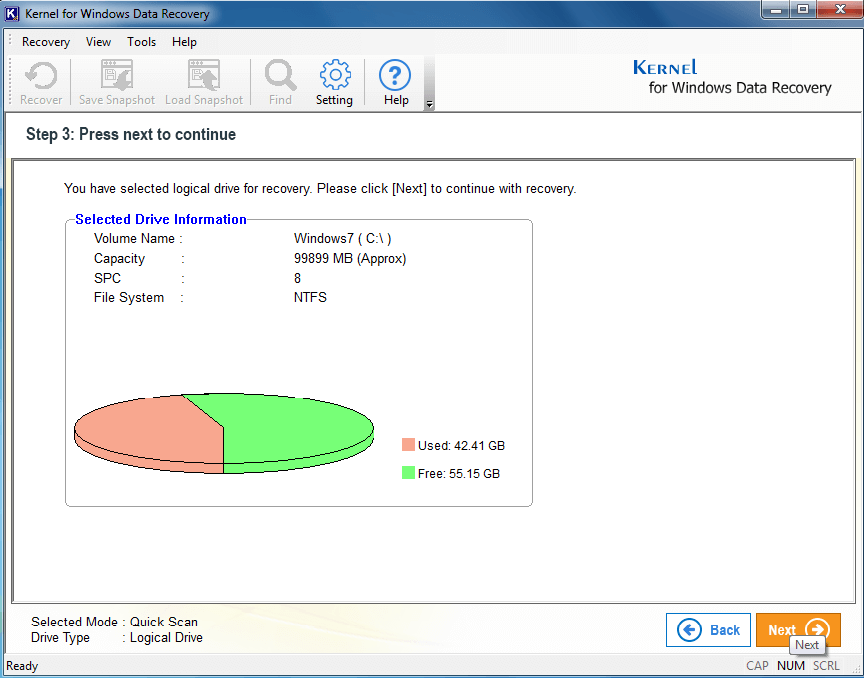
- Have a look at the details and information of your drive, click on Next.
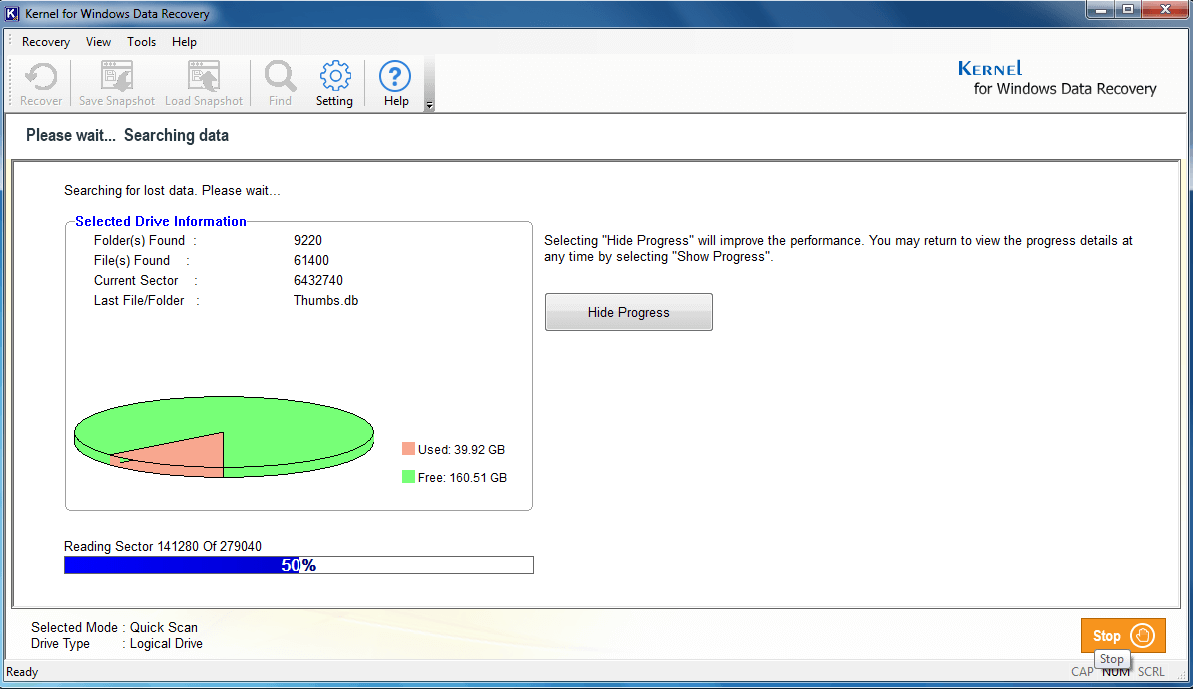
- The scanning process will take place, wait until it’s done. If you want to go back to the previous steps, click on Stop.
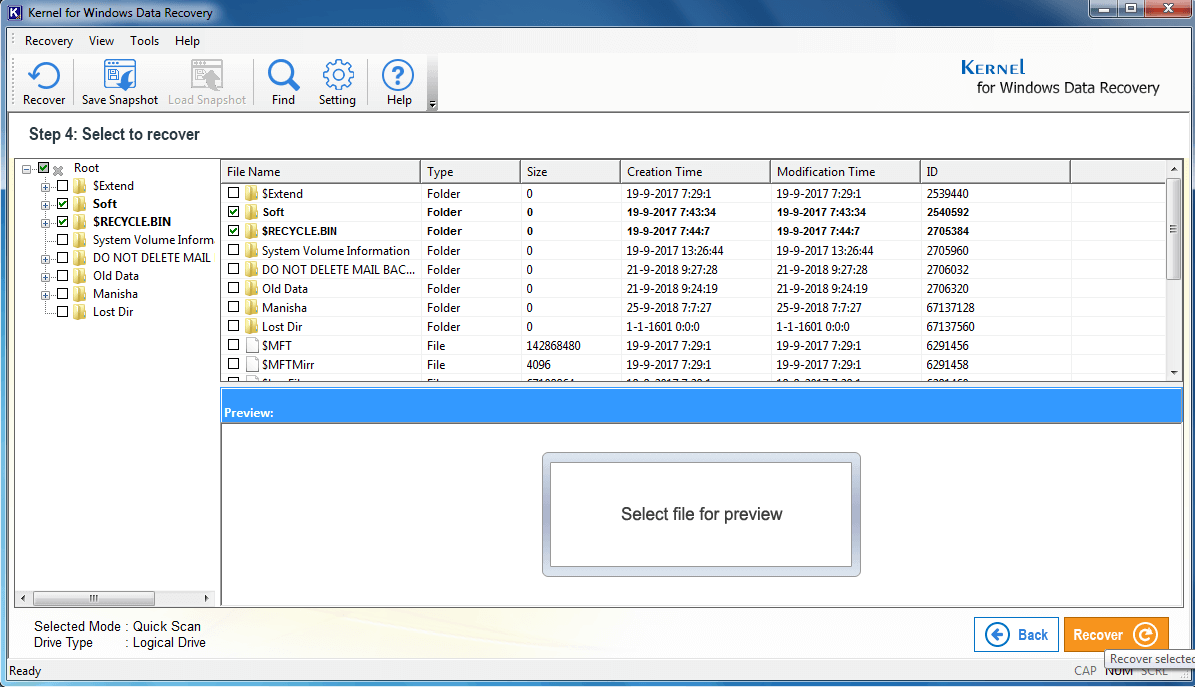
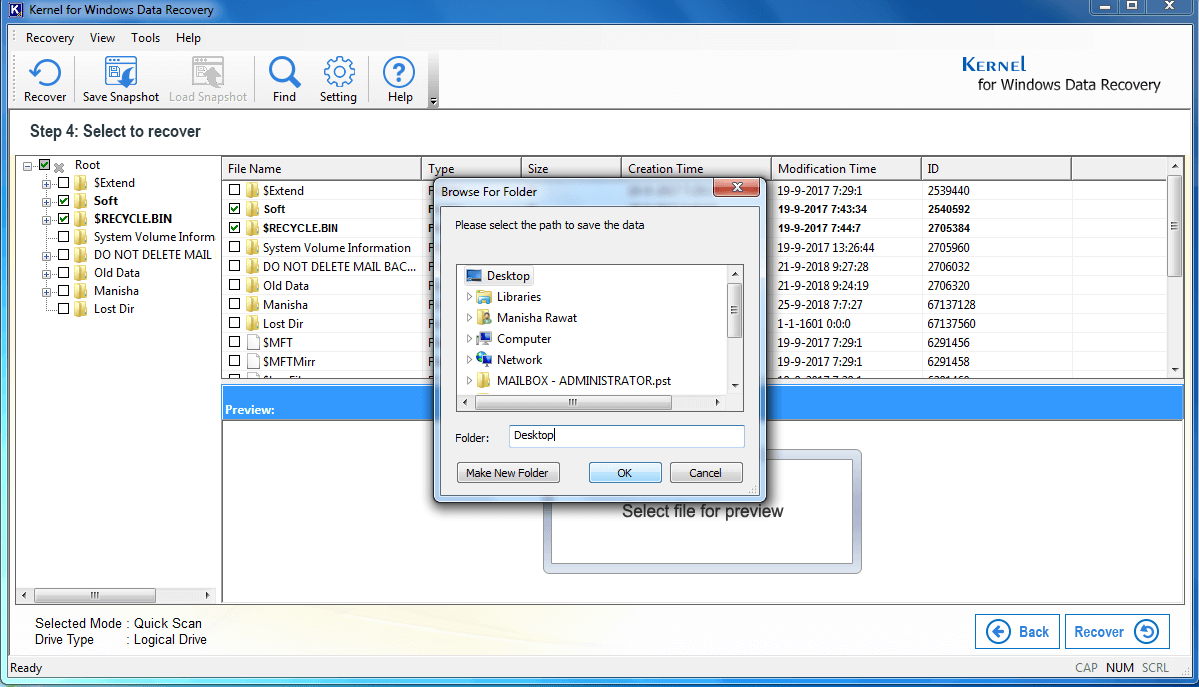
- In this step, you can have the preview of the file. Have the preview by clicking on the desired files individually and click on Recover.
- Provide a destination to your file and click on Ok.
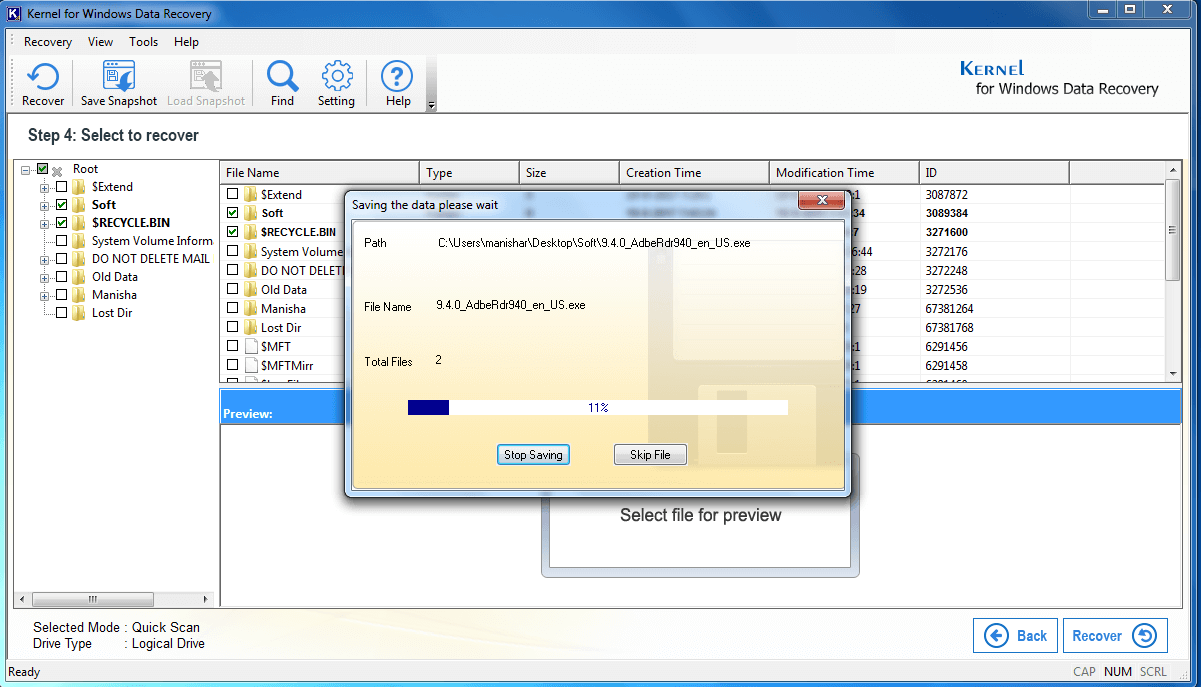
- The software will start saving your file, wait until its done.
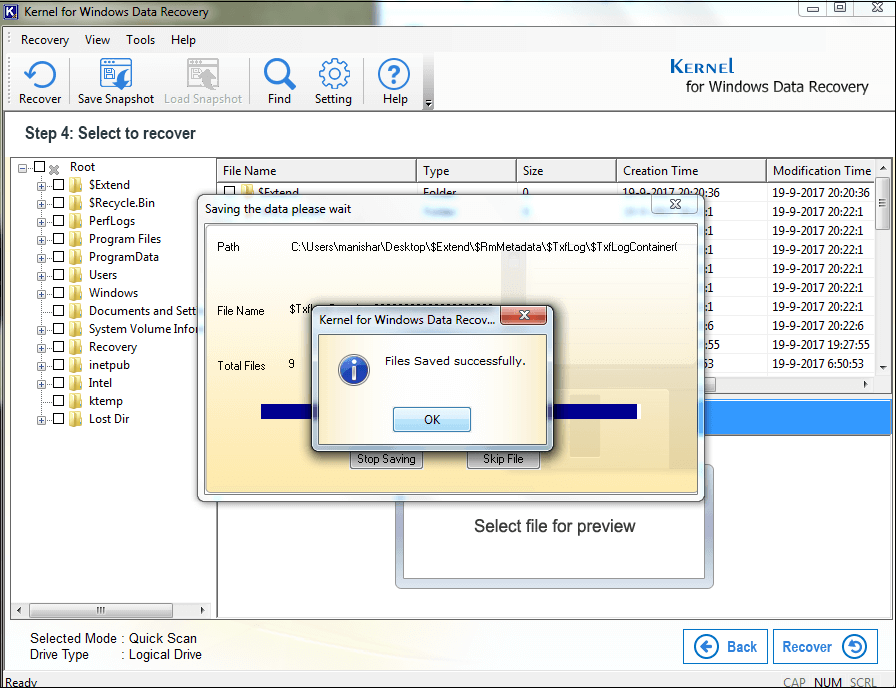
- Click OK to finish.
![]()