When the size of the Exchange databases reaches its maximum point, you can migrate the mailboxes from one database to another using the below-mentioned method. The method is a step-by-step process to select a mailbox and migrate to another database within the same Exchange Server.
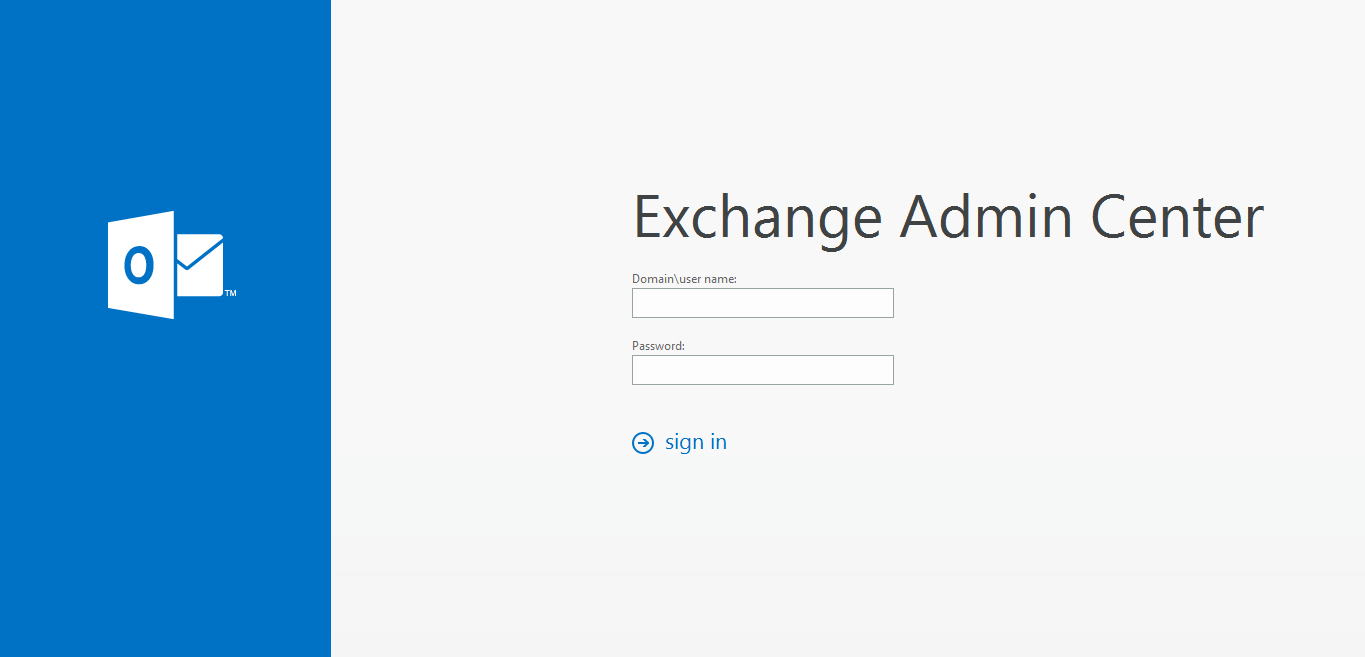
Step 1 – Open the Exchange Admin Center
To do this, enter the URL of your mailbox server in the URL bar to go to the login page.
Step 2 – Login using your username and password
Enter the username in the format Domain\user name (For e.g. if your domain is abc.com and username is XYZ, you must write abc\XYZ) and then type your password.
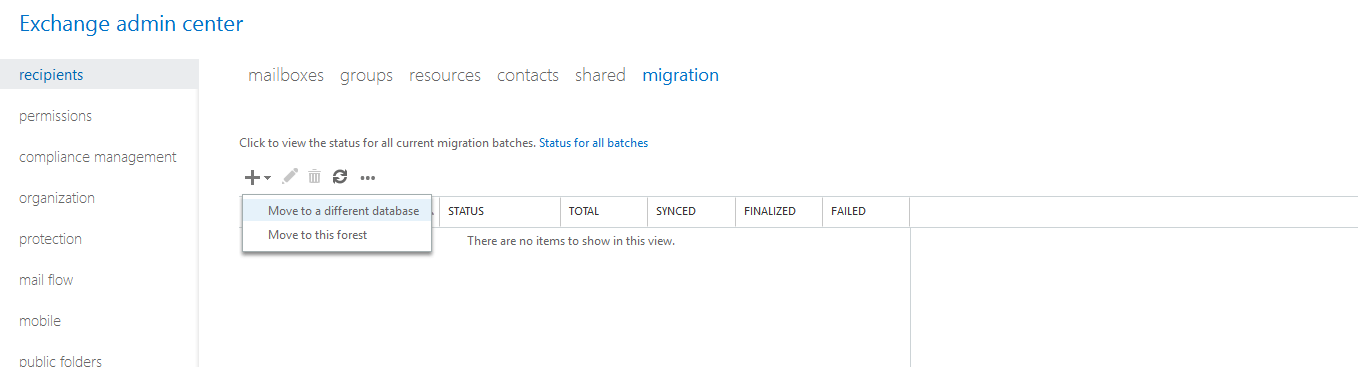
Step 3 – Specify users that you want to migrate to a different database
Navigate to the Recipients tab in the left panel of Exchange Admin Center and then select the “Migration” tab in the right panel. Next, click “+” icon and select “Move to a different database” option as shown in the image below.
The following window will appear on the screen.

Click the “+” icon to access “Select Mailbox”. Simply select the users and click “Add” to select as many users as you want. When you’re finished, click “OK” and then click “Next” to complete the process.
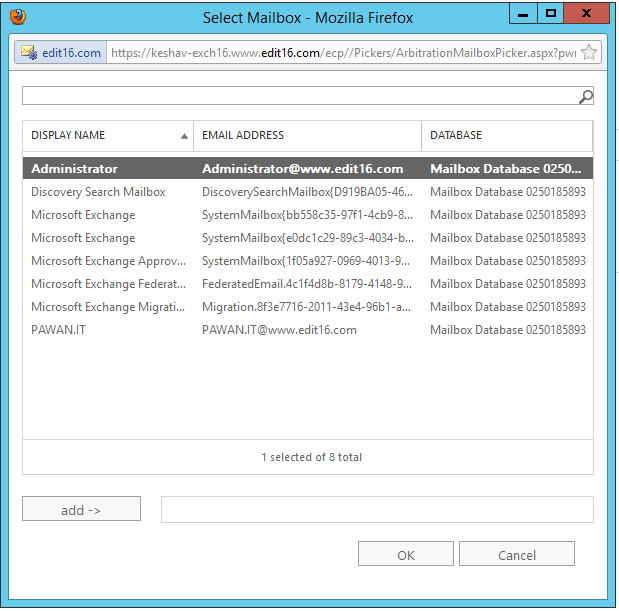
Alternatively, you can also import the list of those users in the form of a .csv file.
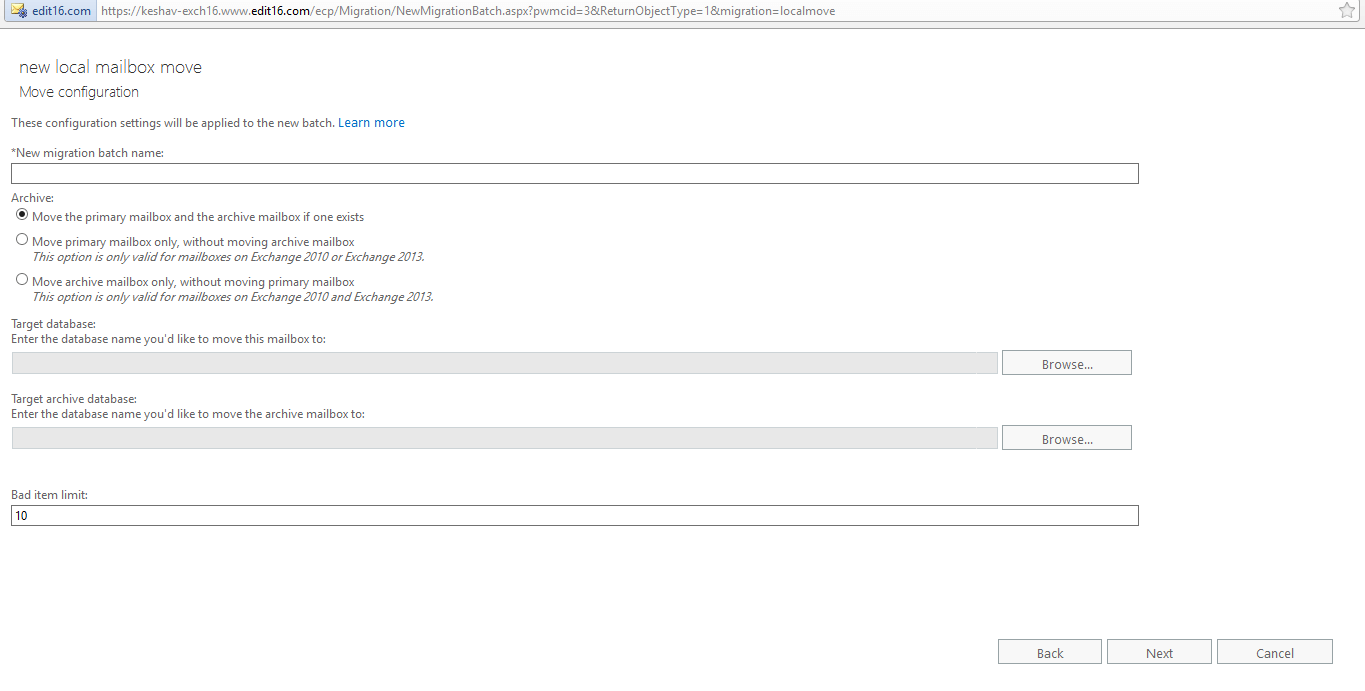
Step 4 – Specify the move configuration for the new local mailbox move
Enter the migration batch name. Choose amongst three archive options and click “Browse” to enter the target database name & target archive database name. Choose the bad item limit and click “Next”.
Refer to the below image for more insight.
Step 5 – Select the preferred options to start and complete the batch. Click New
Select the “Automatically start the batch” radio button and then choose options accordingly. Finally, click “New” to start the migration.
Step 6 – Click view details to know more details about the migration
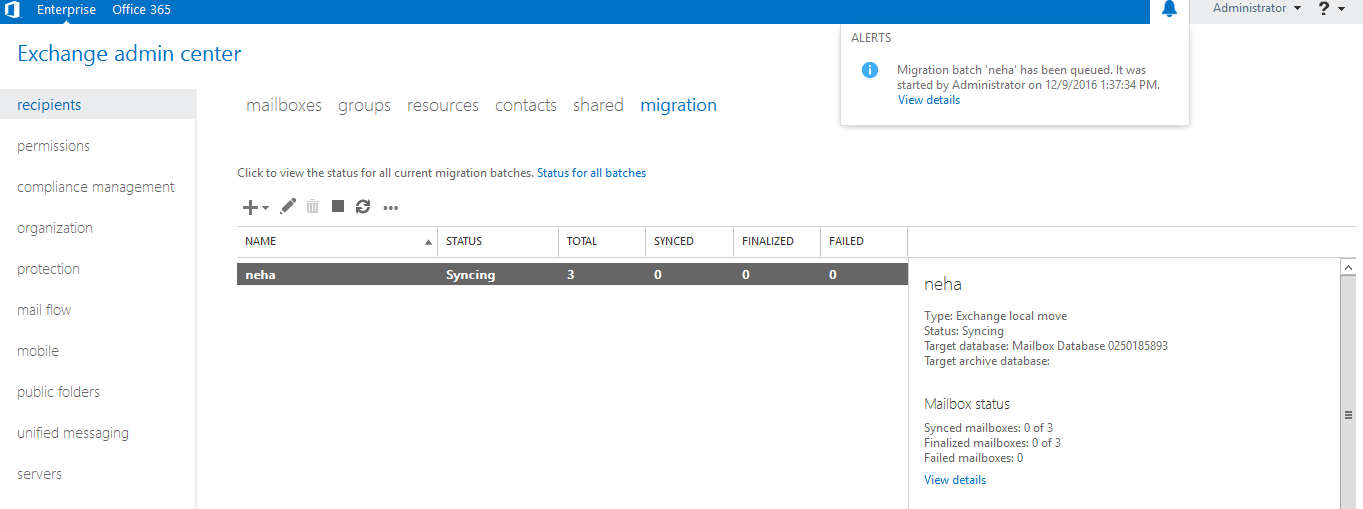
Step 7 – Once the migration has been completed, verify whether the selected mailboxes has been moved from one database to another or not
Our Final Thoughts
By following the above steps you should be able to migrate mailboxes from one database to another in Exchange 2016 fairly easily. However, if you’re still finding the process cumbersome and would like to further simplify and speed up the migration, you may find it better to deploy a third party solution. Exchange Migration allows you to automate the migration of mailboxes whilst also generating alert notifications. The solution has already helped many organizations carry out smooth mailbox migrations and may well be the best course of action for yours. Download the free trial to give it a try today.