
Each new version of Exchange Server increases the benefits and features to help users get a better user experience. Exchange Server 2016 is the latest Exchange Server version that has improved a lot from the older 2013 version. It is more flexible, adaptive to changes in the database, and responsive to tackle external threats. In the present article, we will present to you some essential changes in the Exchange Server 2016.
What makes Exchange Server 2016 special vis-a-vis older version – Exchange 2013?
Some significant changes have been made. Apart from the change in software architecture which has reduced the number of server roles to two i.e. Mailbox & Edge Transport server role, document sharing has also got a significant boost. Better data loss prevention, problem isolation, in-place archiving, retention and eDiscovery are the other important feature enhancements that have been integrated to the latest version.
But here we will discuss the other aspect – what to do when things don’t go as per plan? i.e. how to restore and recover mailbox database in Exchange 2016 after a disaster has struck?
Restoring through Windows Server Backup
Exchange 2016 databases can be restored in different ways depending on the kind of situation you are in and the backup methods that you are using. Here, we will see how to restore damaged Exchange 2016 database through Windows Server Backup.
You can use this method to restore Exchange database only if the backup process is running correctly and you have a recent, healthy backup of the database that has gone corrupt. The following are the step-by-step instructions on how to restore Exchange Server backup using Windows Server Backup.
- Getting Started: Launch Windows Server Backup. Open the Actions pane and select Recover option from the menu. This will launch the recovery wizard, and Getting Started page will be opened. In this step you need to select the drive where backup is stored. Where to store the backup is decided at the time of configuring backup setup only, it can either be the Exchange Server itself or any other location in the network
- Select Backup Date: Wizard will show you the oldest and the newest backups available along with the date and time of the latest backup. From the status you will come to know if the backup is mountable or not. Select the backup that you want to restore. Quite naturally it should be the latest backup if you are not doing it for any other specific purpose.
- Select Recovery Type: In this step you need to select the recovery type. There are five options: Files and Folders, Hyper-V, Volumes, Applications and System State. Select Application from the options as we are restoring specifically the Exchange database.
- Select Application: From the ‘Select application to recover’ field, select Exchange. You will note that at the bottom there is a check box: Do not perform a roll-forward recovery of the application databases. As some email communications may have taken place after the backup was created, restoring from this backup means those emails will be missing after recovery. Exchange uses transaction logs to do roll-forward recovery of the database wherein all the changes that have happened after the backup creation are restored too. As we want to restore all the messages (including those which have been created after backup) we will not select the check box.
- Select Recovery Options: You can choose to recover the database at the original location or the new location. Recovering to the original location will serve the purpose, so we will select that option. Confirm the inputs that you have provided till now, and click on the Recover button for the restoration to take place. Just wait till the entire database is recovered, and it will be automatically mounted for you, and you will be ready to go.
What are the other options?
As you must have noticed in this example a full, healthy backup was available to restore Exchange 2016 database. But that may not be the case always. It’s quite possible that backup is not available, or backup is available but is also corrupt and un-mountable, or the transaction logs are not available and so “full recovery” i.e. up to the latest message is not possible, and hence database cannot be recovered through Windows Server Backup.
In these situations such traditional methods of recovery may fail. And I will recommend Exchange Server Recovery software, which is a sort of specialist in Exchange database recovery, as it can do equally well in any of these circumstances. Even if a backup is not there, or transactions logs are not available, you can still open the corrupt, damaged database file by software and restore the messages granularly or all at the same time in a simple copy-paste way.
![]()
Tool Process Recover and Restore Mailbox Database in Exchange 2016
- Install and launch the Exchange server recovery software on your system.
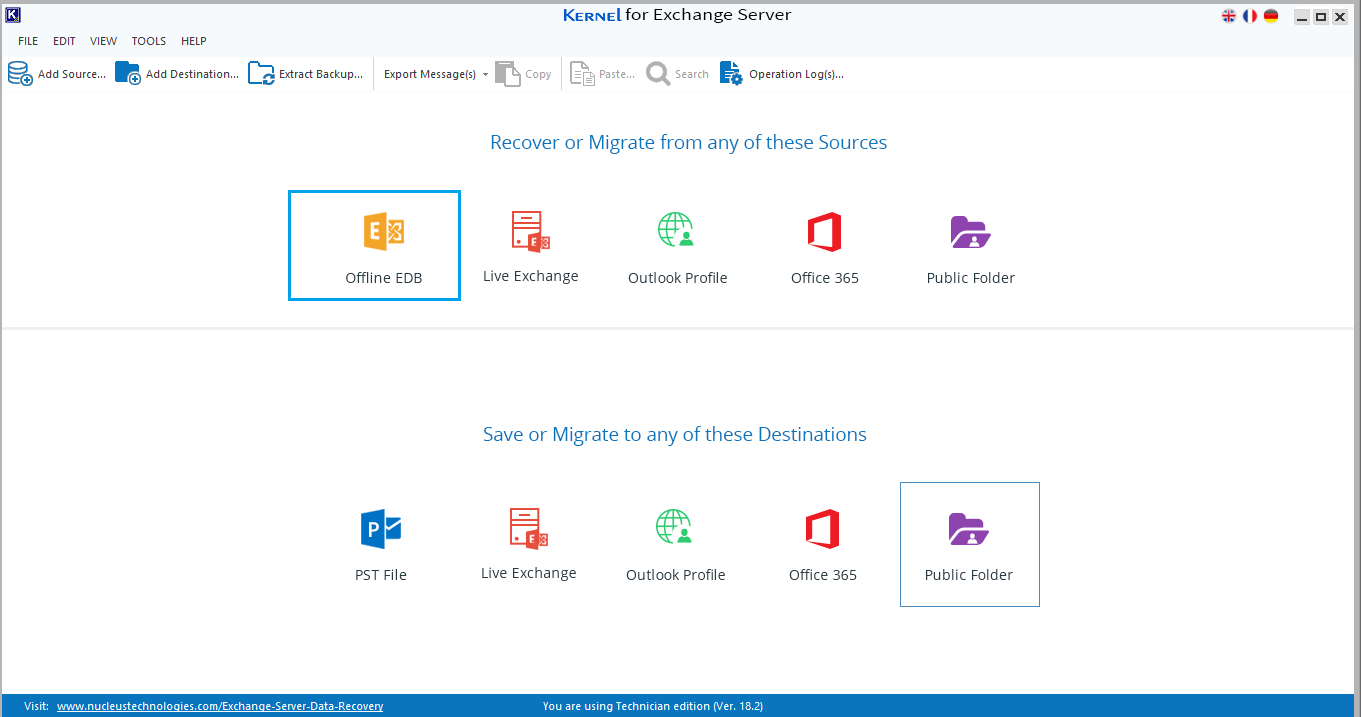
- On the home screen, select Offline EDB file as the source and click Next.

- Select the specific EDB file by clicking the Browse button and click Next.
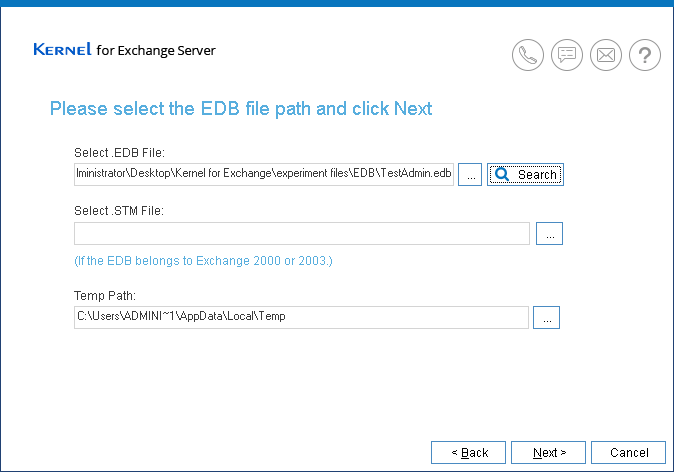
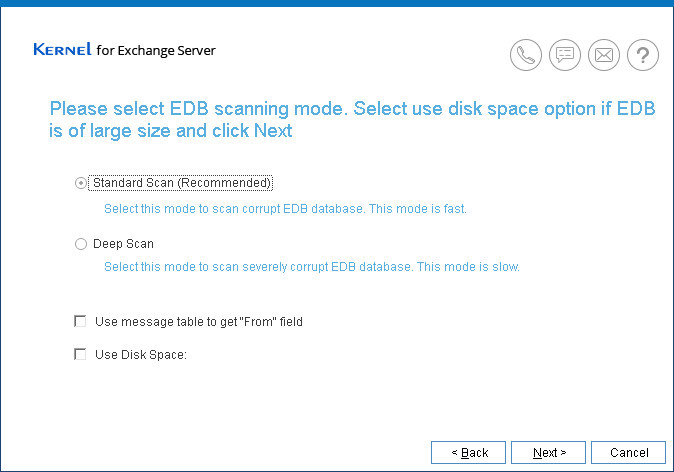
Note: Find the particular EDB files on your system using the Search feature. - Select a scanning method to scan the Exchange 2016 EDB file and click Next.
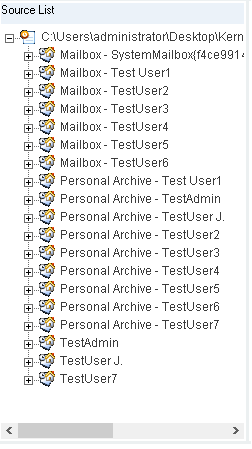
- All the mailboxes of the EDB file will be displayed in the upper left-hand side of the tool.
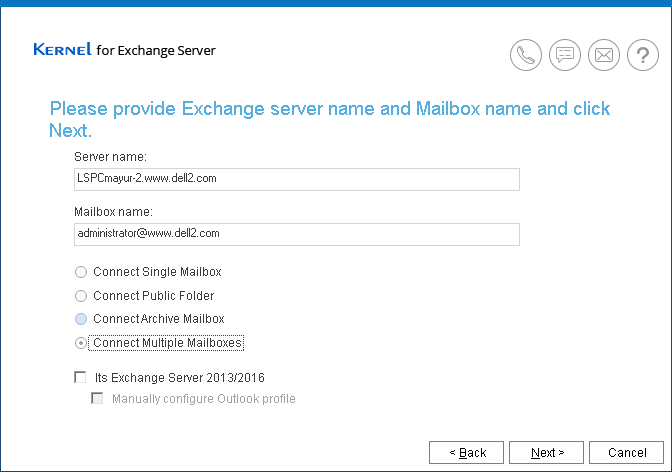
- Now, to restore these mailboxes to Exchange Server. Add Live Exchange as the destination by selecting Add Destination and click Next.

- Enter the right login credentials and other information for Live Exchange Server and click Next.
- Select the specific mailbox to which you want to move the recovered mailbox and click Next.
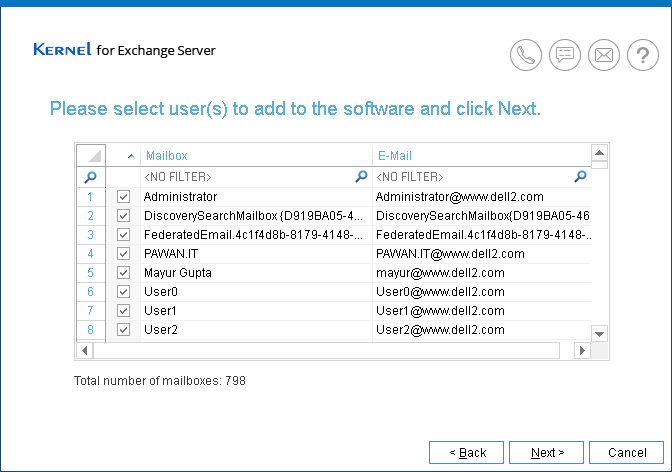
- The Live Exchange mailboxes will display in the tool; you can check the mailboxes in the left-hand side of the tool.
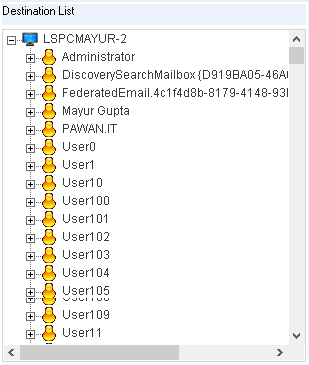
- Now, to restore the recovered mailboxes from EDB to Exchange 2016. Right-click on the Specific Mailbox folder and select copy mailbox.
- Now, move to the destination folder and right-click on the Exchange 2016 root directory and select Paste Mailbox.
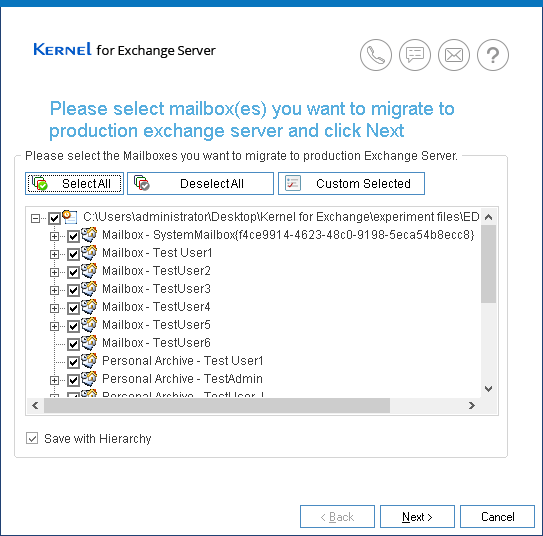
- If you don’t want to restore all the mailboxes, then select the specific mailboxes and click Next.
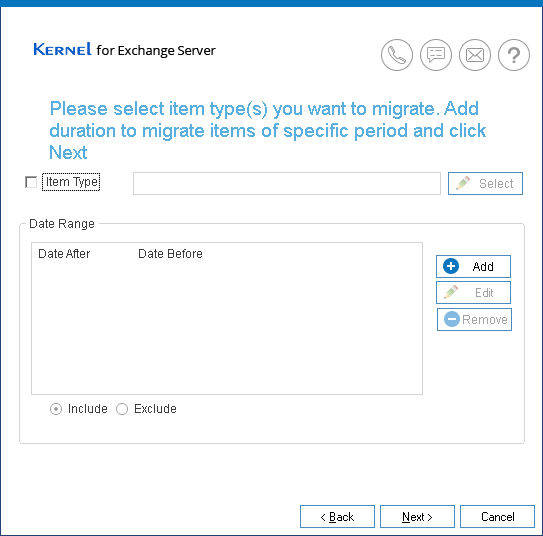
- Use smart filtering option to filter recovered mailboxes based on item type, date range, exclude folders, etc. and click Next.
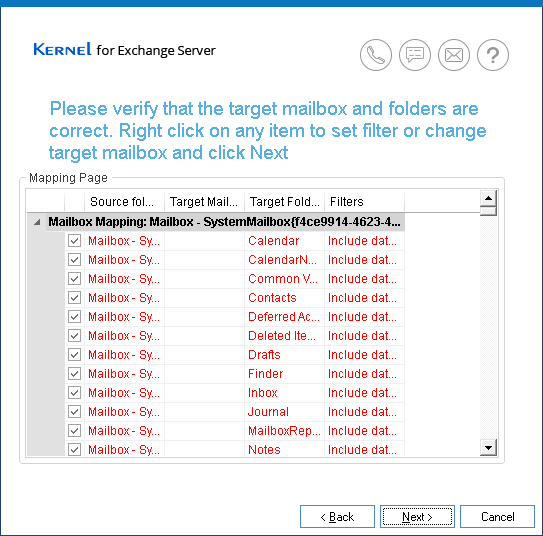
- You can map the mailboxes on the Mapping Wizard, and then click Next once the mapping is done.
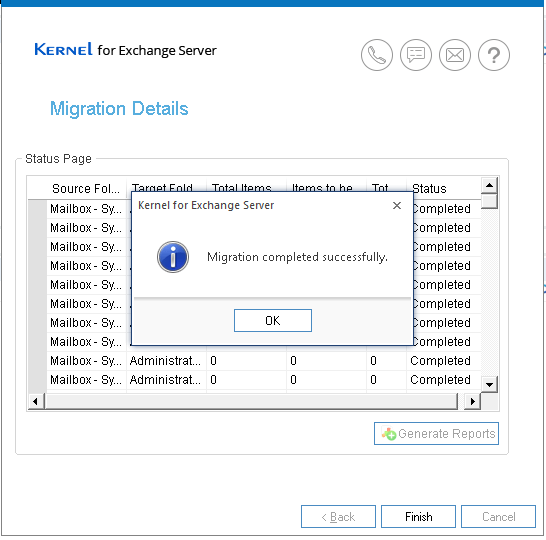
- It will take some time to restore the recovered mailboxes. Once the process is complete, a notification will appear on the screen confirming the same. Now, click OK to confirm, and then click Finish to end the process.
Conclusion
Recovery of Exchange Server emails is not limited to proper recovery, but the emails should be accessible at the correct place where they were saved. Also, the recovery should be in the least time so that the business’s impact is minimum. Taking all the aspects of healing into consideration, you should use Exchange Server Recovery software. The software gives you the guarantee of full recovery and placement in a live Exchange Server.
![]()
