
Exchange 2016 Installation using the setup wizard
- Exchange 2010 to Exchange 2016 Migration – Part 1
Helps you prepare your Exchange 2010 environment for Exchange 2016 upgrade - Exchange 2010 to Exchange 2016 Migration – Part 2
Describes Exchange 2016 installation in Exchange 2010 environment - Exchange 2010 to Exchange 2016 Migration – Part 3
Guides you in creating your first Exchange 2016 mailbox and in permission assignment - Exchange 2010 to Exchange 2016 Migration – Part 4
Explains configuring Exchange 2016 internal/external URLs - Exchange 2010 to Exchange 2016 Migration – Part 5
Migration of system mailboxes from Exchange 2010 to Exchange 2016 - Exchange 2010 to Exchange 2016 Migration – Part 6
Tips for configuring SCP and DNS Records - Exchange 2010 to Exchange 2016 Migration – Part 7
Procedure for the migration of mailboxes from Exchange 2010 to Exchange 2016
After ensuring all the pre-requisites for Exchange 2016 installation (as described in Part 1 of this series), it is time to install Exchange Server 2016. As said earlier, we will use Exchange 2016 Setup Wizard for Exchange 2016 installation.
Instant Solution - Exchange Migrator
Exchange/Office 365 migrations are quite easy with professional tools like Exchange Migrator. This tool helps to manage mailbox and public folder migrations involving different Exchange versions and deployment types. Also, this tool helps with all tasks starting from the pre-migration analysis to the preparation of reports after the migration.
Server Roles in Exchange 2016
In Exchange 2016, the Mailbox Server role performs all the core Exchange activities. It performs all the functions of Mailbox Server Role, Client Access Server Role, Hub Transport Server Role, and Unified Messaging Server Role of the previous versions of Exchange. So, it hosts mailboxes and public folders and generates OABs (Offline Address Books). Also, it is responsible for Unified Messaging and Outlook on the Web services.
Install Exchange 2016 Mailbox Server role using Exchange 2016 Setup Wizard
You should install Exchange first on Internet-facing AD sites as the Autodiscover requests come to this site from the Internet. After that, you can install Exchange on internal sites. Follow the steps for the installation of the Exchange 2016 mailbox Server role:
- Download Exchange 2016 from https://www.microsoft.com/en-us/download/details.aspx?id=57827
Note: You can get the information about the latest updates to Exchange 2016 from https://docs.microsoft.com/en-us/Exchange/new-features/updates?view=exchserver-2016
- Go to the setup location and double-click the Setup.exe
Note: If required, select Run as administrator from the right-click menu.
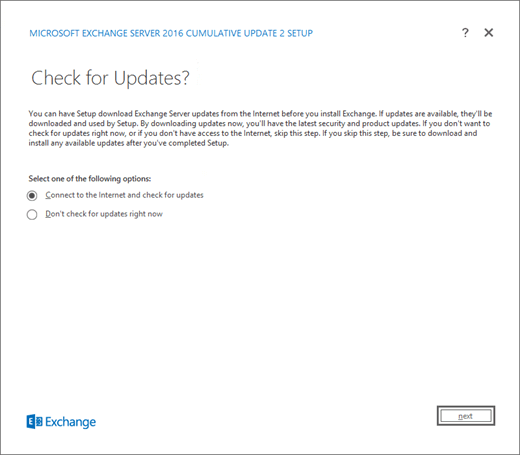
- In the Exchange 2016 Setup wizard, check the required update option:
- Connect to the Internet and check for updates – this options searches and finds the latest updates
- Don’t check for updates right now – if you select this option, you can install the updates later. Click Next.
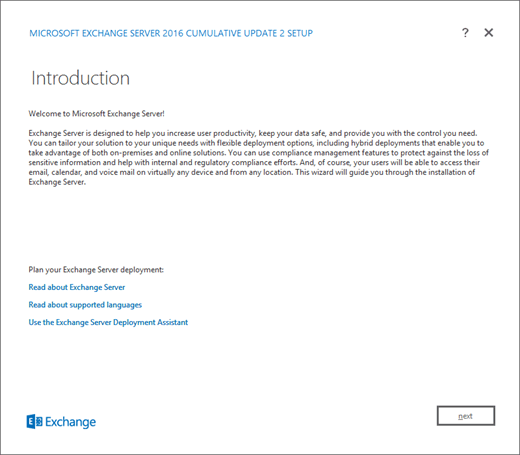
- On the Introduction page, click Next
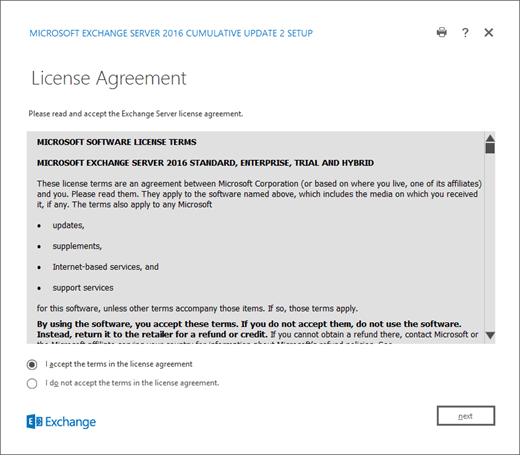
- Now select the option I accept the terms in the license agreement,, and click Next, on the License Agreement page
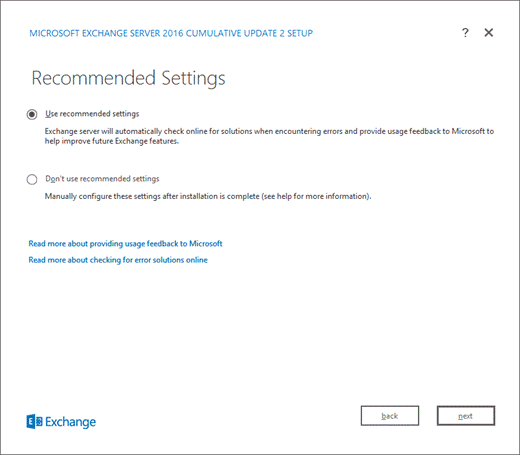
- Now choose the required settings option:
- Use recommended settings – It is recommended to select this option
- Don’t use recommended settings – After choosing this option, you can switch to the recommended settings later (after the installation). ClickNext.
- Now select Mailbox role (with the selection of Mailbox Server role, Management tools are automatically installed). Click Next.
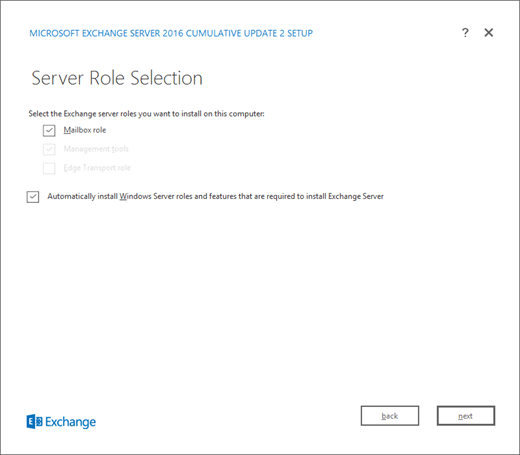 Note: As you have already installed all the prerequisites, you can uncheck the option Automatically install Windows Server roles and features that are required to install Exchange. If you choose this option, you need to restart the computer after the installation.
 - Browse for the location for Exchange 2016 installation (the default location is C:\Program Files\Microsoft\Exchange Server\V15). Click Next
Note: It is important that enough disk space is available in the installation location.
- Now give a name to the Exchange organization (default value is First Organization). Click Next
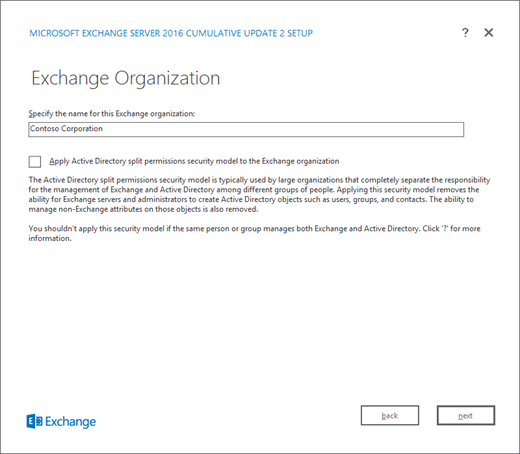 Note: For the name, max 64 characters – a to z, A to Z, 0 to 9, space, and hyphen or dash (-), are allowed
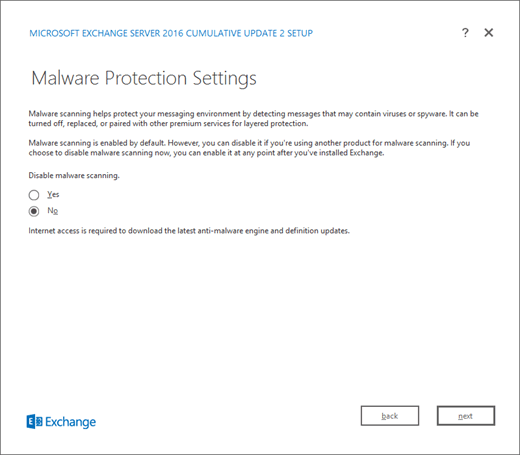
 - Choose the required malware scanning option. By default, No is selected (malware scanning is enabled). Click Next.
- Now the Exchange installation setup wizard displays all the errors after verifying the prerequisites available on the environment. Now, if no errors, present, you can click install.
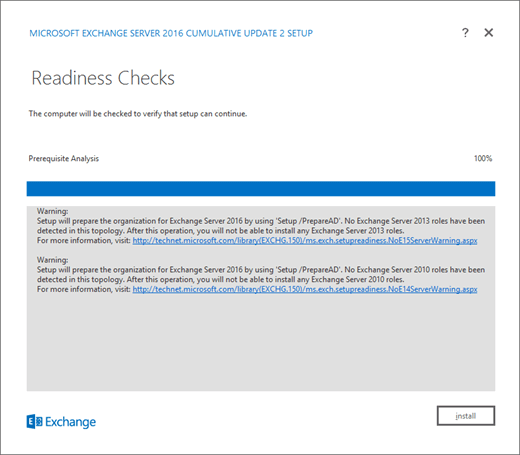 Note: If errors are present, you need to click retry (the only option available).
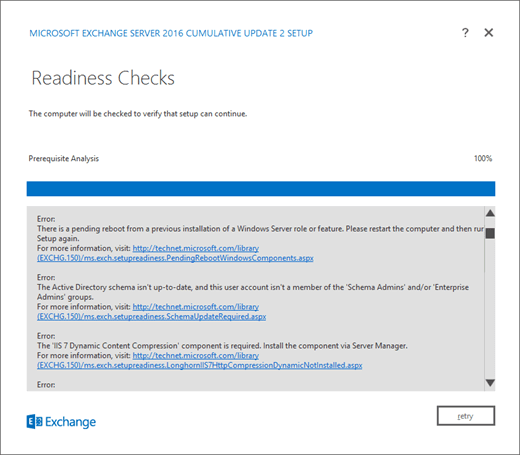
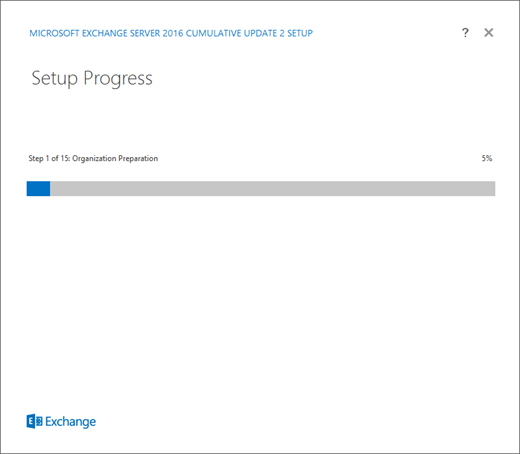
- Wait until the installation is complete.
- Finally, click Finish.

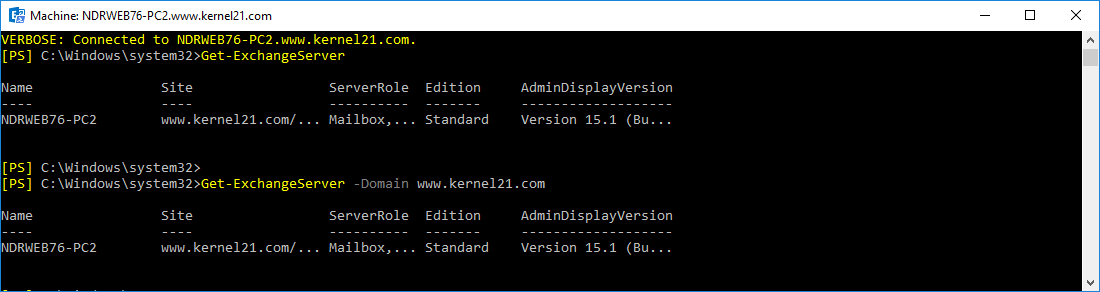
- To verify the Exchange 2016 installation, run the following cmdletin the Exchange Management Shell:
Get-ExchangeServer -DomainIt returns a list of all Exchange 2016 roles installed on the server.
 Note: Also, you can review set up log file (Windows Server 2012/2012R2)
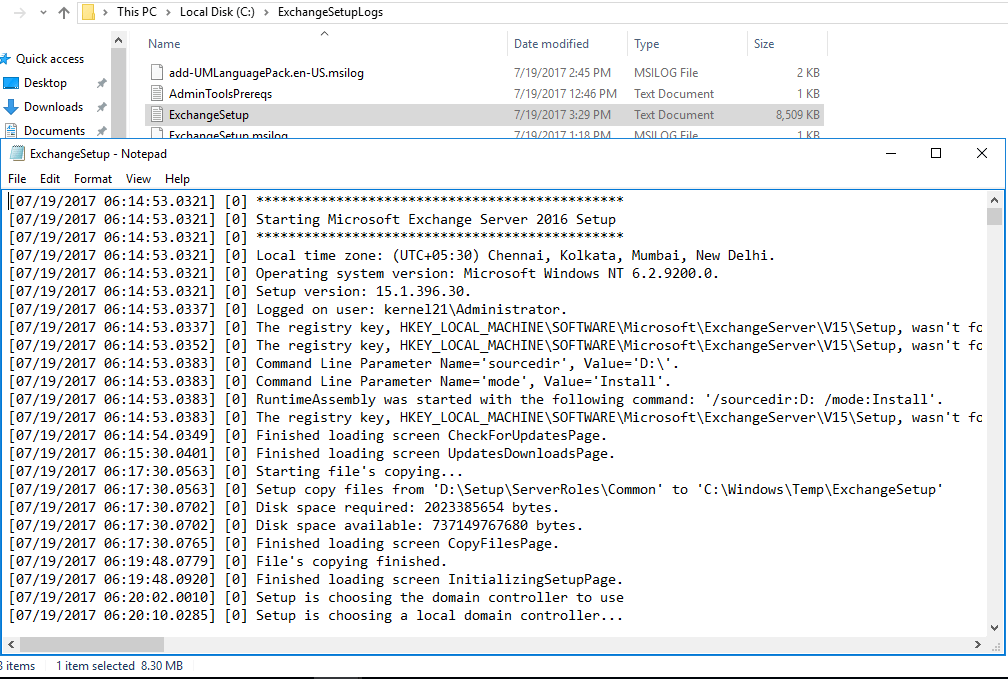


After the successful Exchange 2016 installation, you can proceed to create the first Exchange 2016 mailbox and assign it with the necessary permissions for Exchange 2016 migration (as in Part 3 of this series).
Summary
Exchange 2016 Setup wizard helps even non-technical users to install Exchange 2016 with much ease. . This method is suitable for small organizations.


Many organizations, at a later stage of the migration, realize that the migration is slow. This happens because of low server resources. This Exchange Migration solution uses the network computers as migration agents to speed up the migration. So, you can perform a reasonably fast Exchange migration even with low server resources.