Migration from Exchange 2013 to 2016 requires a lot of time. That is why you need a dedicated solution – a third-party Exchange migrator to help you smoothly overcome the unforeseen migration challenges without any Exchange downtime and disruptions.
Exchange Migrator is a reliable third-party Exchange migration solution that effortlessly performs Exchange migrations in intra-forest and cross-forest environments.
To read other parts in this series, go to:
Exchange 2013 to Exchange 2016 Migration (Part 1)
Exchange 2013 to Exchange 2016 Migration (Part 2)
Exchange 2013 to Exchange 2016 Migration (Part 3)
Exchange 2013 to Exchange 2016 Migration (Part 4)
Exchange 2013 to Exchange 2016 Migration (Part 5)
Exchange 2013 to Exchange 2016 Migration (Part 6)
Instant Solution - Exchange Migrator
Exchange/Office 365 migrations are quite easy with professional tools like Exchange Migrator. This tool helps to manage mailbox and public folder migrations involving different Exchange versions and deployment types. Also, this tool helps with all tasks starting from the pre-migration analysis to the preparation of reports after the migration.
Automated Process to Migrate Mailboxes from Exchange 2013 to 2016
Add Job for Mailbox(es)
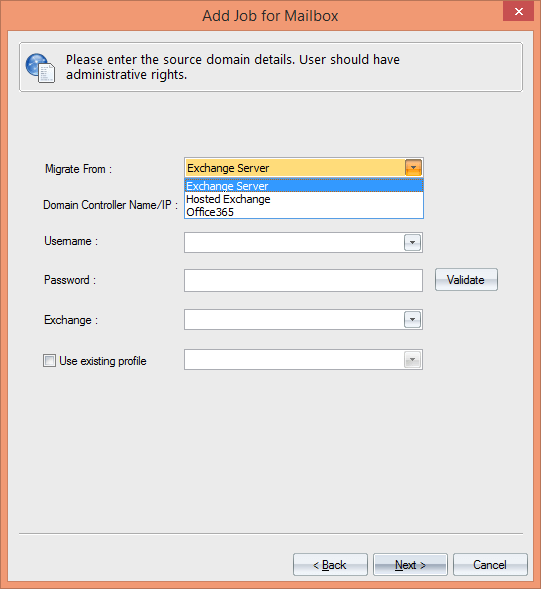
Exchange Migrator uses a job-based migration process, where you’ve to create a project and add job(s) in it according to your migration requirements.

To proceed further, you have to select a source platform from multiple available options – Exchange Server, Office 365 and Hosted Exchange. To begin Exchange 2013 migration, you have to select Exchange Server and provide its credentials.
After providing the credentials (including username and password), it’s essential to validate them only using the Validate button. However, make sure that the selected user has full administrative rights on all mailboxes. Otherwise, you will not be able to perform the mailbox migration.
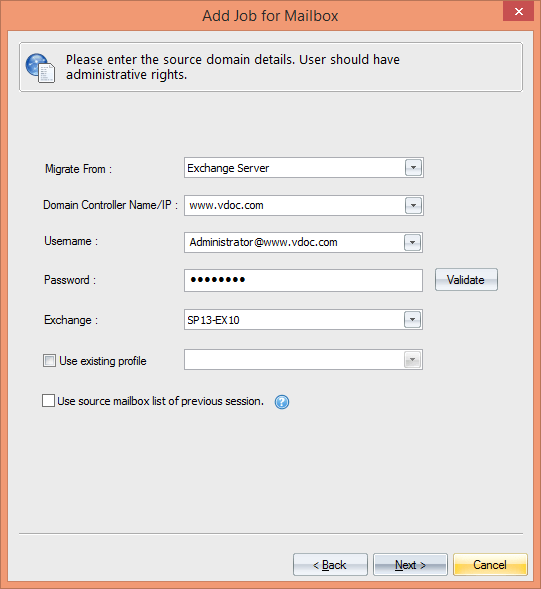
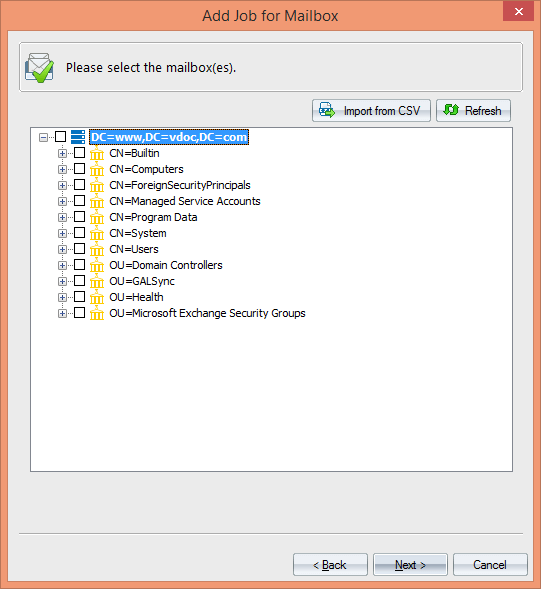
After adding the credentials, you’ve to select the mailboxes that you want to migrate to Exchange 2016. During this process, the solution also prompts for additional information about MS Exchange for the purpose of validation.
Checkmark the mailboxes that you want to migrate, or you can also add a list of mailboxes simultaneously using ‘Import from CSV’ Excel file.
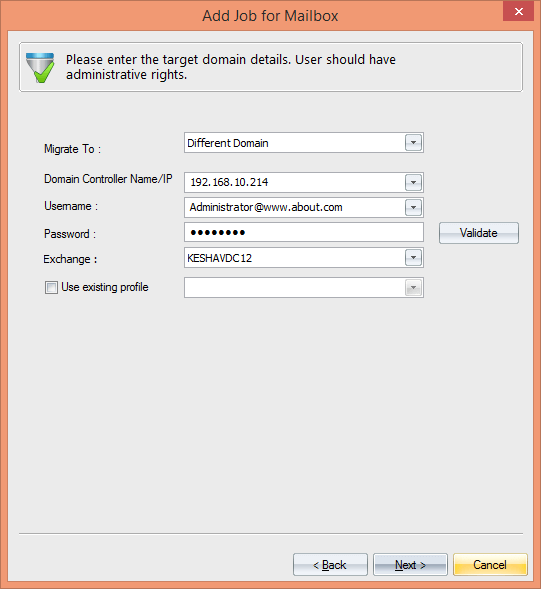
Add Target Mailbox – Exchange 2016
Select Exchange Server as the target to migrate mailboxes to Exchange 2016. Here you need to select a different domain to migrate to a different Exchange Server.
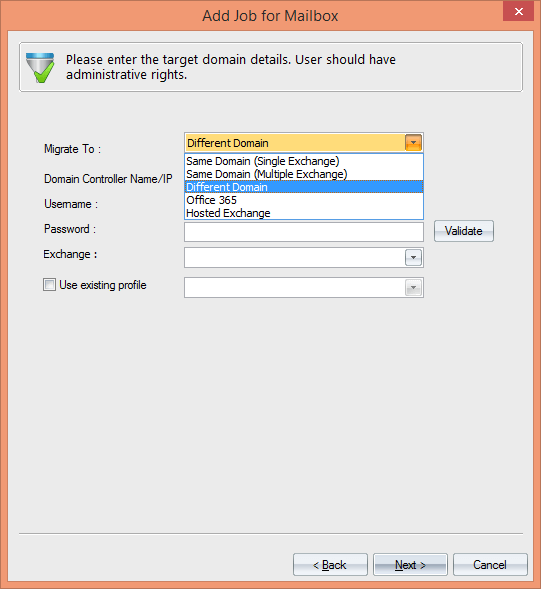
Provide the domain controller name, username, and other credentials. After entering the credentials, validate them.
Setting Filters to Migrate Specific Mailbox Items
Apply filters to migrate important items from user mailboxes. You can apply filters based on Message Class(es), Date Range, Folders, and more.
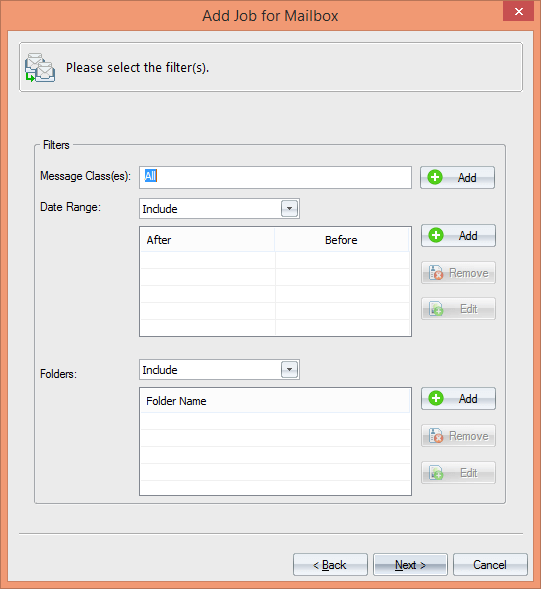
With Message Classes, you can filter messages of Exchange 2013 mailboxes. It’s easy to filter messages by selecting the desired item types that you want to migrate.
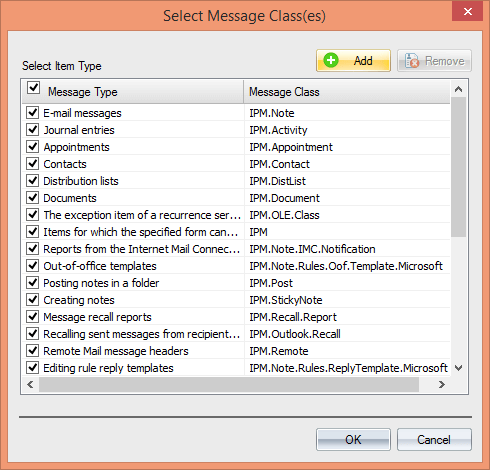
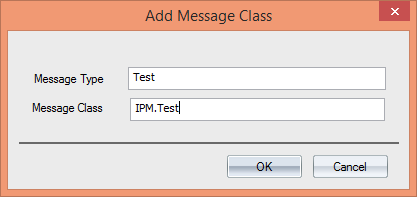
There is also an option to add a new custom message and provide the desired message type and message class in that custom field. Similarly, you can refine data based on date range and folder type.
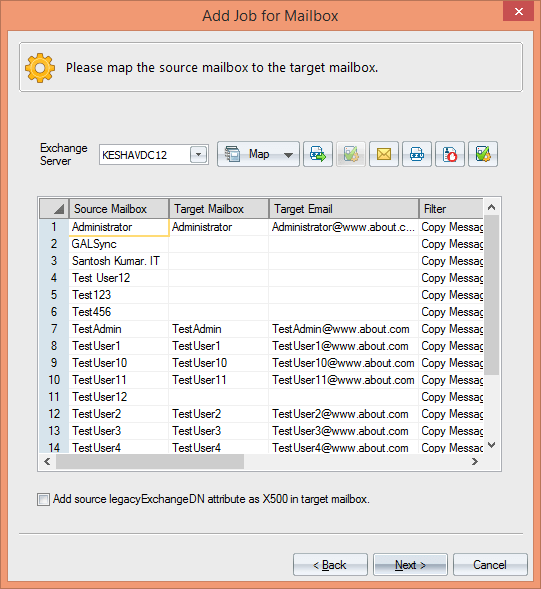
Map Mailboxes and Select Migration Type
Mapping is the most convenient way to migrate mailboxes between source and target mailboxes accurately. This option lets you instantly create a corresponding mailbox at Target if it doesn’t already exist.
It also provides the option to map your mailboxes automatically or using a CSV file.
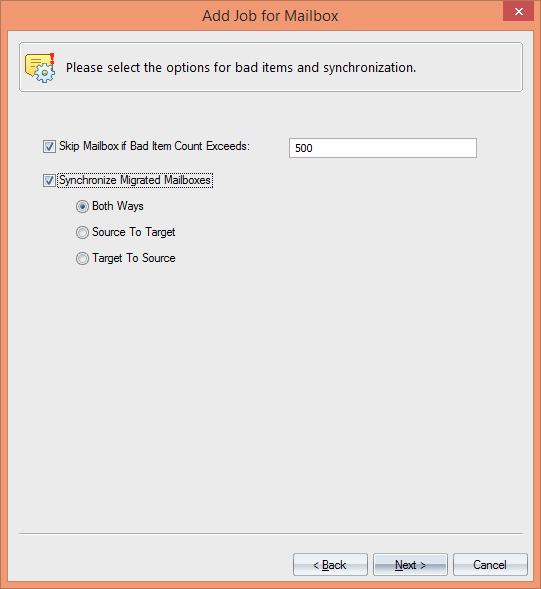
Manage Bad Items and Synchronization
You can skip the migration if the bad item count exceeds the given value. There is also a smart way to maintain synchronization between the source and target.
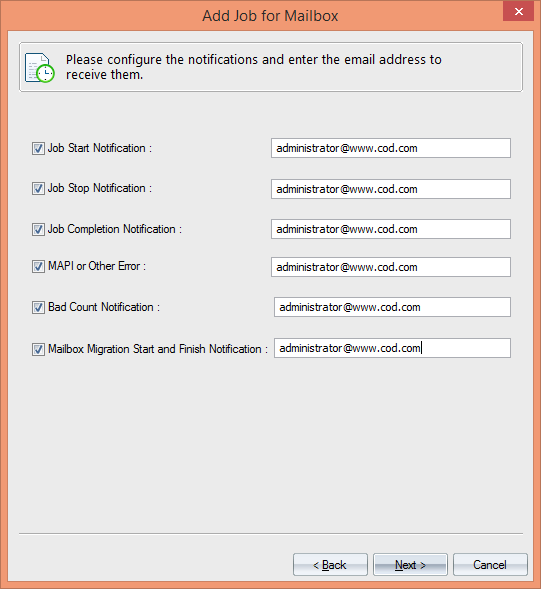
Get Notifications
It is a smart way to stay updated with each and every success/failure of the job/task throughout the migration project. You can control the alerts based on job start/stop/completion, bad count notification, etc.
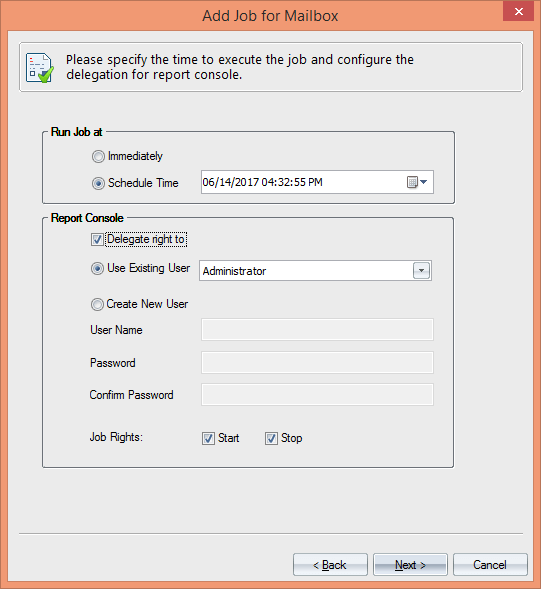
Run or Schedule Migration Job
Schedule your migration job to start/stop at the given time automatically. Simply specify the time when you want to execute a job and configure its settings accordingly.
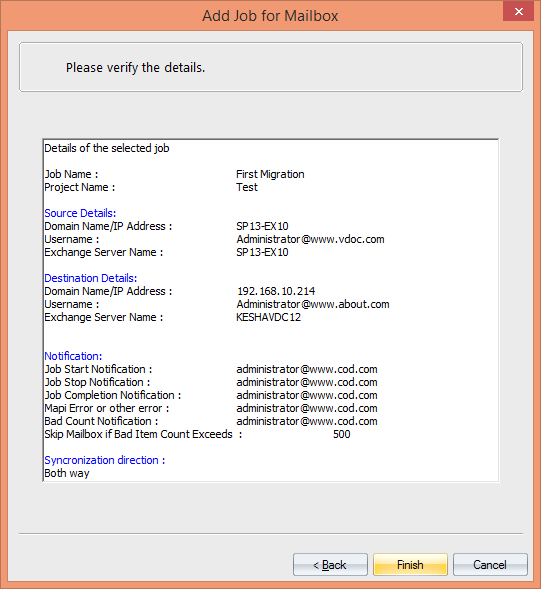
Migration Job Summary
Once the migration job is accomplished, it notifies the complete summary for the purpose of verification. It summarizes all the details of the selected steps that you’ve performed in the wizard.
Conclusion:
Exchange Migration makes it easy to migrate mailboxes from Exchange 2013 to Exchange 2016, no matter how big the organization is. It also ensures total co-existence between the source and target for the continuity of email communication.