Office 365 Backup Tool is an efficient tool to take a secure backup of Office 365/Exchange mailboxes in the form of PST files. The tool is quite light-weighted and easy to use and stores the backed-up data at the user-defined location.
How to use Office 365 Backup Tool
Office 365 Backup Tool helps the user to securely backup the Office 365/Exchange mailboxes to PST files. It is useful for both users and administrators as it works perfectly well for single as well as multiple mailbox backups.
Any user can backup a single office 365/Exchange mailbox to PST without any administrative privileges.
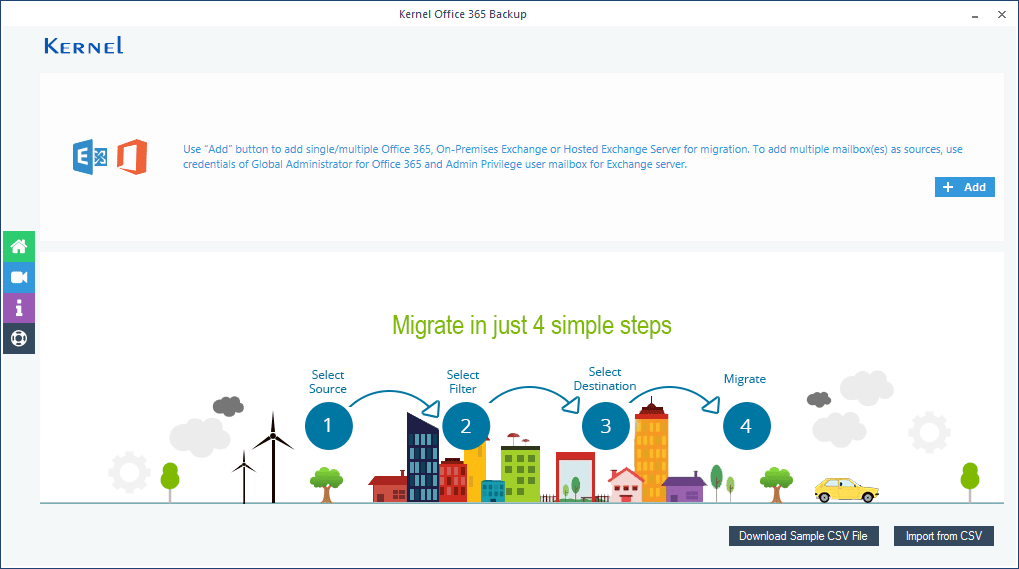
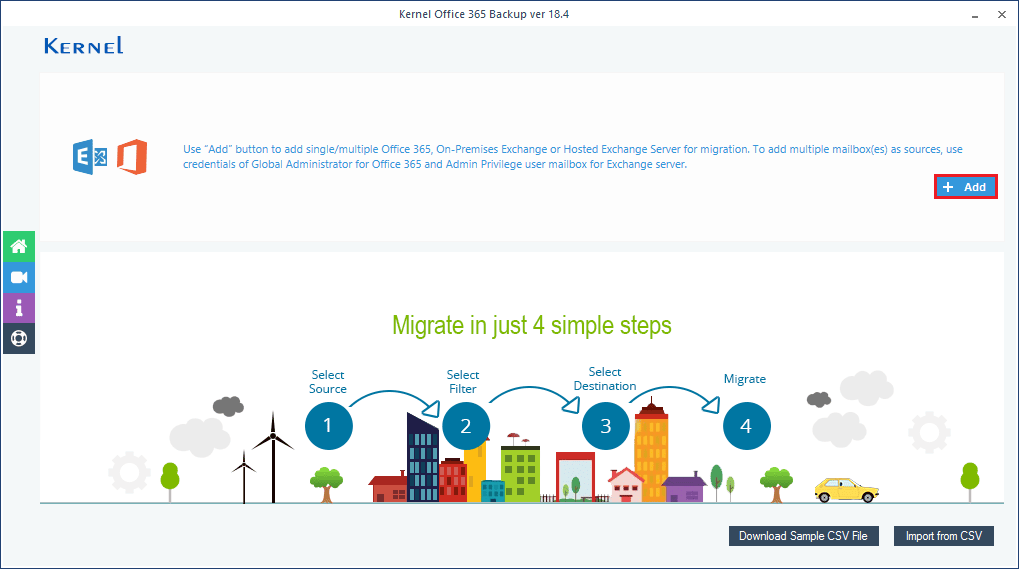
Launch the application and click the Add button.
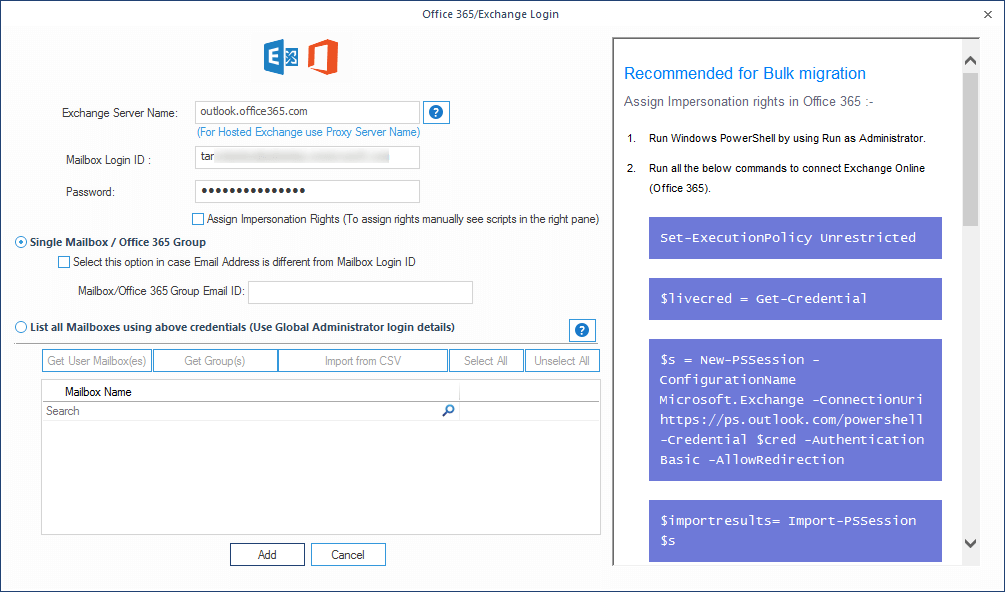
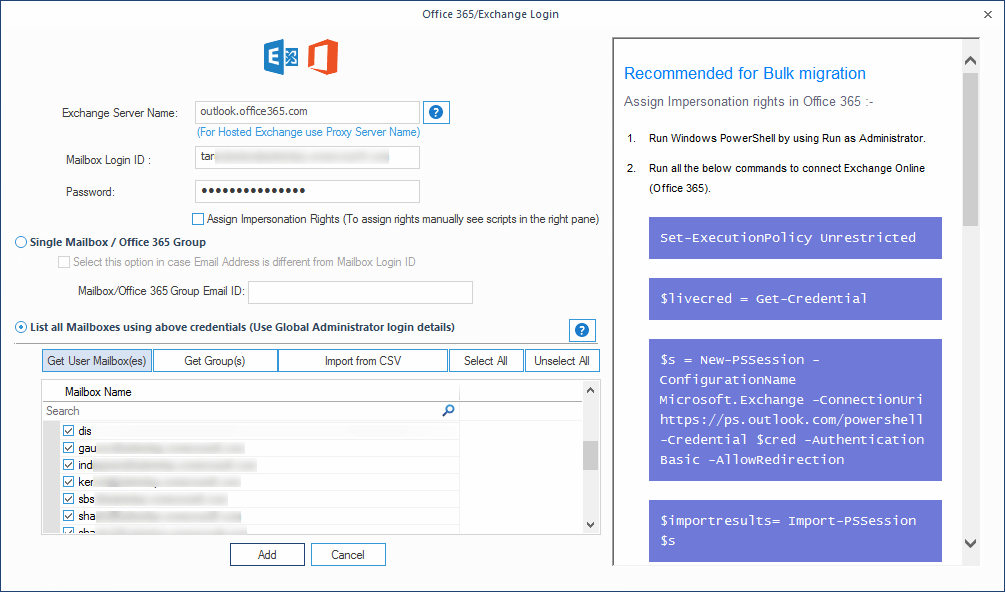
In the Office 365/Exchange Login page, provide the source credentials. Select the required option from the three:
- Office 365 - provide User email & Password.
- Hosted Exchange Server - provide the login details with Proxy Server name.
- On-premises Exchange Server - User ID & Password
Select Single mailbox/Office 365 Group and click the Add button.
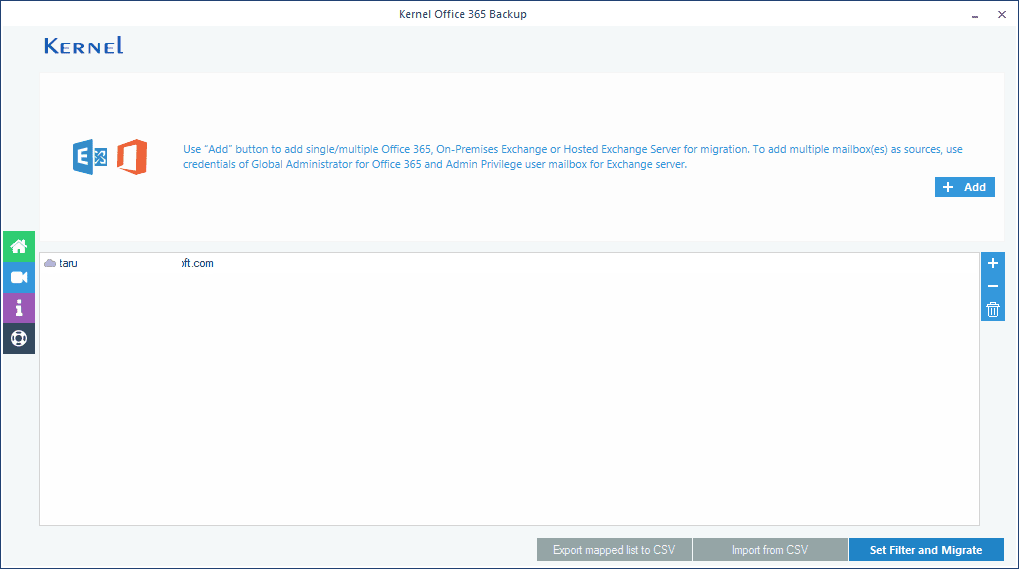
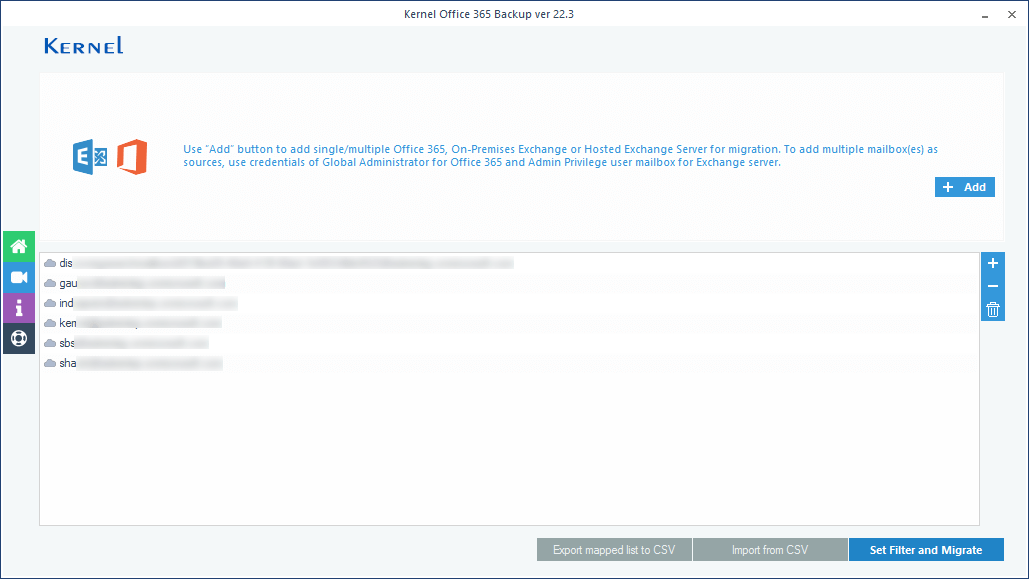
Select the account and click the Set filter and Migrate button.
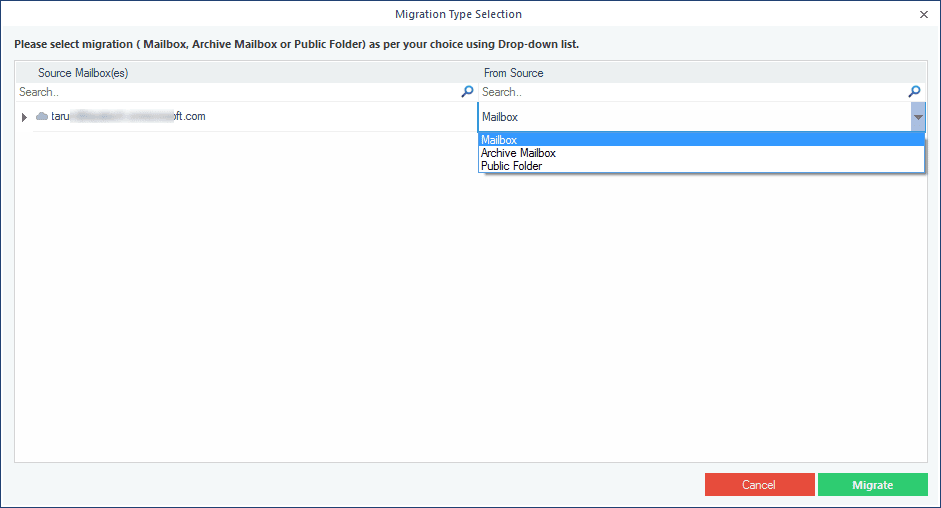
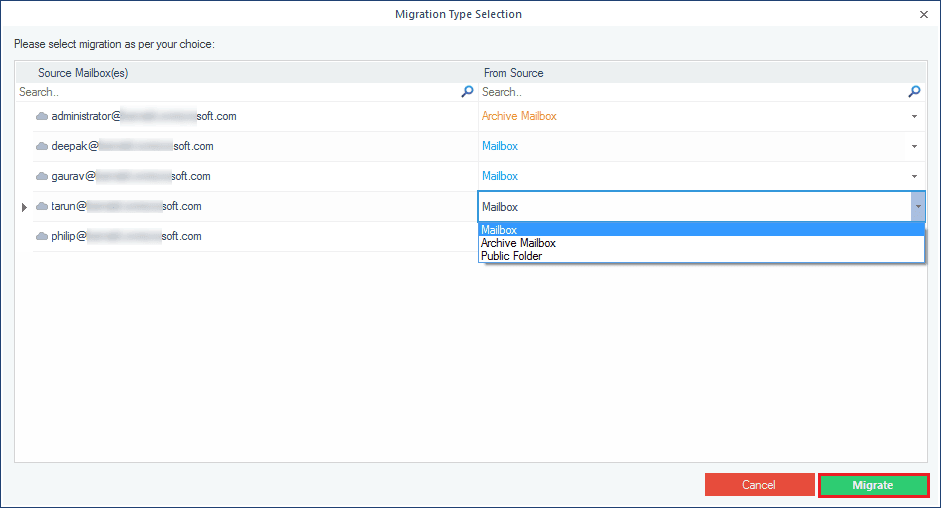
From the drop-down box, select the data you want to back up - Mailbox, Archive Mailbox, or Public Folder - and click Migrate.
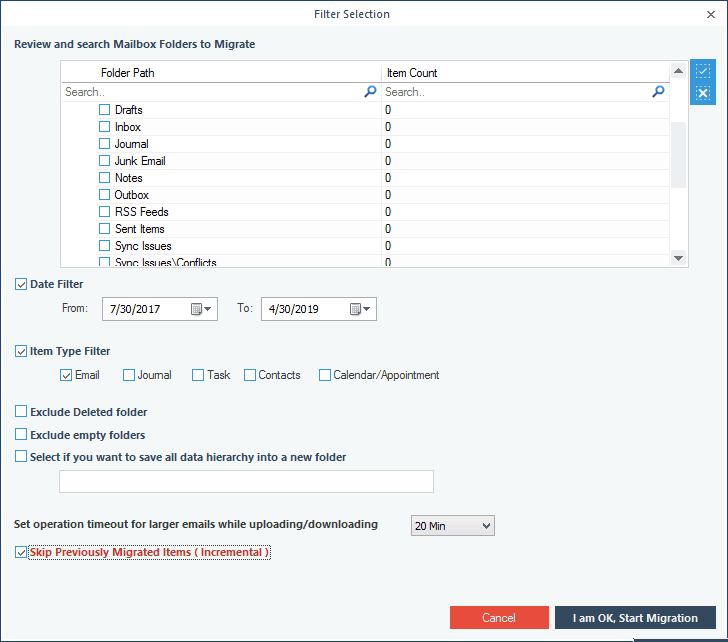
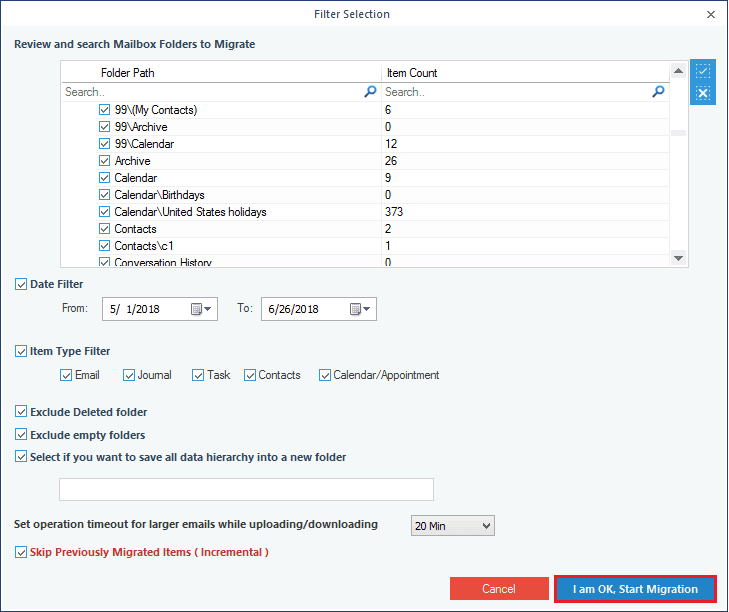
In the Filter Selection window, choose the filtering options as required:
- Review and search Mailbox Folders to Migrate - Select the folders to migrate.
- Date Filter - Provide a date range to filter items.
- Item Type Filter - Select the item types that are to be migrated.
- Exclude Deleted folder - Select to exclude Deleted item folder from migration
- Exclude empty folders - Exclude empty folders from the migration.
- Select if you want to save…- Provide a folder name (to save the data with hierarchy inside a mailbox folder)
- Set operation timeout… - Select an upper time limit for migration (the migration will be rejected if it exceeds this time limit).
- Skip previously migrated items – Check the box to skip the already exported data and save only additional data.
Finally click I am OK, Start Migration.
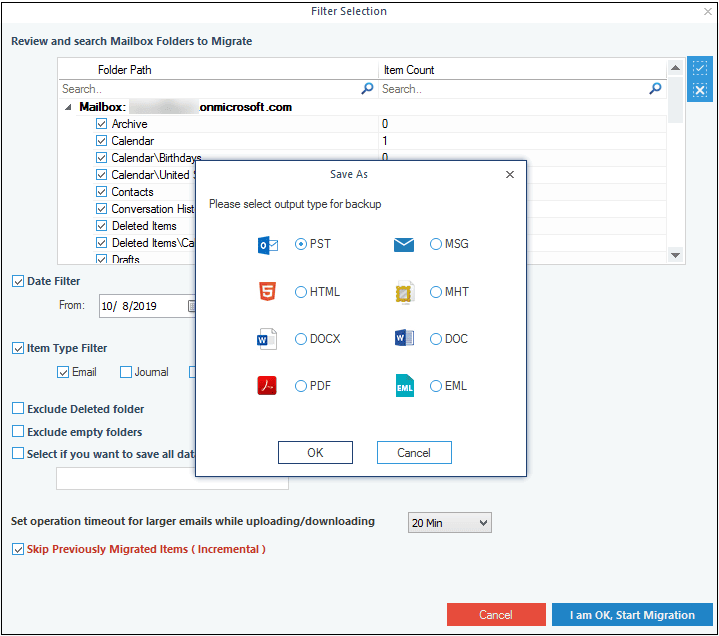
Make selection of desired file format from the displayed list of multiple file formats and click OK.
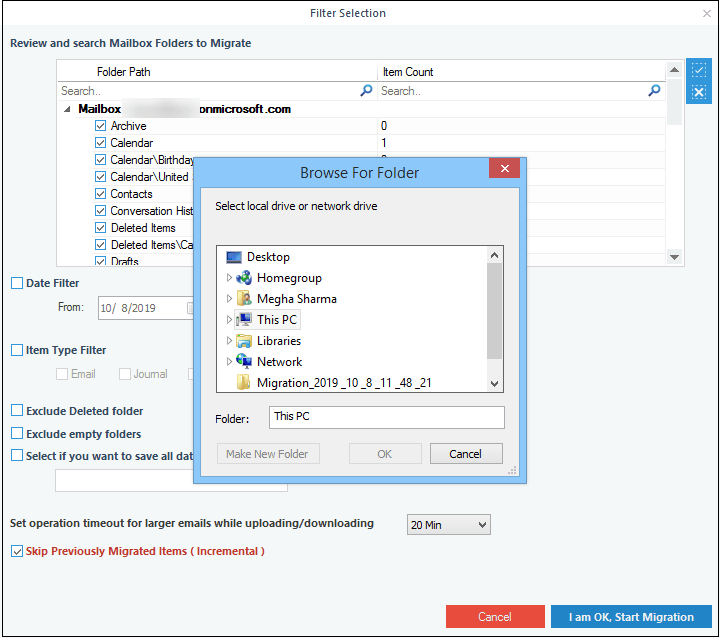
Browse the location for the backup.
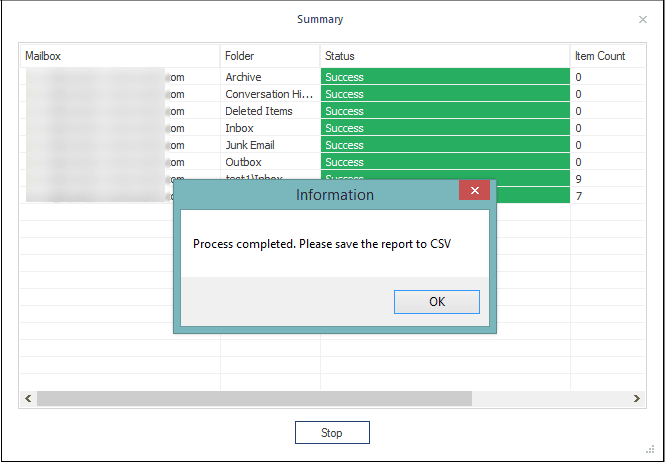
The tool starts to migrate. As soon as the migration is completed, a message window informs that the process is complete. Click OK.
To take the backup of multiple Office 365/Exchange mailboxes, you need to have an Exchange/Office 365 account with administrative privileges.
Launch the application and click on Add button
In the Office 365/Exchange Login page, provide the source credentials. Select the required option from the three:
- Office 365 - provide User email & Password.
- Hosted Exchange Server - provide the login details with Proxy Server name.
- On-premises Exchange Server - User ID & Password
Click the second option List All Mailboxes using above credentials, then click Get User Mailbox(es). Select the required mailboxes and click the Add button. There is an additional button to connect with the Groups present with the admin account. It will add the groups by excluding the mailboxes.
Multiple mailboxes are added; click Set Filter and Migrate.
Select the data (Mailbox/Archive mailbox/public folder) to be backed up and click Migrate.
In the Filter Selection window, choose the filtering options as required:
- Review and search Mailbox Folders to Migrate - Select the folders to migrate.
- Date Filter - Provide a date range to filter items.
- Item Type Filter - Select the item types that are to be migrated.
- Exclude Deleted folder - Select to exclude Deleted item folder from migration
- Exclude empty folders - Exclude empty folders from the migration.
- Select if you want to save… - Provide a folder name (to save the data with hierarchy inside a mailbox folder)
- Set operation timeout… - Select an upper time limit for migration (the migration will be rejected if it exceeds this time limit).
- Skip previously migrated items – Check the box to skip the already exported data and save only additional data.
Finally click I am OK, Start Migration.
Choose the desired file format from the given list and click OK.
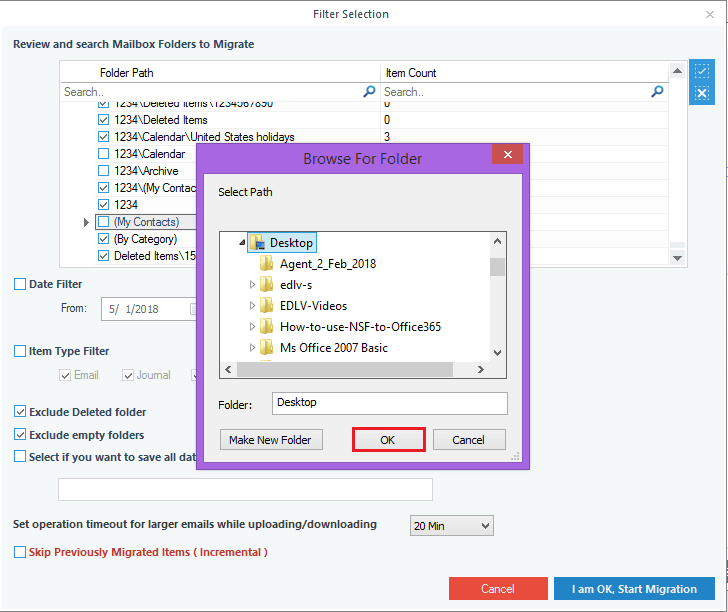
Provide a destination where you want to save the backup PST file.
The backup process starts. As soon as the backup process is completed, the tool provides information that process is completed. Click OK to finalize the process.
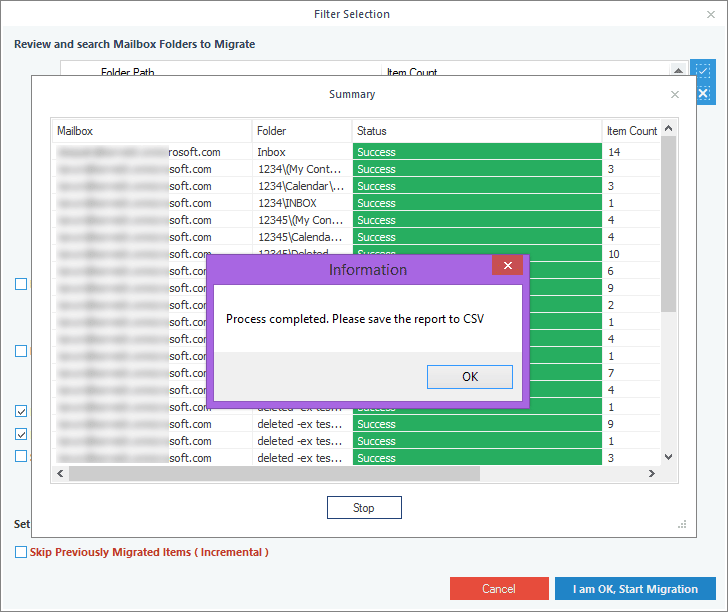
Backup data gets saved different PST files for each Office 365 mailbox.