Video Repair supports a large number of video formats to repair (MP4, AVI, MOV, 3FP, FLV, MKV, DIVX, MPEG, WMV, etc.) and the procedure of recovering each type of video file is same. The software can handle any file of any size, repair it, provide a clean preview, and save it at your desired location.
Here is the simple procedure of using Video Repair tool -
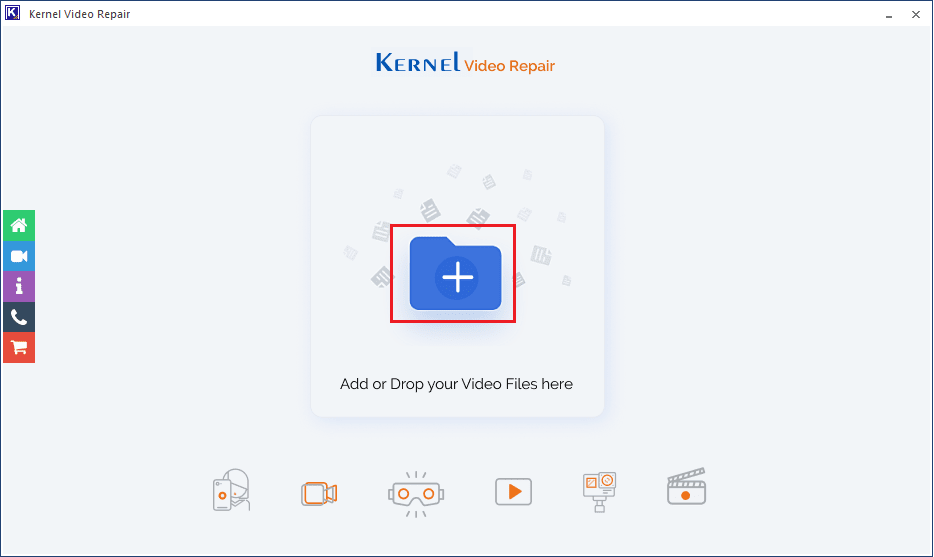
Download and install the Video Repair. After successful installation, start the software. At the Home Screen, click the Add (+) button.
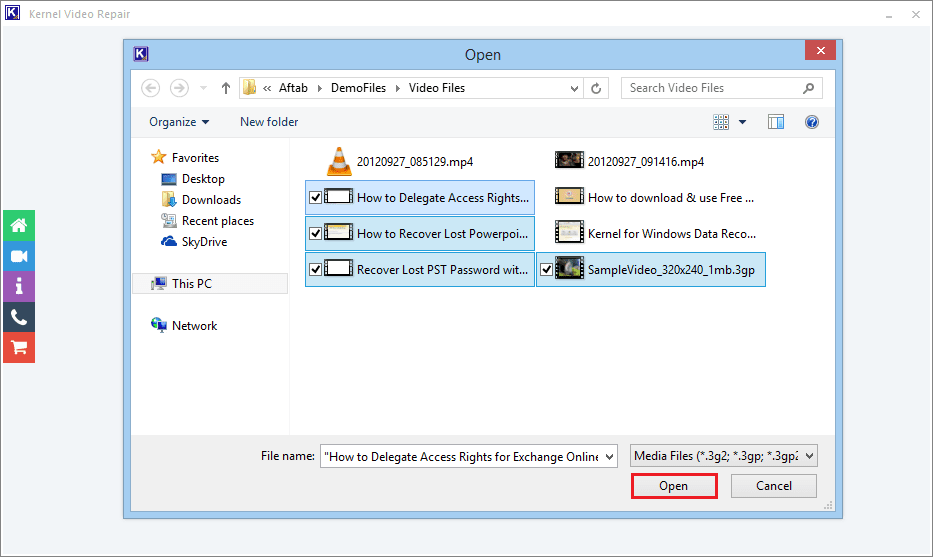
Select all such video(s) that are either not playing or showing some error while playing. Click Open
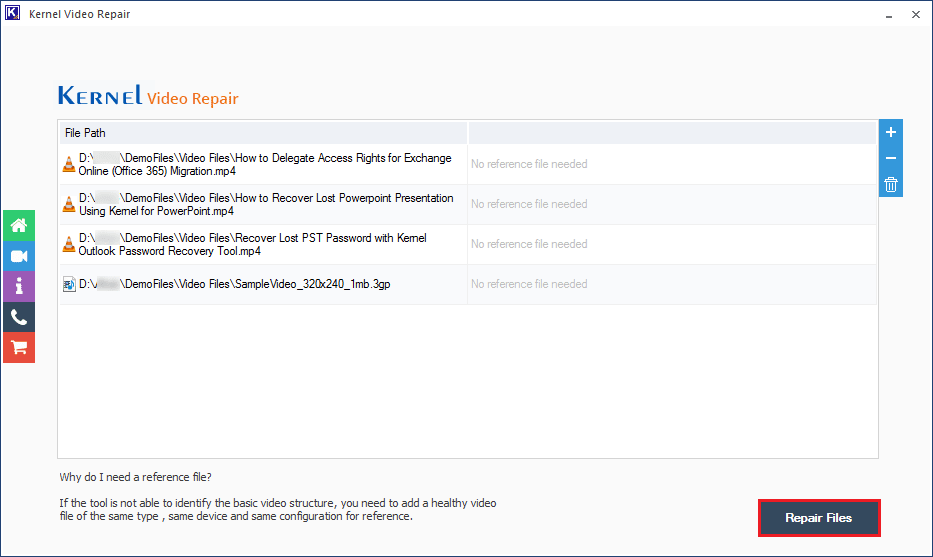
When you have selected the files. Click Repair Files.
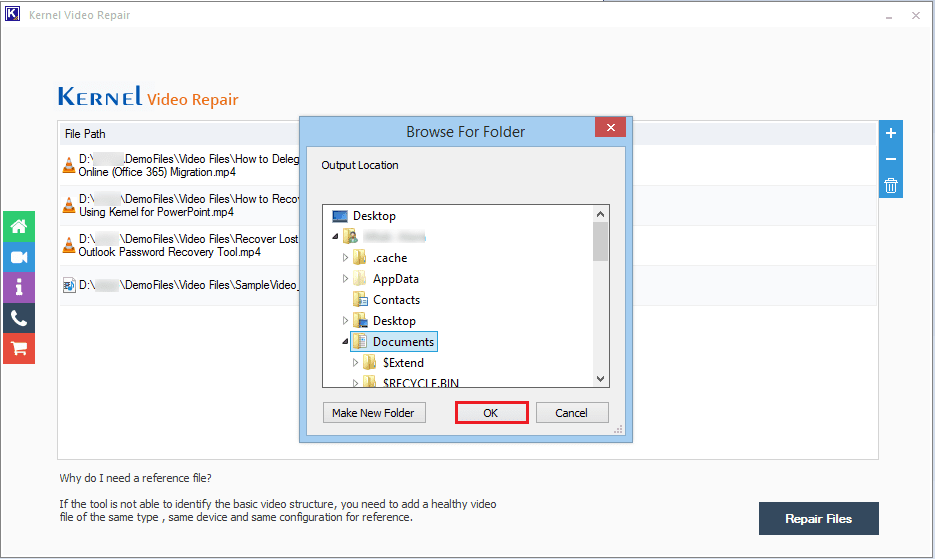
Provide a location where you want to save the repaired file. Click OK.
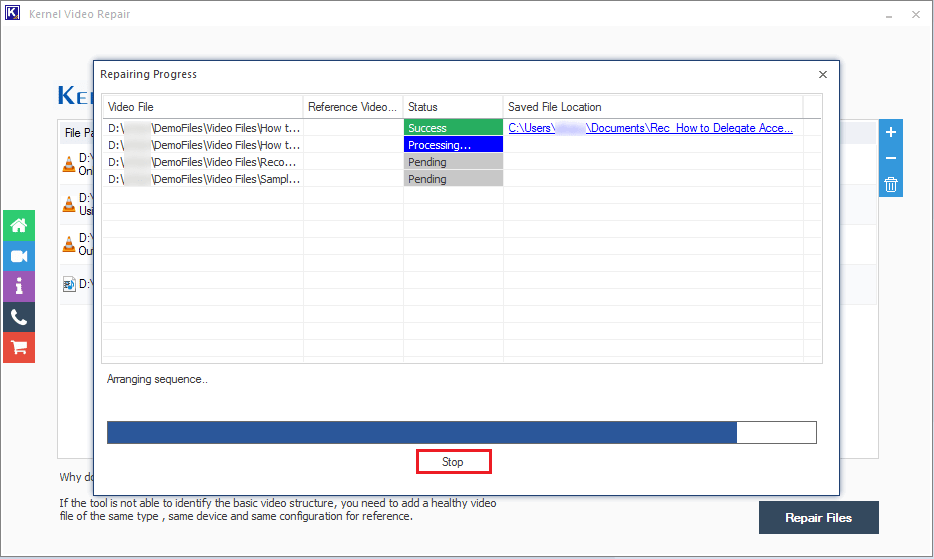
The repair process starts. You can use the Stop button to cancel the repair process.
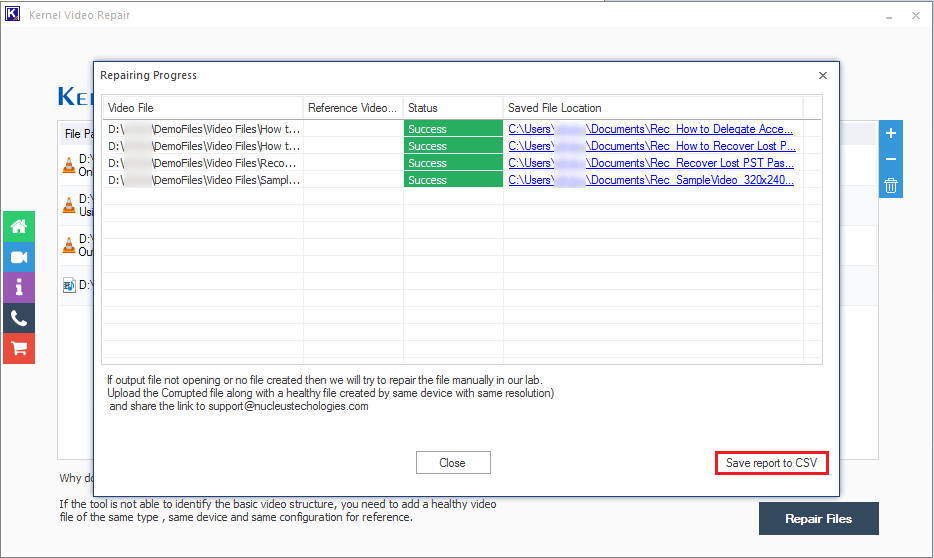
Finally, when the tool has repaired the whole videos. The status of the process gets a change to Success. You can click the ‘Save report to CSV’ button to get a report of the repair process.
It is the report in the CSV format where the data is shown in various columns.

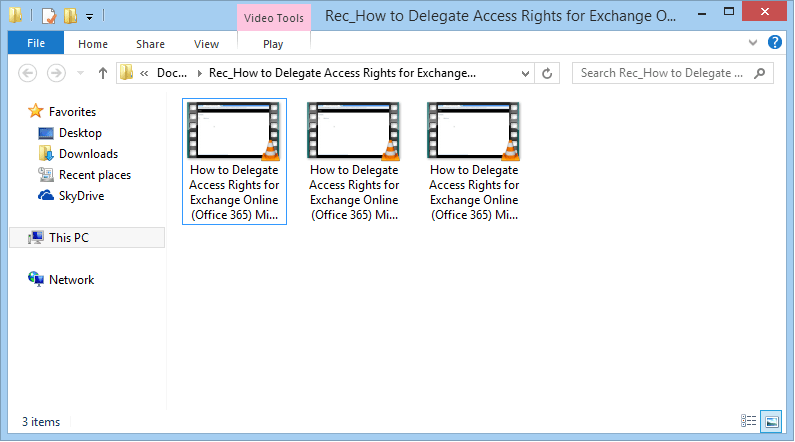
When you visit the location of the recovered file, then you will see that there are multiple versions of the same file. Actually, the tool recovers the video and create various versions like different aspect ratio and clarity. So, you can choose whichever file suits your requirements.